So, you’re new to Copic Markers and starting to build your collection?
A colorful spending spree sounds like fun until you’re confronted with 10 similar shades of red. This wasn’t supposed to be so stressful!
I remember those days. Money was tight, so I had to pick colors wisely. Even with an art degree, I still made rookie mistakes. My first major purchase was a 72-set and many of the markers from that original box are still gathering dust today!
If I had to do it again, I’d focus on useful individual blending combinations, buying just the colors I needed at the time. It’s only a bargain if you actually use the marker!
In the spirit of helping you avoid my mistakes, I started to wonder:
What’s the best red blending combination for Copic Marker beginners?
I asked three of my favorite marker instructors about which reds they recommend for first time colorers.
Which reds offer you the best value?
Which Copic reds are versatile enough to color many red items?
Which reds do we teach with?
Which red markers do we use in our own work?
Which Red Copics are Best for Beginners?
We highly recommend Copic’s R-Twenty red series for beginners and anyone building a small, versatile alcohol marker collection. R29, R27, R24, R22, and R20 are traditional reds which can be used for food, flowers, and holiday images. The lighter reds in this series can be used for pink objects.
Let’s talk to four Copic instructors to find out why.
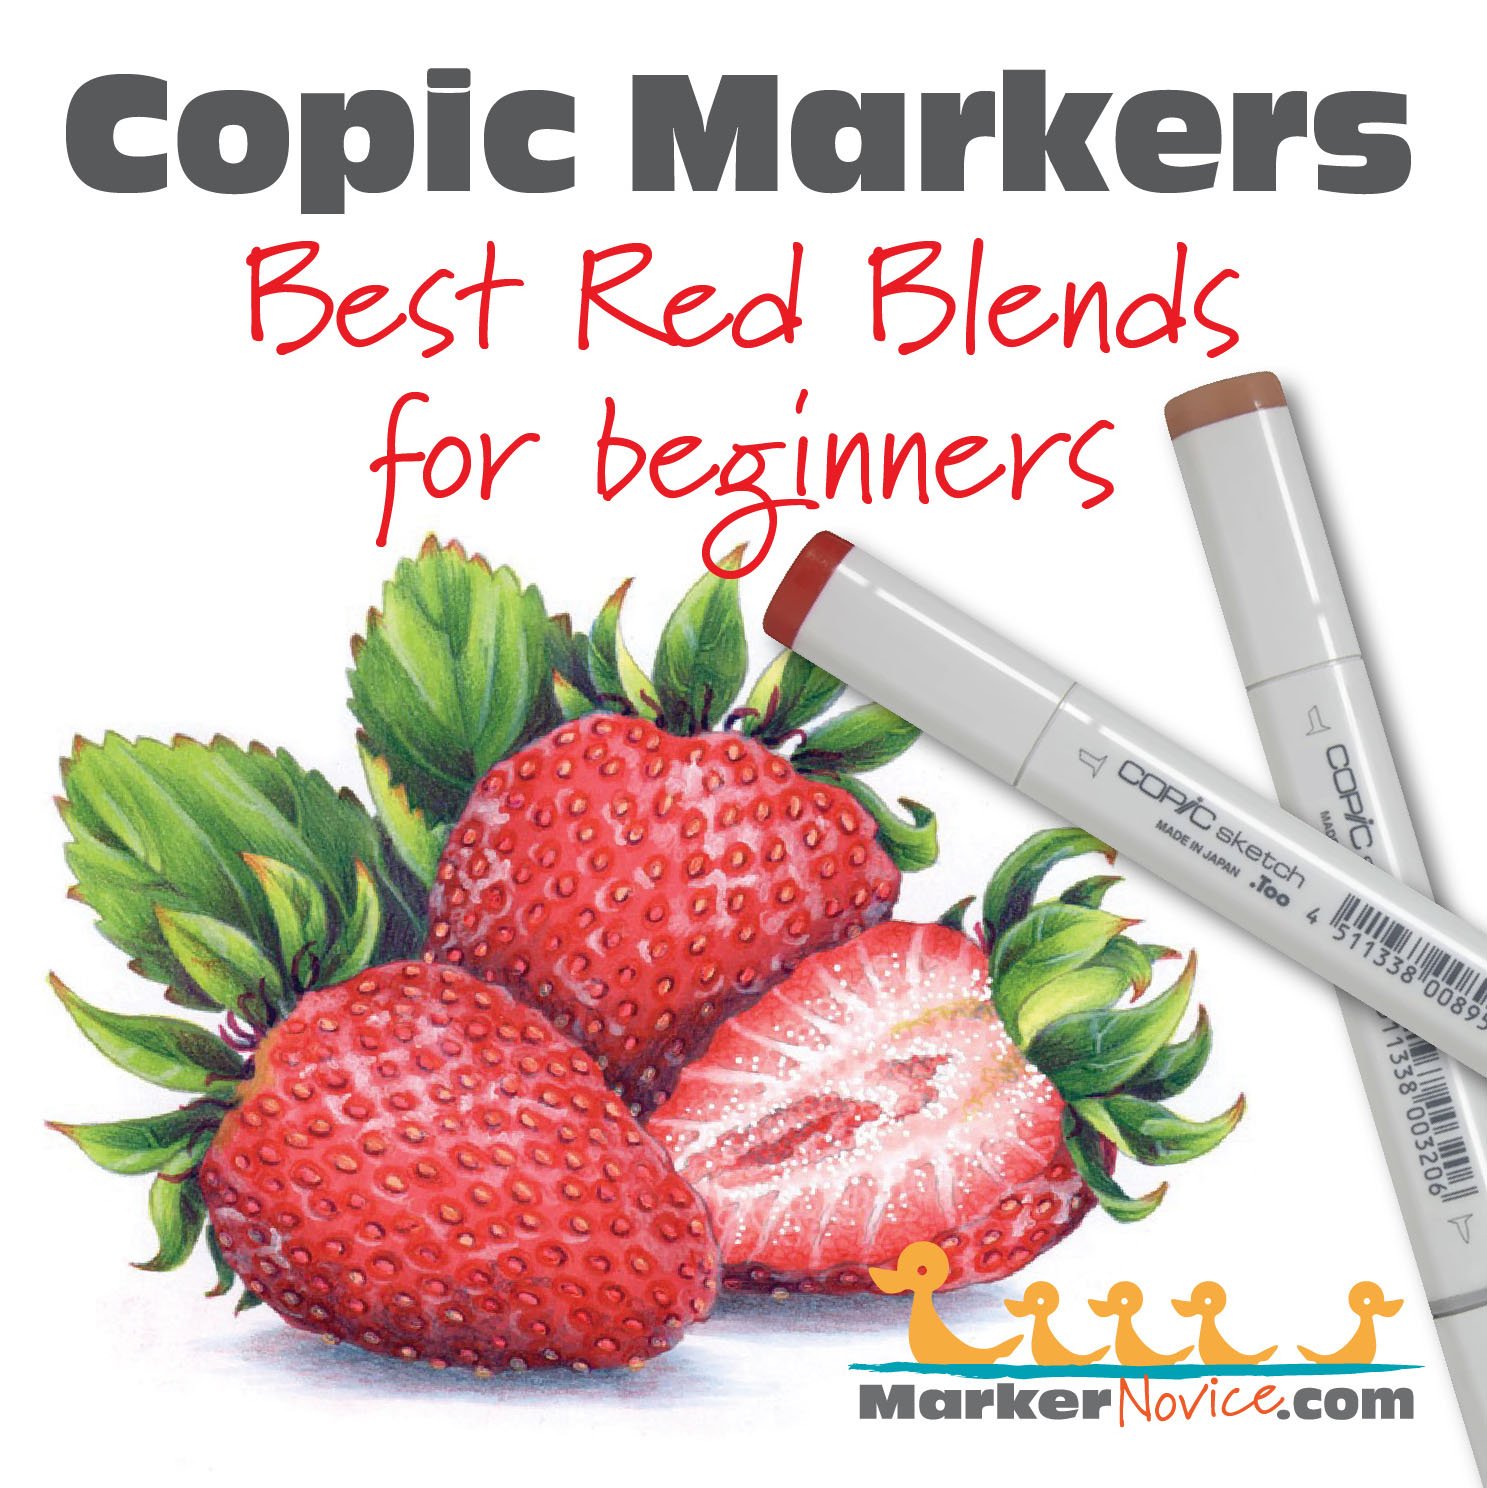
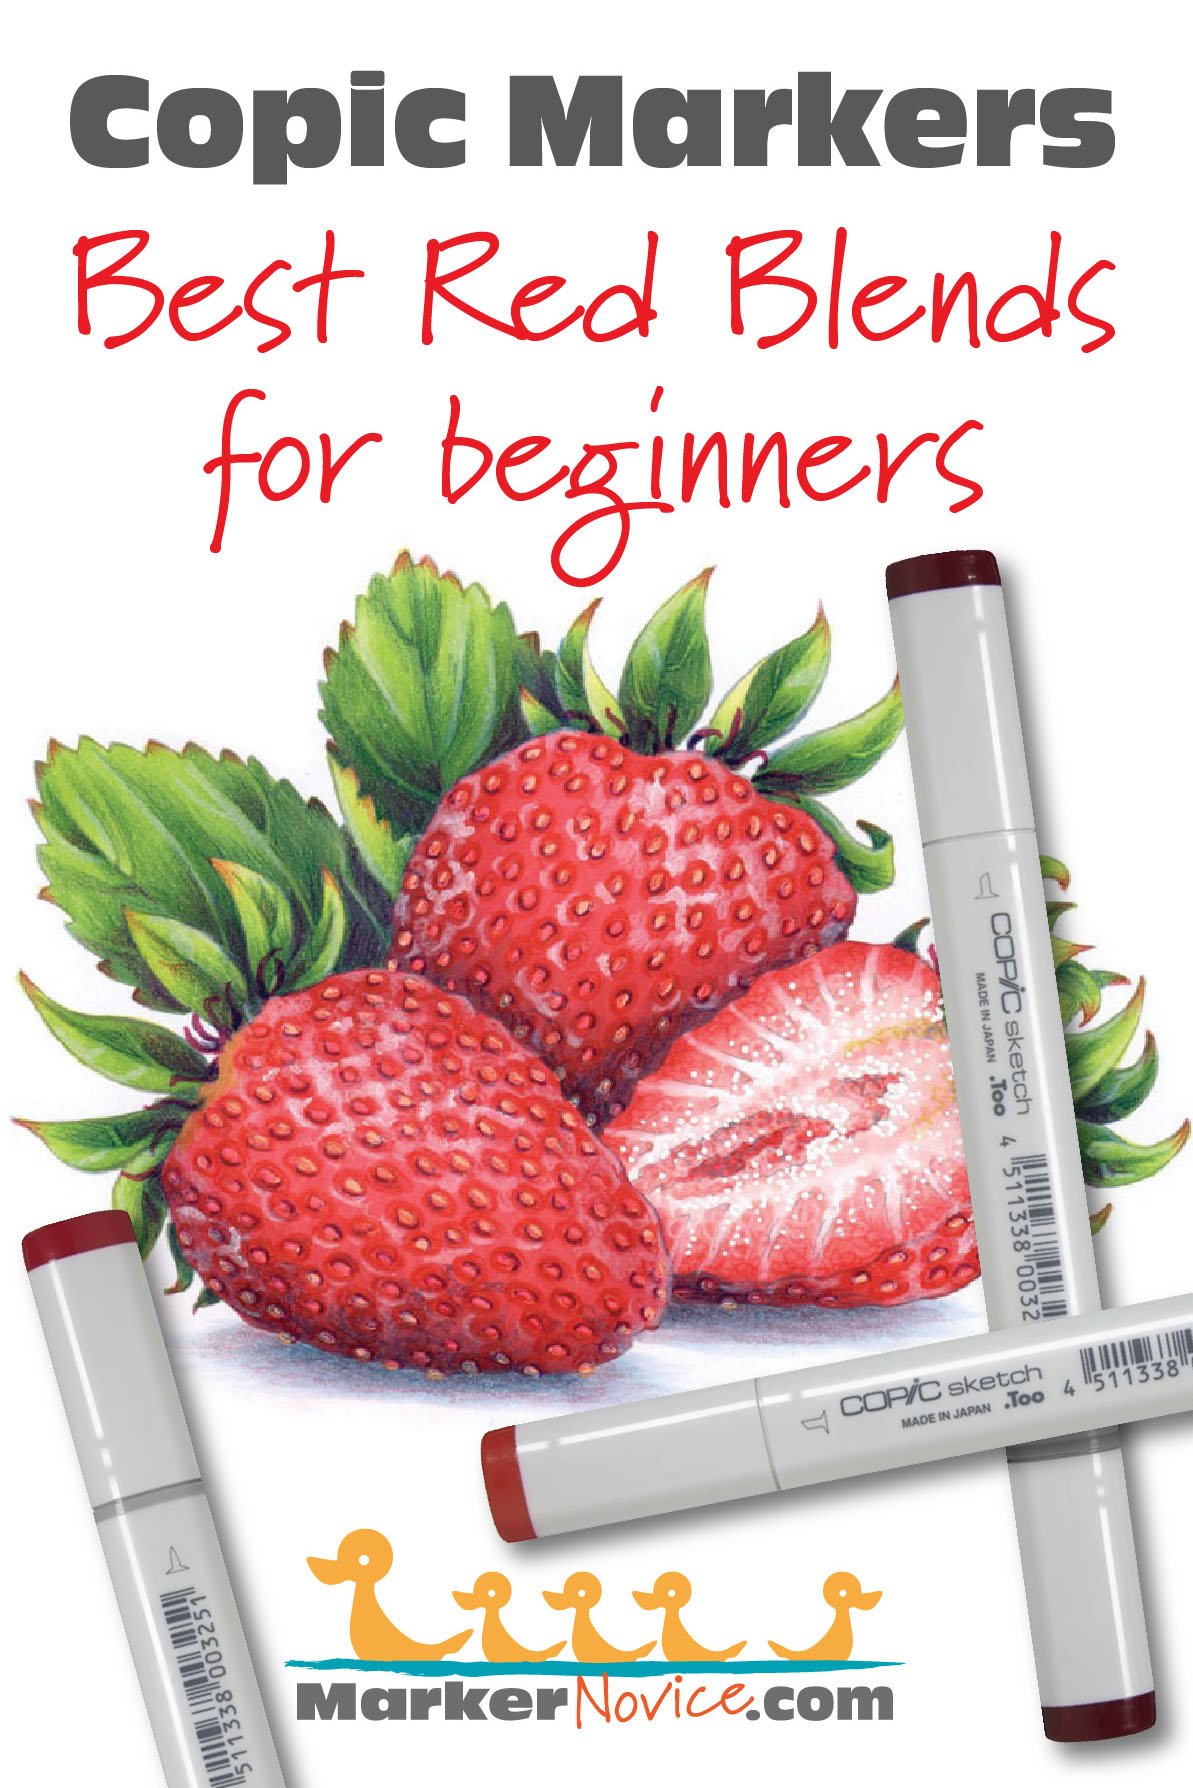
“Strawberry Trio” by the author, Amy Shulke. Copic Markers and Prismacolor Colored Pencils on X-Press It Blending Card paper. This project is the finale of Marker Painting Foundations, a 12 week course to improve your Copic Marker coloring. More info here.
Michelle Houghton’s Favorite Reds
Find Michelle on her Copic in the Craftroom channel at YouTube and at Scrapweaver.com
Michelle recommends R29-R24-R22 for Copic beginners. She frequently adds R59 if she needs a darker combination.
Michelle says:
The reds I most-often reach for are R22, R24, R29, R59. I also teach with them. This a very standard blending group but it’s one I have reliably used for a very long time.
However, I have shifted. Originally, I colored them from light to dark, now I tend to use them dark to light.
The R-Twenties are incredibly popular with colorers at all levels for a reason. R29 is a traditional fire-engine red, it’s not noticeably warm or cool, it’s just a beautifully balanced red.
Watch Michelle demonstrate her combination, offering tips for blending this combo both light to dark and dark to light.
In this next video, Michelle offers a more advanced combination, it’s beautiful!
__________
Michelle is an elementary school teacher (BS Fine Arts, MA Education) with over 20 years of paper-crafting experience. She’s is a former Copic Certification Regional Instructor for Imagination International. Michelle runs the Copic in the Craftroom website and YouTube channel. Her Copic College events are favorites with Copic fans at all levels.. Visit her at Scrapweaver.com.
WE ASKED YOU!
In our survey of frequent Copic colorers, R29-R27-R24 was by far their favorite red blending combination.
R59-R46-R24 was the next most popular with some very strong supporters.
I asked about other red combinations such as the R-Teens and R-Thirties but most felt these were for “special conditions” rather than all-purpose coloring.
Cordine van der Touw’s Favorite Reds
Find Cordine’s latest projects on her Facebook page here, also at Copic Marker Europe and her latest classes for Copics at Colourstock.
Cordine recommends R59-R46-R24 as a beautiful red for beginners. She adds R14 if she needs a lighter red in the combo.
Cordine says:
R46 is my base red. It’s gorgeous. R59 adds a lot of depth and I can add B34 underneath if I need even more darkness.
R24 is a very versatile red which works with my combination here plus many other red combinations. I recommend it for beginners.
What Cordine does here is very smart. She started with a base red which she loves (R46) and built her combination around it.
A good collection of markers must include your personal preferences because the markers you like are the markers you’ll use most. Start with a color you love to create a combination that’s perfect for you.
And a side note— Notice that Cordine’s combination jumps across several number groups. She’s combining a 59 with 46 and 24. Cordine proves that beautiful things can happen when you mix the numbers.
I also agree with Cordine, if you’re making your own combination, R24 is an extremely flexible color which works well with many reds.
__________
Cordine is an office manager in The Netherlands. She’s an avid paper crafter who loves card making, scrapbooking, and coloring stamps with Copic and colored pencils. She has taught Copic since 2013 for Colourstock as the Benelux region representative (Netherlands, Belgium, and Luxembourg). Contact Cordine here.
Elena Cazares’ Favorite Reds
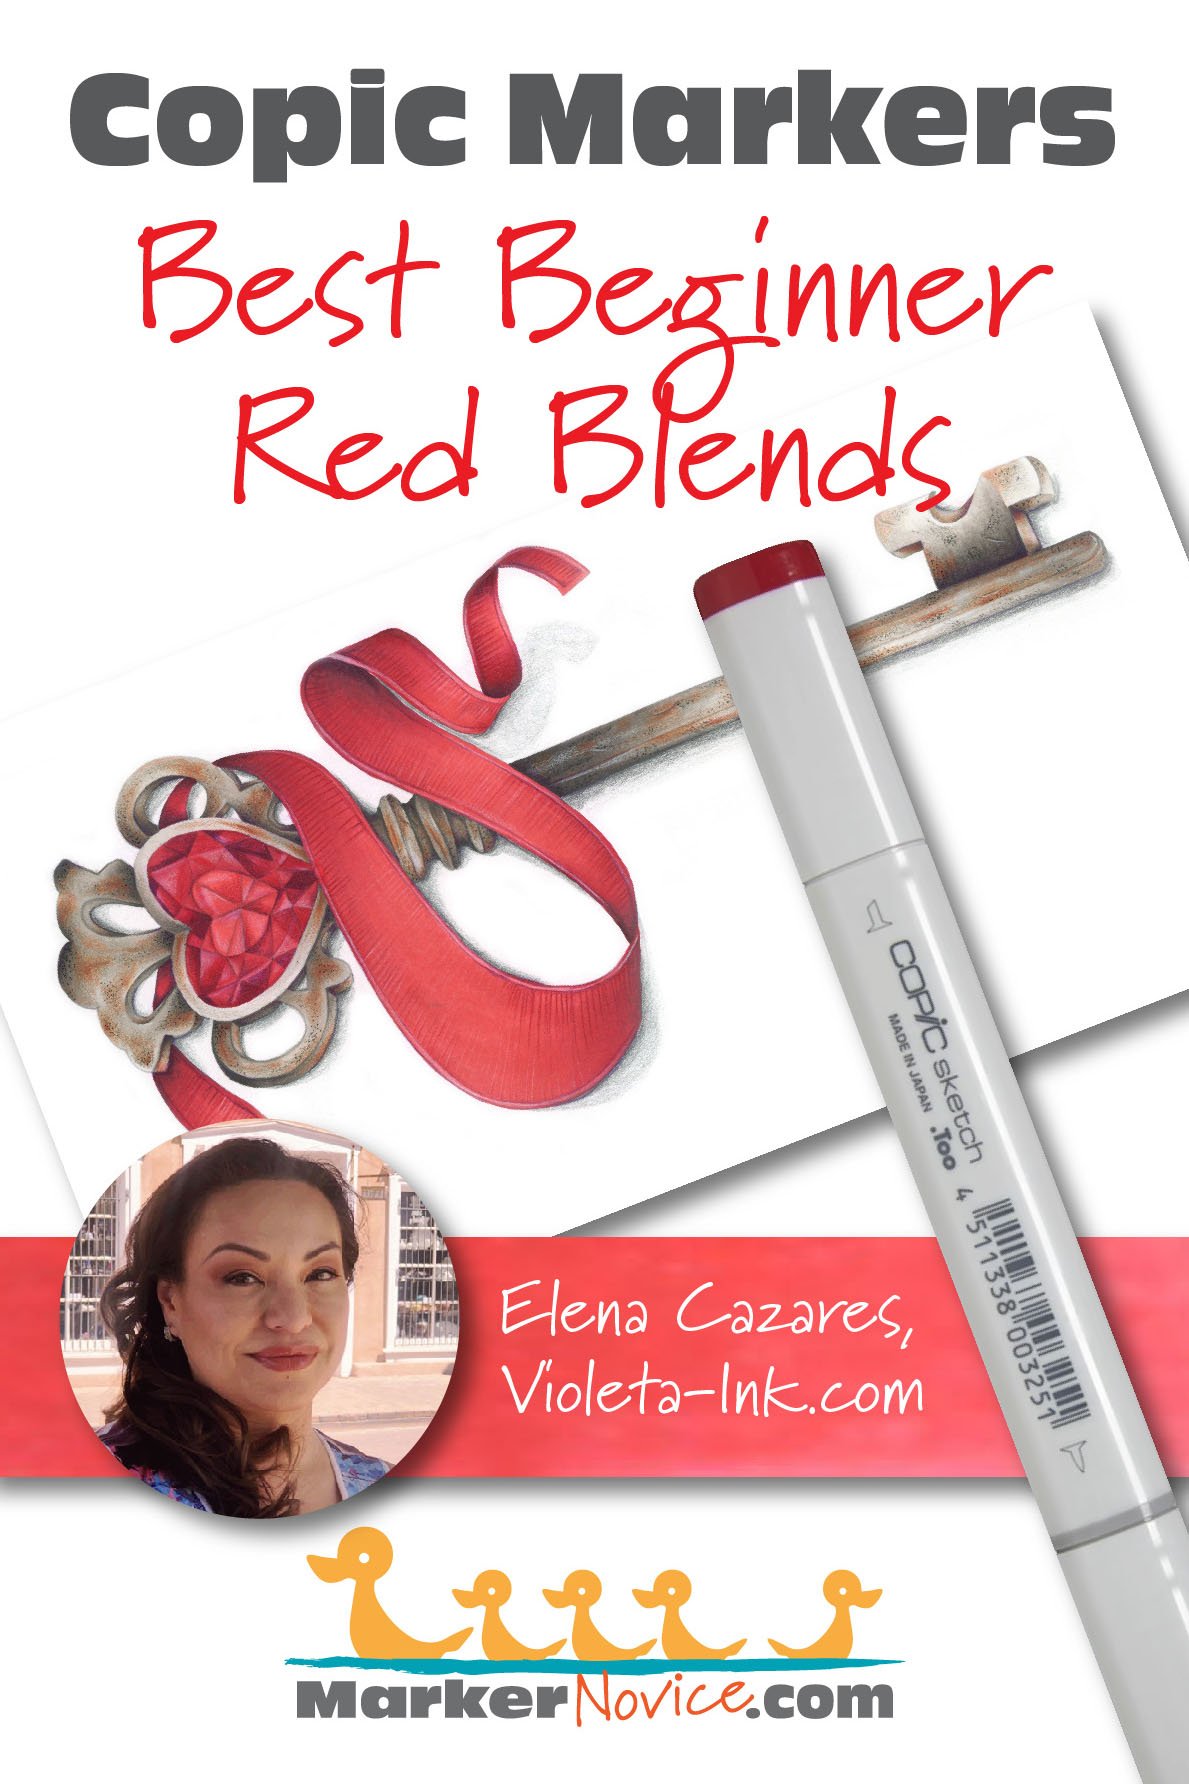
Elena recommends R29-R27-R24 for beginners. For an added challenge, try underpainting the R29 with B32.
Elena says:
I love working with this combination because it’s a bright, true red. The R27 makes this an easy-blending combo for beginners. Be sure to completely cover the R29 with lots of R27 ink to make the smoothest blend possible.
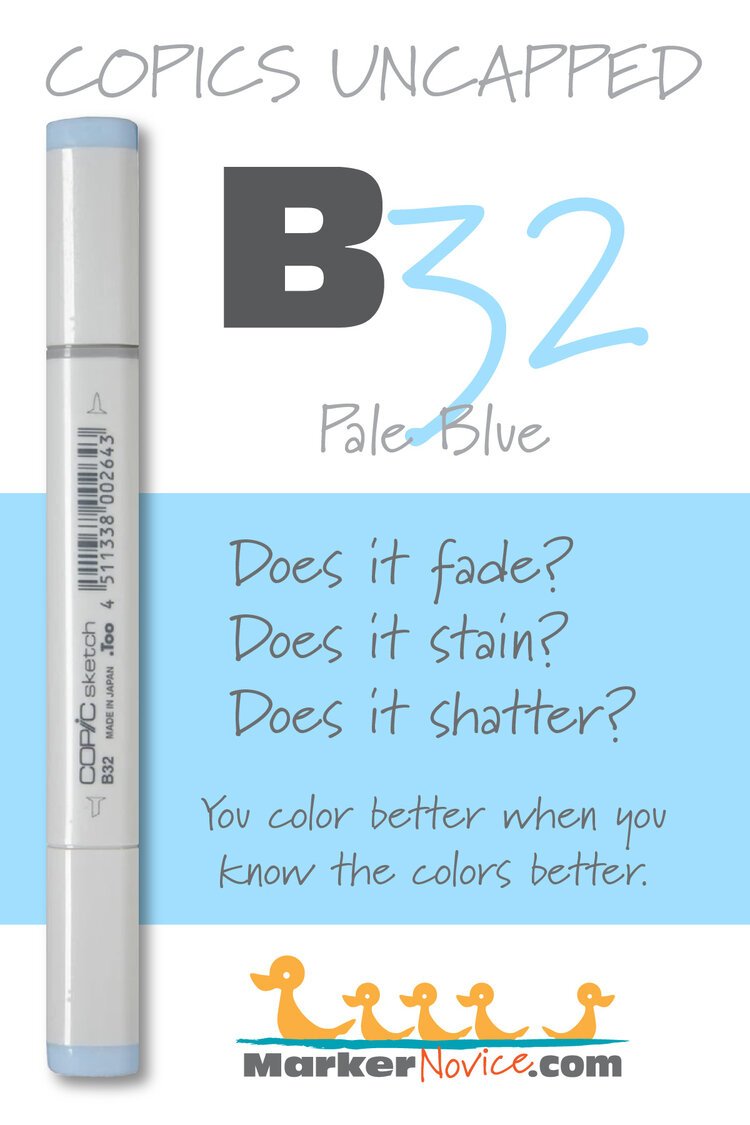
In my own coloring, I always underpaint this combination with B32 but if I want a deeper red, I used B34. Beginners can skip the underpaint or try it when they feel brave.
Elena is correct. You’ll often see advanced Copic colorers use the R29-R24-R22 combination, as Michelle Houghton recommends.
I frequently do this myself, skipping more than the recommended 2 number values. Look at the last number on the cap, from R29 to R24 is a larger than average distance.
But R29 is a staining color. The jump from 29 to 24 is a big step for beginners, ESPECIALLY when you work at a larger scale as Elena does. It takes practice to blend big jumps seamlessly on 8 inch images. Elena recommends that beginners use R27 to fill the gap. This creates a gentle transition from R29 to R27 to R24.
Elena’s combination turns out slightly darker than Michelle’s but they’re both beautiful and extremely useful blends which you’ll use for a lifetime.
Amy Shulke’s Favorite Reds
Hey, that’s me! You can find me here at MarkerNovice.com or at my artistic coloring site, VanillaArts.com.
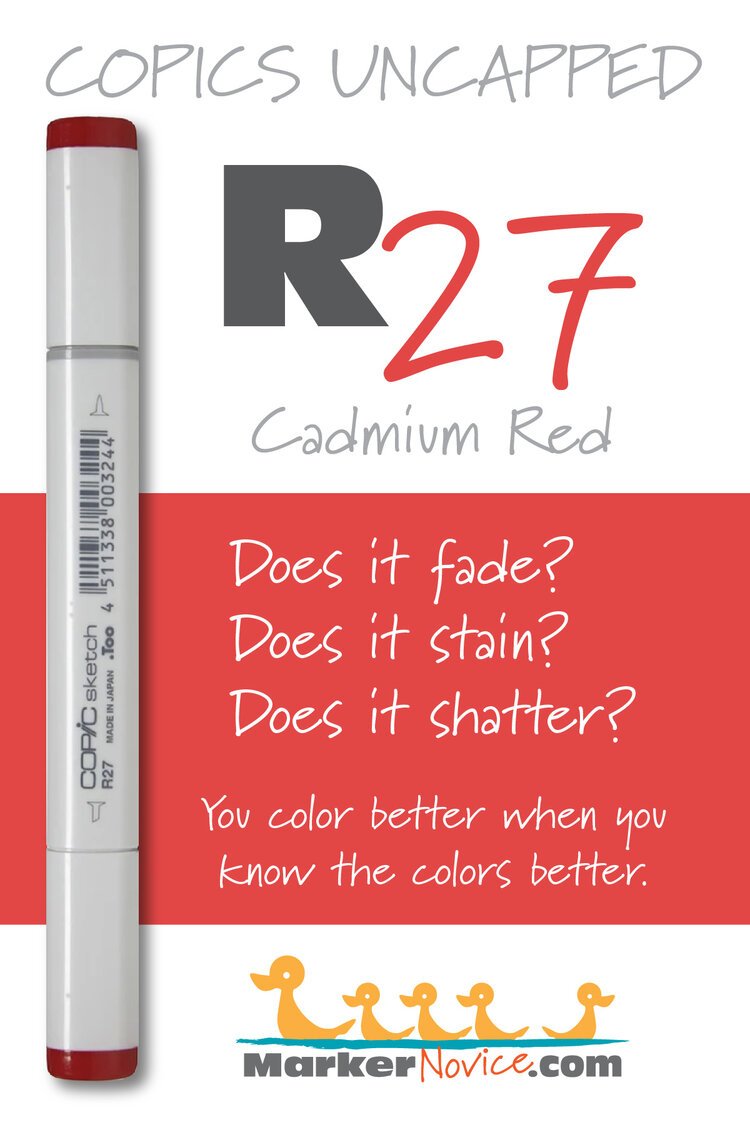
My favorite red combination is R29-R27-R14. This results in a warmer red with no traces of pink.
I’m torn about red Copics. R29 is my definition of a true red but the R-Twenty Copic group is weird. From R22 down, the colors get oddly cool and very bubble gum pink.
Pink is NOT light red!
Pink belongs in the magenta family.
I usually teach with R29-R27-R24 or R29-R24-R21.
But in my own work, to keep my reds warmer and truly red, I switch to R14. I sometimes continue downward to R12 and R11. R14 has a much warmer feel than R24.
As with all the instructors above, I underpaint my reds. I do not use R39, R59, or R89 as a standalone “dark” red. They’re not desaturated enough to look like realistically shaded red.
For beginners, I recommend underpainting R29 with B32. I teach beginners with B32 under R29 in most of my classes.
In my own work, I usually underpaint R29 with BV23. My strawberries in this article show BV23 at work to make the underside of the berries look shady and distant. Remember, the underpaint color only goes in the deepest, shadiest places. Leave room for R29 to shine by itself as a pure red because it’s gorgeous on its own.
And in case you’re wondering, I did not invent underpainting. Underpainting goes back several centuries to classical era oil painting. I’m simply one of first fine artists to promote underpainting as a technique specifically for Copic Markers. To be honest, when I started underpainting Copics, I didn’t realize that nobody else was doing it!
Do Beginners need to Underpaint Red?
No.
If you’re brand new to art and you’ve never drawn, painted, or used Copics before, you don’t need to worry about underpainting. Skip it.
Underpaint creates the look of realistic shade by creating a dirty, dingy red. In art, we call this “desaturation”.
Real shade is not darker, it’s desaturated.
But for beginners, it’s much more important to learn how to color reds with confidence.
This means mastering easy blends from one R marker to another.
Learn to blend your reds smoothly and stay inside the lines without over-inking the image before worrying about underpainting for realism.
Once you’re blending without thinking too hard about the process, then add underpaint as a challenge element.
B32 and B34 are excellent all-purpose underpaint colors which work under reds, greens, purples, magentas, and browns. Or try N2 and N4 which work under all the previous colors plus orange and blue too.
You’ve got years to work on building skills. Master blending red to red before you branch into underpaint.
And hey, when you’re ready, choose an instructor who actually understands underpainting. It’s a step up from hobby-level coloring so you’ll want to learn from someone skilled enough to explain the color selection process. Don’t get stuck with a trend-following instructor who simply feeds you underpaint recipes they found on the internet.
It’s Hard to Imagine a Copic Collection Without R29!
There are some colors you can delay buying for a while (even years) but a traditional red combination should be one of your first investments.
As you can tell from the four instructors in this article, we all prefer slightly different combinations but we’re consistent about liking the R-Twenty markers.
R-Twenties are great for value and versatility.
Copic’s R-Twenty series of reds is ideal for beginners. R29, R27, R24, R22, and R20 can be used together or as key parts of unique blending combinations.
I know it’s tempting to start with the lowest number family and many of the Copic sets will give you R-Zeros or R-Tens before the R-Twenties… but there’s a reason R29 is Copic’s top selling red.
R29 is popular because it’s beautiful but it’s also pretty darned handy!
Keep the R-Twenties in mind as you shop for your first red blending combination. They’re an excellent first-purchase.
And if you can’t find R29, I agree with Cordine— R46 is close in both color and value. It’s even a bit less staining than R29. Give it a try!
Amy Shulke is a professional illustrator who has used Copic Markers since 1990. She teaches artistic coloring classes online at VanillaArts.com and locally in mid-Michigan.
Marker Novice is Amy’s completely free resource devoted to beginner marker education. For intermediate/advanced artistic coloring articles, see her Studio Journal here.


