Copic Markers: What's the Purpose of a Broad Chisel Nib?


I’ve used several brands of illustration markers since 1989. Prior to Copic, the only dual-nib markers I’d seen were novelty markers for kids. Two nibs are still a major selling point; it shows up in all the Copic literature.
“Two markers in one!” sounds like a great value.
Psssttttt, wanna know a secret?
Most Copic colorers only use the brush nib. They avoid the chisel nib because it doesn’t work the way they expect.
Yep, Copic’s Broad Nib (commonly called a chisel nib) is unloved, unappreciated, and rather mysterious to even the most experienced hobby colorer.
Today, let’s look at why Copics come with broad nibs and how to start using your chisel for amazing marker art.
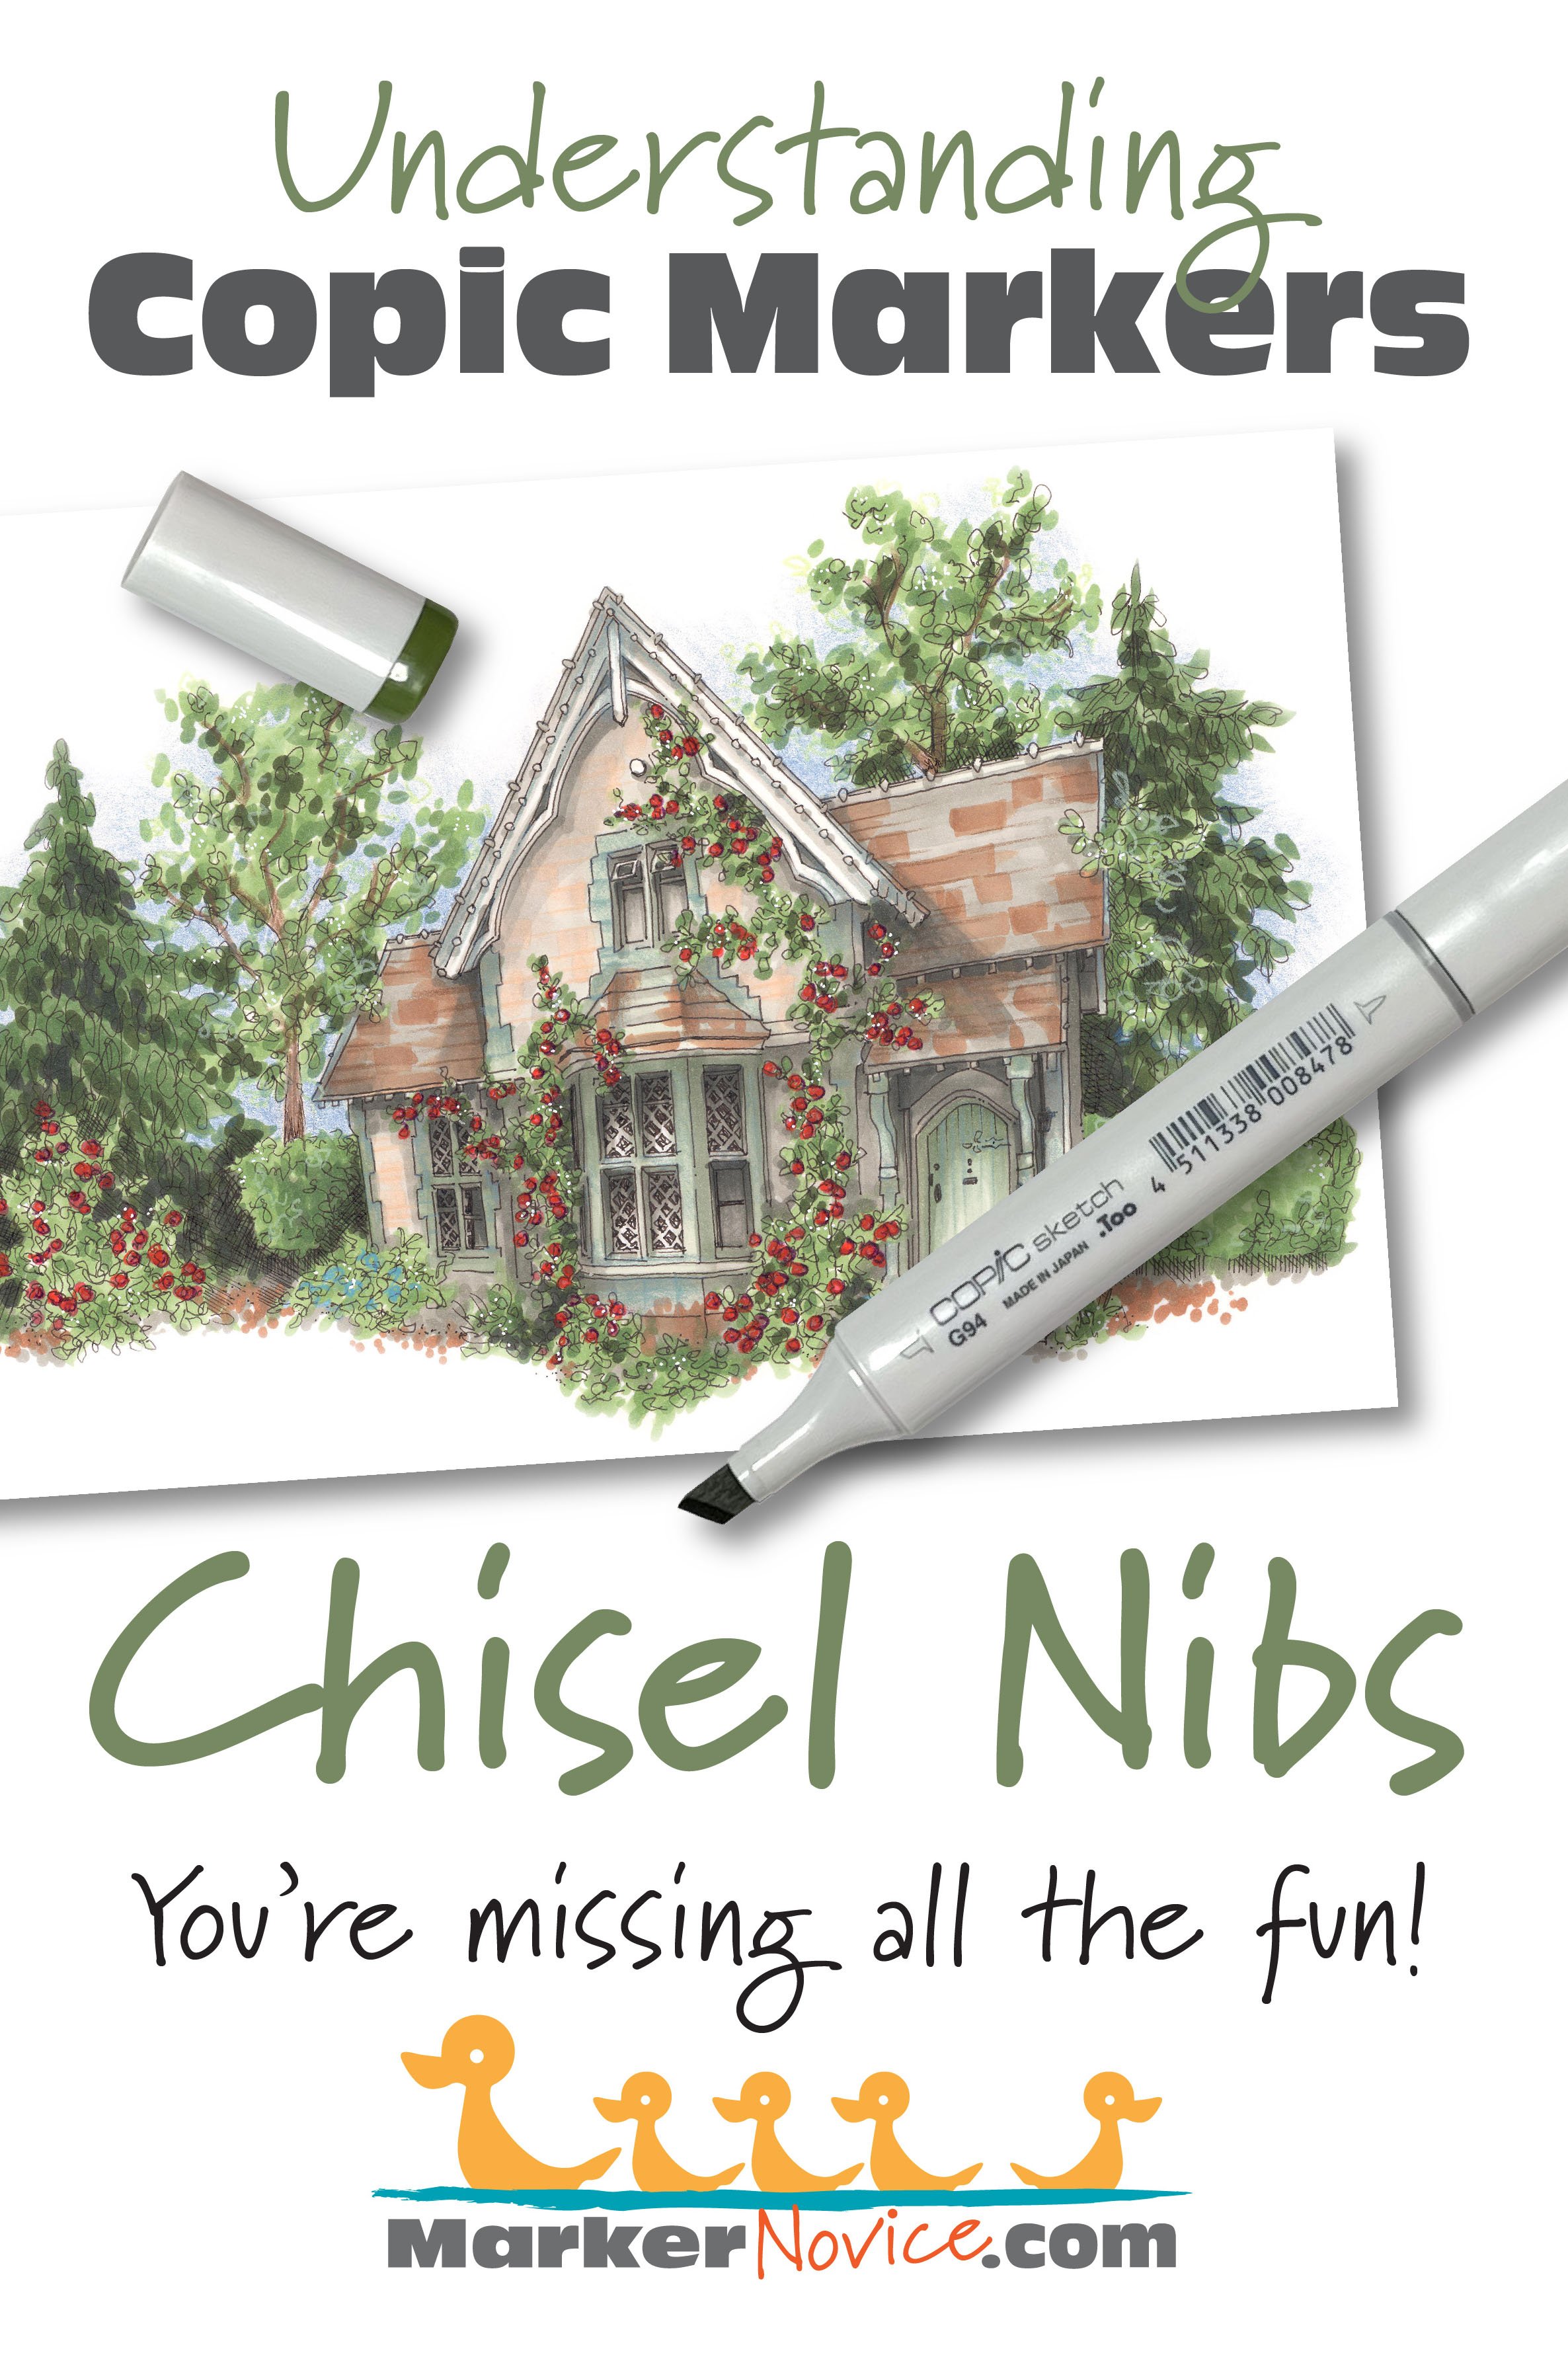
Copic Sketch, Ciao, and Classic Markers come standard with a broad chisel nib. Few people use the chisel because they often leave streaks. Sadly, you’re missing out on a great drawing nib. This article covers how to condition a chisel plus tips for pro artist results from the broad chisel nib.
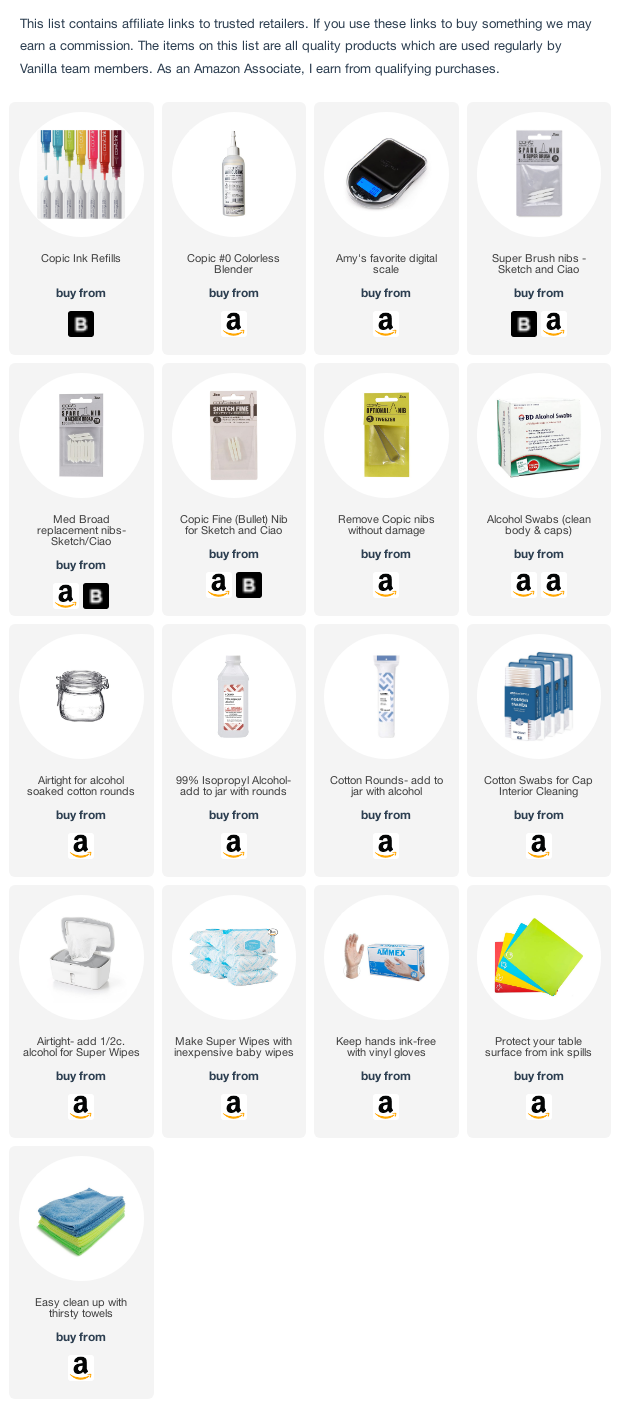
Note: this article contains affiliate links to products mentioned. We only link to products we endorse and we source them to retailers we use and trust.
Why do Copic Markers Have Chisel Nibs?
“I do not like the chisel nib!”
I’ve taught Copic Marker classes for years and I’ve heard this complaint a lot.
Most people think of the broad nib as “the side I never use” or “the refill end”. It’s kinda sad because if you never use it, you’ll never learn to use it well.
The chisel a great nib; it’s just misunderstood.
The chisel is so unappreciated that for a brief time around 2016-17, many Copic colorers spent goo-gobs of money replacing all their chisels with the newly introduced bullet nib upgrade. That’s $2 x 358 for markers which already set you back $7 each? OUCH!!!
It would have been cheaper to learn how to use the chisel.
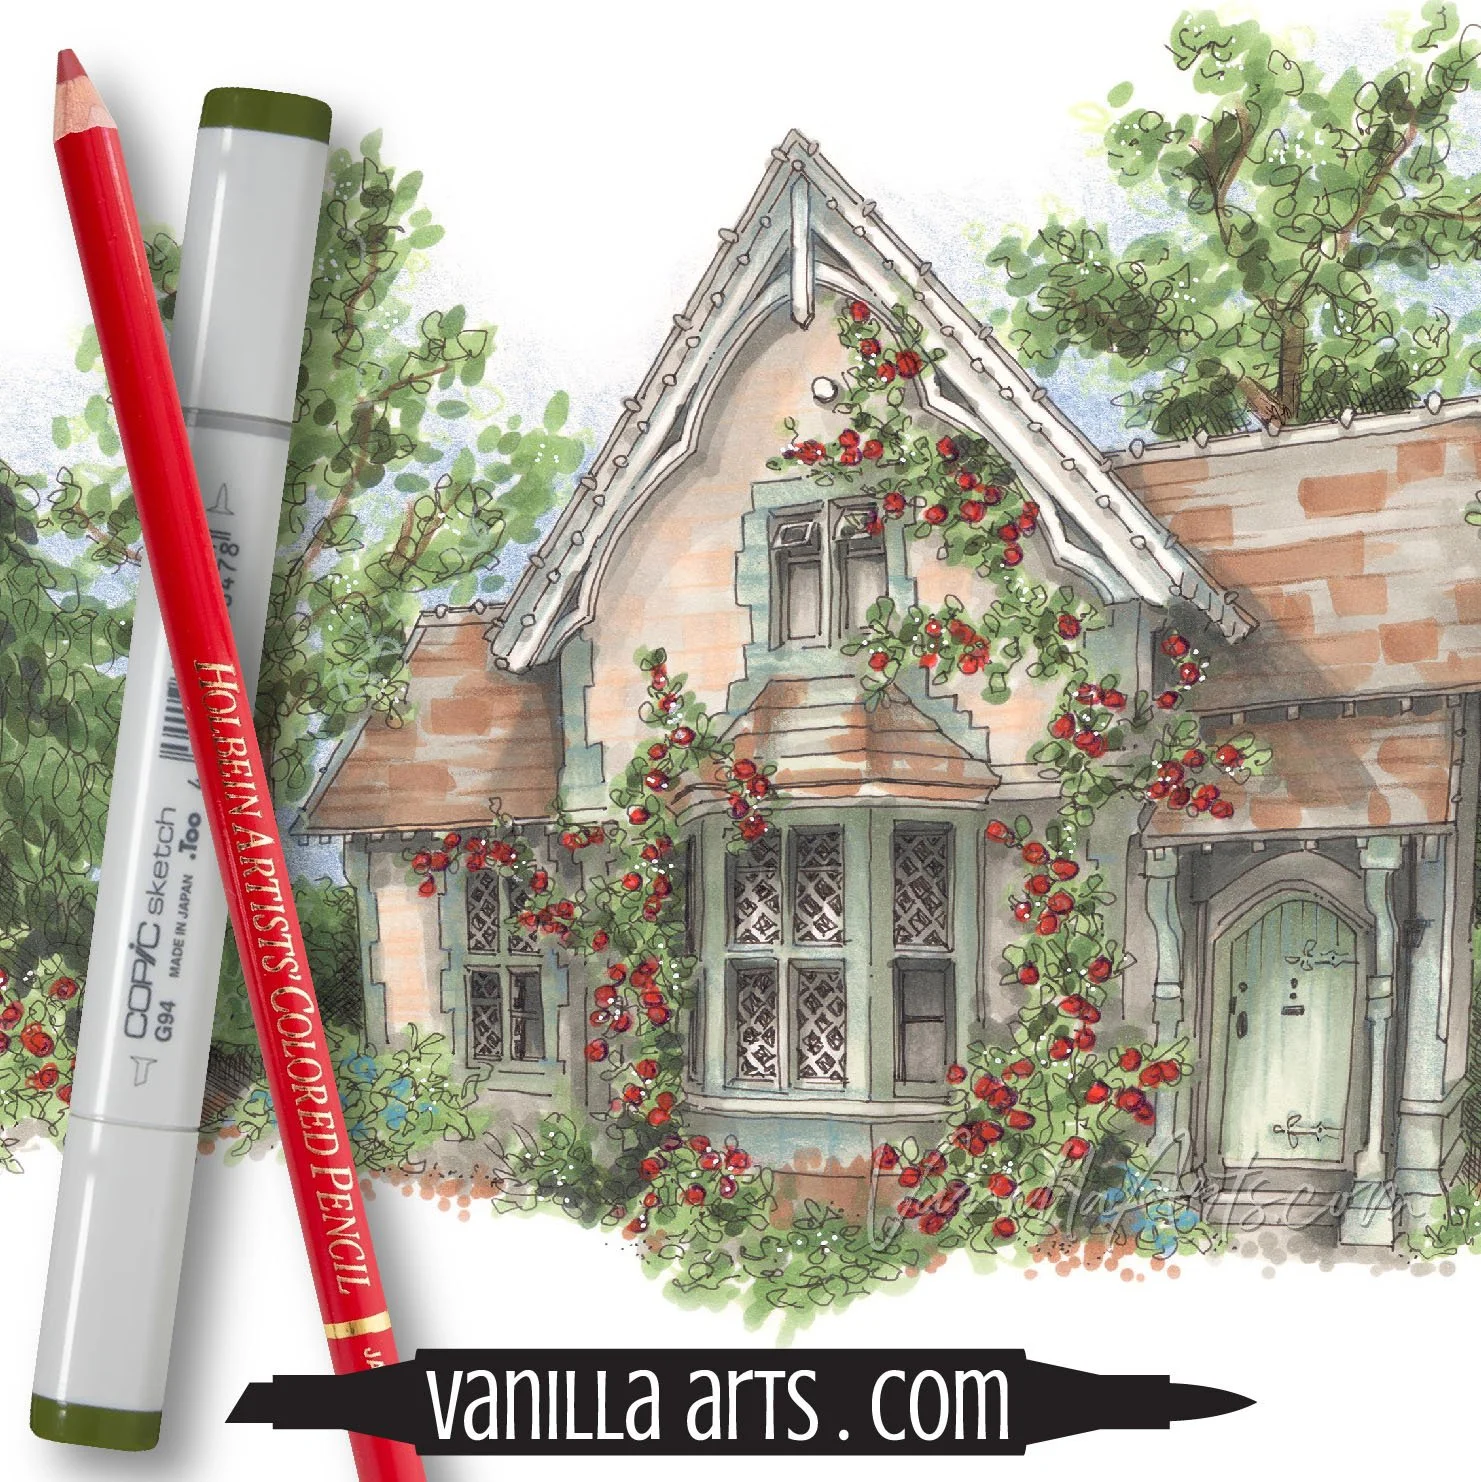
“Irish Cottage” colored by the author, Amy Shulke. Copic Markers plus Copic Drawing Pen and Holbein Colored Pencil details on Cryogen Curious White Cardstock. 12x18 inches. Online class here. Artistic coloring kit available here in Aug 2022.
Why do Sketch and Ciao markers come with chisel nibs?
Because they’re illustration markers and illustrators illustrate.
Look, I know it sounds weird but that’s because you’re a colorer.
You make cards or you color stamps and coloring books. If you do draw, you use a pencil or pen, then use Copic to fill the shapes with blending combinations.
You blend for a hobby, right?
But Copics were not invented for blending. They weren’t even invented for coloring.
Illustration markers go back to the 1950s and graphic artists have been drawing with art markers from the beginning.
Meanwhile the blending technique isn’t even old enough to buy itself a beer.
Copic Markers are a drawing tool— you just happen to blend with them.
FYI: Chisel is the generic term for a flat angled marker nib or paintbrush.
Copic chooses to call their chisel nib a “broad nib” but several other brands call it a chisel nib.
Copic’s Medium Broad Nib comes standard on the Sketch and Ciao marker styles.
Copic’s Standard Broad Nib comes standard on the Classic style.
The Medium and Standard Broad Nibs look and act the same once installed. The difference is the width of the insertion “stalk” end.
Because I’m a dinosaur— in this article, I’ll use the terms “chisel” and “broad” interchangeably.
Drawing with Markers - Old School Style
My Irish Cottage illustration here was drawn and filled using Copic Sketch Broad nibs.
No brush nibs. Nothing is blended.

This style is called Marker Indication and it’s used by architects, interior and landcape designers, fashion, jewelry, and product designers, typographers, art directors, storyboard artists, comic artists, and illustrators.
It’s called Marker Indication because these drawings are used to convey rough ideas. “Indication” means a hint or a symbol. It’s not a fully finished, framable drawing.
Marker indications use fast, loose, and expressive strokes.
The colors are layered, not blended.
Chisel nibs are perfect for marker indications and sketching.
If you’ve always admired the look of art journals, practice sketchbooks, or urban sketching, perhaps indication is a good style for you to explore.
Remember, just because everyone else blends, doesn’t mean you have to blend.

But they say blending creates depth & dimension!
They say a lot of things. Does my cottage here look flat to you?
The dimensional effect you want has nothing to do with blending.
Depth and dimension are the result of using correct values and desaturated color to simulate realistic shape.
It’s about how you use color— the right amount and the right flavor in the right spot. Blending is simply an application method. Blending doesn’t create the shape.
Here, I’ve layered marker strokes to create dimensional shapes. Look at the roof. Can you see the chisel nib stripes? If you zoom in, you can see swishes, blobs, and stripes of color everywhere without a blend in sight.
The color does the work. The chisel nib adds style.
You can do this too!
But first, we need to condition your chisel nibs so that they work properly. Chisel nibs do not work well, straight off the shelf.

What Makes Broad Nibs Ideal for Drawing?
Have you ever tried to draw a straight line with a brush nib? It looks sloppy, doesn’t it? Brush nibs are floppy and leak extra ink when you press hard. It’s difficult to draw lines without bulges, bends, or wandering thick and thin.
The chisel nib is designed for control.
Chisel nibs are made from hardened felt, carved into precision angles. The angles are tailored to keep the nib aligned to the paper with every stroke.
Because the felt is firm, the bevels stay true. The consistent shape of the nib does not warp as you stroke. You will not see variations in line weight (width) when your pressure waivers or your grip changes.
Chisel nibs are dryer than brush nibs, another control feature. A chisel feeds the same amount of ink onto the paper at every stage of the stroke and they rarely leak.
Chisel nibs will never be as juicy as brush nibs, but that’s okay. You don’t need two juicy nibs. The brush nib and the chisel nib are opposites. They complement each other.
Different nibs for different jobs. That’s a good thing!
Why do chisel nibs leave streaks and uneven color?
You tried to color with a chisel nib once… and that was it. The nib left a streaky line with stutters, gaps, or railroad tracks. It wasn’t just one nib either. Every color you’ve tried gives you the same janky line.
So you gave up— because chisel nibs are dumb.
Uhmm, hello?
Fresh chisel nibs do not work properly until you break them in.
And because you gave up so quickly, you’ve never conditioned a chisel nib to the stage where it works buttery smooth.
Dude, you’re missing out!
The inset photo here shows two lines made by Sketch Medium Broad (chisel) nibs.
The light green line on the left (G94) is a properly conditioned nib. See the even color and consistent width?
The darker green line on the right (G99) is from a new but unconditioned nib. See how the nib skidded, skipped, and left bare patches?

Copic doesn’t tell you how to prepare chisel nibs for use.
Sadly, Too (the parent company of Copic) takes a hands-off approach to customer support and education— at least for English speaking customers.
So it’s no wonder you think the chisel nib stinks. Very few hobby colorers know anything about their broad nibs.
Chisel nibs are made from hardened felt. This firmness provides support and consistency of line as you draw.
But because it’s so firm, the long bevelled edge can’t conform to the surface of the paper as you draw. Anywhere the fibers don’t meet the paper, the nib leaves pale streaks or skips.
To get a fully inked line, you must break the edge and soften it.
Once the nib has a bit of give along the edge, more fibers will touch the paper with each stroke.
It’s kinda like running a dried-out sponge over a counter, the whole sponge won’t make contact with the countertop. If you soften it, the sponge can hug the surface better.
But the firm edge is likely not your only problem.
Most people have very thirsty Copics.
Let’s face it, people don’t refill their markers often enough. Even when they do, they use the stupid drip method which underfills your marker by a lot.
Dry markers don’t work well and dry chisels really, really don’t work well.
Do your chisel nibs leave pale streaks or skippy lines? It’s because you’ve set them up to fail.
Condition Chisel Nibs for Beautiful Ink Flow
Breaking-in a broad nib is very easy and man, it makes such a difference!
How to condition a chisel nib:
First, inspect your chisel nib! Many colorers have never touched their chisel nibs. Look closely at every nib to insure it’s not crusty or sticky with old dried-out ink. Chisels can go bad if you don’t use them, even with the caps on.
A chisel in good condition will be dark and almost shiny. The color appears consistent across the whole nib with no white spots, pale fibers, sparkly crystals, hardened zones, or gooey patches.
Run the nib across some scrap paper. Does it glide smoothly or do you feel gummy resistance? Does it leave streaks that are several shades darker than the ink color? Does it barely make a mark or does it shed powdery residue? These are all signs of dead or dying chisel nibs.
If your nib doesn’t look fully wet and ready, you’ll need to replace the nib. Cleaning a dead nib is a waste of time and money with an extremely low success rate.
Purchase a small digital scale and refill your marker to near-factory weight. Copics always perform best when they’re full. They’re not like a car which you can run until the gas tank hits E. You’ll see a noticeable decrease in your blend quality before you’ve used just one gram of ink.
Brush nibs are more forgiving when ink is low because you can press harder to squeeze more ink from the nib. This is NOT true with chisel nibs.
The broad nib is the first nib to show signs of low ink; it will turn matte and pale. Because it’s firm, you can’t push to release extra ink. Broad nib strokes look pale and dry long before brush strokes do.
Juicy lines come from juicy markers. Refill your marker and keep your markers full for every use to insure your chisel nibs are primed and ready.
3. Fresh chisel nibs skip and leave gaps because the bevelled surface isn’t making full contact with the paper. Soften the WIDE bevel edge by making lots of practice strokes on scrap cardstock. I prefer using scraps of cheap cold press mixed media paper because it’s more abrasive. The goal is to soften the felt fibers slightly so that the edge conforms to the surface of the paper.
Don’t go overboard with the softening process. Using moderate pressure (more than we use for drawing), make thirty to forty 2” strokes. Hard felt skids across the paper; the softer the edge gets, the more friction you’ll feel with every stroke. When the strokes start to look consistently full and juicy, the edge is now “broken” enough for drawing.
Warning: a conditioned chisel nib doesn’t look much different than a fresh nib— the visual change is very subtle. You will feel the difference rather than see it.
4. Do not soften the point! We want a firmer point on the corner of the nib for drawing thin lines. The point will gradually soften and become rounded over time. Actually, a soft and spongey point is how you’ll know it’s time to replace your conditioned chisel nib.
Now a few warnings:
Stop coloring with both caps off!
A few decades ago, someone started the silly rumor that removing both caps relieves built-up pressure inside the marker. Now every colorer in the world thinks that they can avoid random ink leaks by taking both caps off when they color.
This is completely false! Copics can not hold pressure! Read my article here for the full story.
Please keep your chisel capped unless you’re using it. Remember when I said the broad nib is the first to dry out when your marker runs low on ink? Think about how removing the cap increases the air flow around your chisel nib. You’re encouraging evaporation.
Coloring with both caps off is the fast way to kill a chisel nib.
It’s also not good for your ink.
Removing both caps slowly darkens your markers over time. One of my very experienced card-making students always colored with both caps off. She’d been doing it for over a decade. We noticed during class that her B34 was darker than my B34, it looked more like a B35 or B36. At first, we thought she had mistakenly refilled B34 with B37 ink but then marker after marker, we noted that ALL of her Copics were darker than they should be.
Leaving a cap off allows solvent to evaporate but here’s the danger: the colorant in the ink does not evaporate. Colorant sticks around after evaporation and it forms the hard crust when a nib dries out. Slowly over time, my student had made her inks thicker and darker by releasing solvent from the open chisel end. Yes she refilled her markers frequently but her ratio of solvent to colorant was always off and it got worse with every refill. Her markers slowly turned darker over time.
There’s no benefit to coloring with both caps off. It damages your chisel nibs and it throws off the color.
Stop doing it.
2. Chisel nibs eventually wear out!
We conditioned your chisel nib by “breaking” the edge and softening the fibers just enough to help it hug the paper better.
But the softening doesn’t stop just because the nib is conditioned. Every stroke breaks the fibers a little more. There’s a definite sweet spot where the edge is soft enough to make a juicy line but firm enough for control. Beyond the sweet spot, the nib gets spongier, you’ll feel more friction, and your strokes will get juicier and darker.
As I said in step #4 above, I watch the longer corner, the “point” of the chisel. When the point gets rounded, squishy, or if the edge starts to look splayed or fuzzy, it’s time to break-in a new nib.
Copic sells replacement nibs because all nibs have a finite life.
Nibs don’t last forever. They all wear out.

Chisel Nibs: Better Than Bullet Nibs!
Earlier I mentioned that a few years back, Copic introduced a bullet nib replacement for Sketch and Ciao markers. They did this because hobby colorers thought the chisel was useless and begged for a bullet nib.
Replacing all the chisels with bullets wasn’t cheap.
And it was also kinda silly.
One of the reasons why I love drawing and coloring with a well conditioned chisel nib is that the chisel already is a bullet nib!
Chisel nibs are three nibs in one: a fine, medium, and broad point.
Your bullet nib can’t do that, can it?
For a broad line that’s almost .25” wide, use the wide edge. Everyone knows about this edge and most people think it’s the only way to use a broad nib.
Hey, there’s a point too. Turn the marker 90 degrees and use the point for a thinner stroke which is basically the same size as the Copic bullet nib.
But wait… there’s more! Turn the marker another 90 degrees to use the corner of the point for a thin stroke.
THIS is ultimately why Copic gives you a Broad nib instead of a bullet.
The bullet makes one kind of line. Just one.
Meanwhile with a chisel and a brush nib, Copic gives you FOUR distinct strokes.
Sketches and Ciao markers are not dual-ended,
They’re Quadra-ended!


In Summary:
Broad chisel marker nibs are not well understood, but once you get to know your nib, you’ll love it dearly.
The Copic chisel nib is not an after-thought. It’s an important part of your marker because it’s an excellent illustration tool.
Condition your nibs, keep the markers full, and learn to use the various edges to color like a true professional.

“Irish Cottage” colored by the author, Amy Shulke. Copic Markers plus Copic Drawing Pen and Holbein Colored Pencil details on Cryogen Curious White Cardstock. 12x18 inches. Online class here. Artistic coloring kit available here in Aug 2022.
Amy Shulke is a professional illustrator who has used Copic Markers since 1990. She teaches artistic coloring classes online at VanillaArts.com and locally in Michigan.
Marker Novice is Amy’s completely free resource devoted to beginner marker education. For intermediate/advanced artistic coloring articles, see her Studio Journal here.
Further reading on related topics:


Urban sketching
Have you admired Copic sketch journals but didn’t understand how artists get marker sketches on the road?
Irish Cottage: Intro to Line & Wash Technique for Markers
Artistic Coloring Kits are everything you need to challenge yourself with intermediate to advanced level images.
Learn to use loose and expressive strokes to create stylish scenes
Let your skill and creativity be the star of the image, not the stamp. Ideal for large-scale projects using Copic Marker, colored pencil, watercolor, or your unique mixed media.
This project is part of The Underpainters, an advanced coloring challenge group.
Kit includes: digital stamp, suggested supply list, references, color map, and process tips

Supplies for a Copic Refill & Nib Replacement Kit