
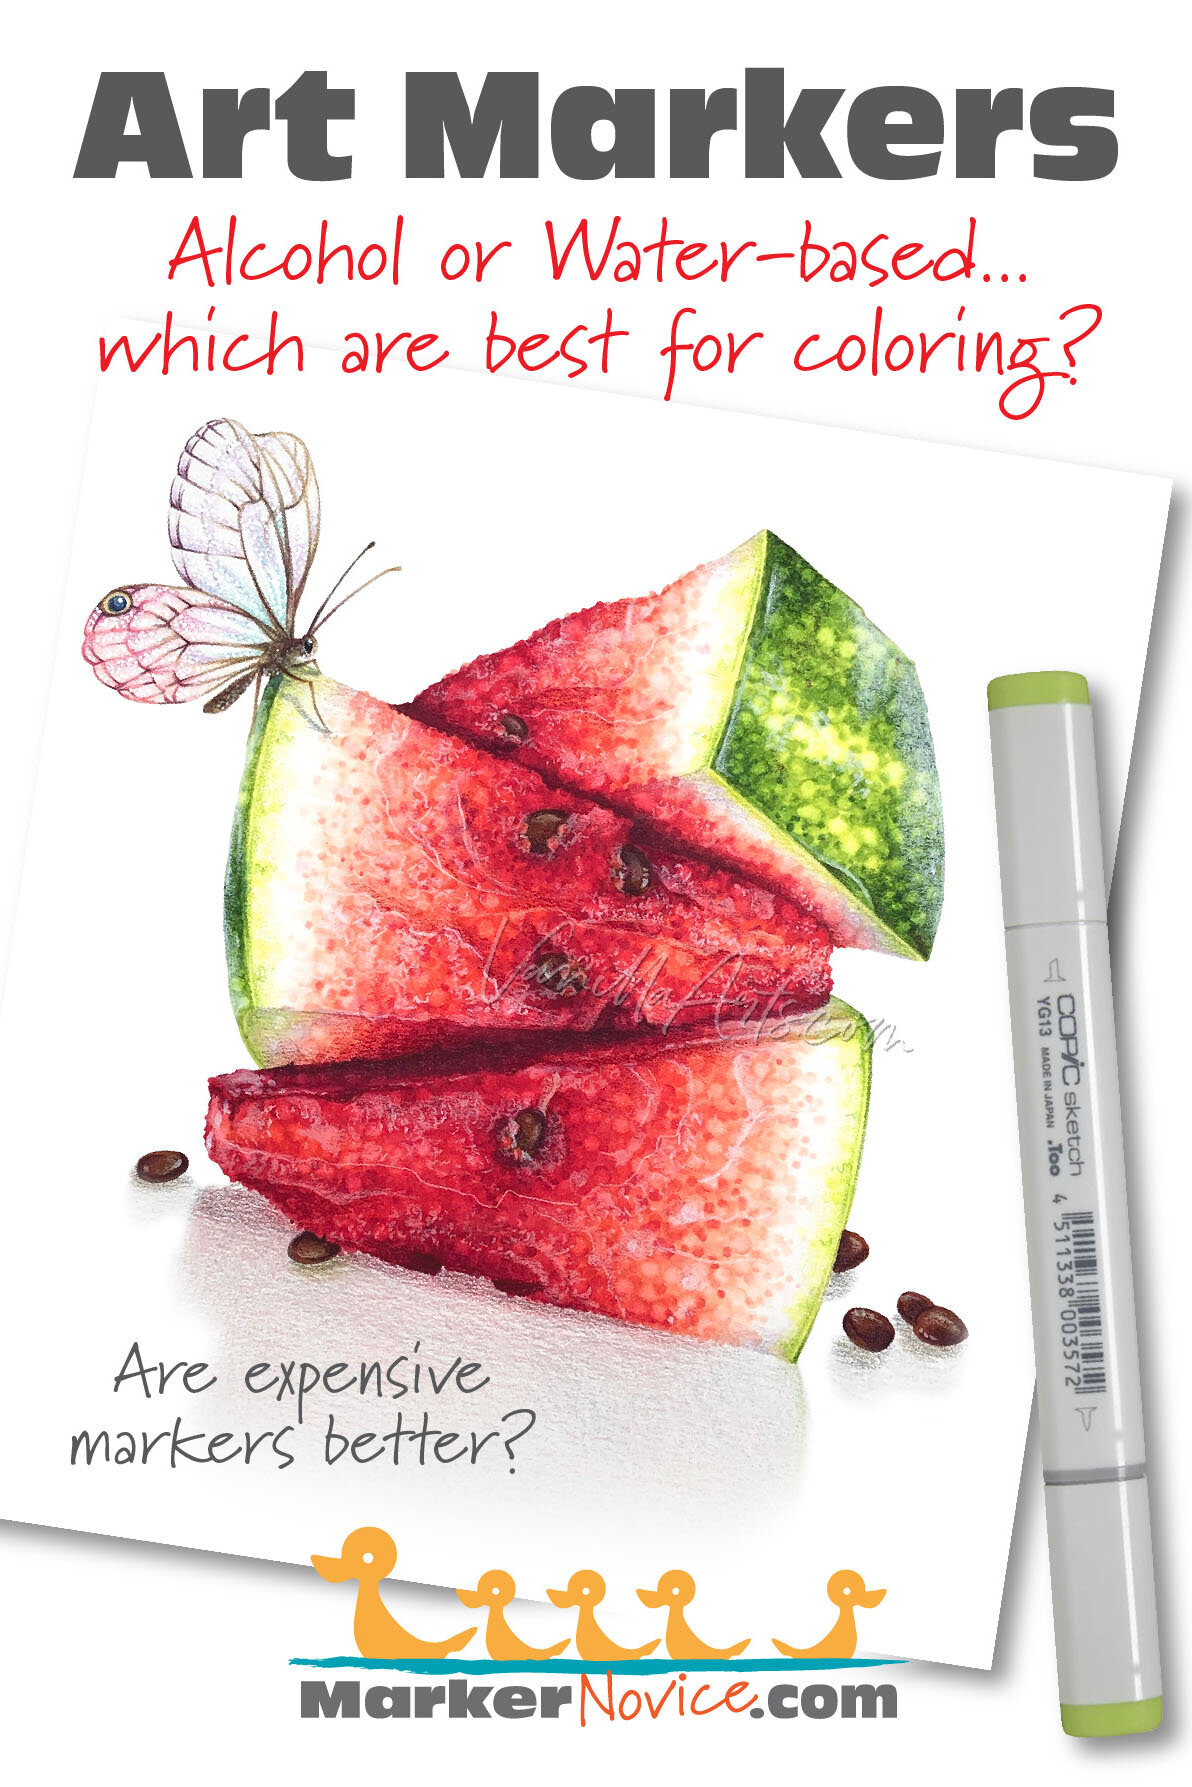
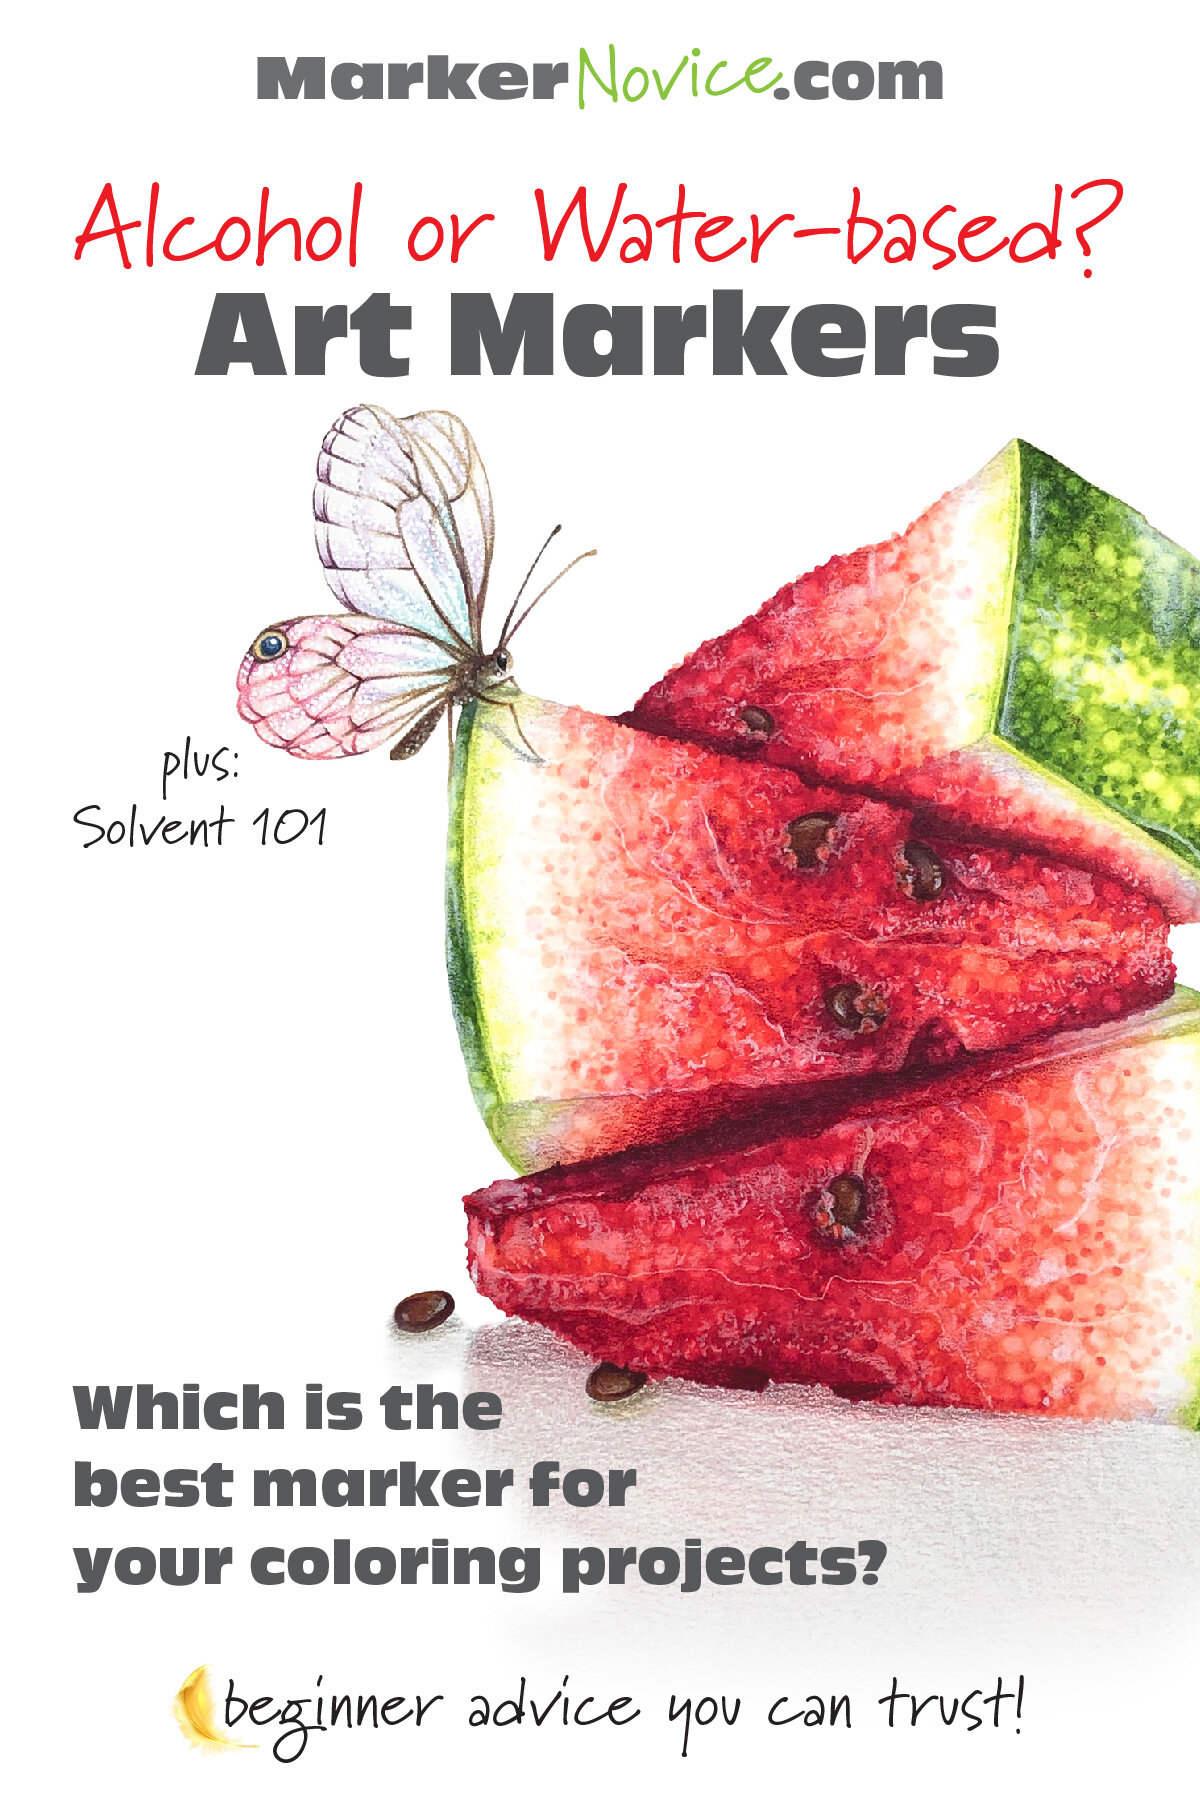
Alcohol Markers or Water-based Markers: Which are best for coloring?
Beginners always want to know which markers are best for coloring— alcohol or water-based markers?
I teach with alcohol markers. I really, really love Copics.
But my marker coloring recommendations may surprise you.


I’ve taught marker coloring classes for over a decade, including hundreds of beginner classes.
There’s nothing scary about a marker. They look easy and feel familiar in your hand. Because they’re so approachable, new students walk into my classes already familiar with several different brands of markers, some alcohol and some water-based.
Beginners always want to know which markers are best for coloring— alcohol or water-based markers?
I teach with alcohol markers because I really, really love Copics.
But my marker recommendations may surprise you.
Are alcohol markers best for coloring?
Alcohol markers are preferred by professionals because they blend smoothly and come in a versatile range of mature colors. But alcohol markers are more expensive and require specialized techniques and paper. They may be overkill for card making and do not work well in journals or coloring books.
Let’s look closer at markers and how to find the best marker for your art.
Note: this article contains affiliate links to products mentioned. We only link to products we endorse and we source them to retailers we use and trust.
Alcohol Markers vs. Water-based Markers
What is the difference between alcohol and water-based markers?
It’s all about the solvent. Solvent is the fluid component of marker ink; it’s the stuff that makes a marker wet.
All marker inks are a combination of dye and solvent:
Alcohol inks are a proprietary mixture of alcohols (usually ethyl, methyl, and propanol) plus dye
Water based inks are water plus dye
CORRECTING BAD INFO: Markers do not contain pigment. You may read “this marker is highly pigmented” but in art supplies, pigmentation often refers to strength of color, not actual pigment particles. Markers use dye, not pigment.*
*Winsor Newton Pigment Markers may be an exception
Dyes love to blend but they can only blend well when the dye particles are swimming in a generous ocean of lubricating solvent.
Alcohol makes an ideal solvent for dyes. There’s a slickness to alcohol and its molecular structure distributes dye particles evenly throughout the solution. The best blending marker on the market, Copic uses Ethyl Alcohol (see the MSDS sheet here, ingredients on page 2-3) to keep the dye particles loose and ready to blend.
Water is simply not as ideal. First off, there aren’t as many water soluble dyes available. “Soluble” is actually a misnomer; water-soluble dye do not actually dissolve into the solution. The undissolved dye particles have a tendency to settle over time which is why you have to shake some water-based markers or store them horizontally. There’s also a magnetism to water which draws the undissolved particles to the outside edges of the wet zones on paper, leaving noticeable drying lines.
Unfortunately, water-based markers do not blend as well as alcohol markers. Because it takes several minutes for water to evaporate, marker companies are forced to make water-based markers less juicy to prevent smudges and smears as you color. The dryer application is a problem for smooth-blending because there’s not enough moisture for the dye to smooth itself on the paper. This forces you to use manual friction (scrubbing) to make the colors blend. Low moisture is also why water-based markers are notoriously streaky.
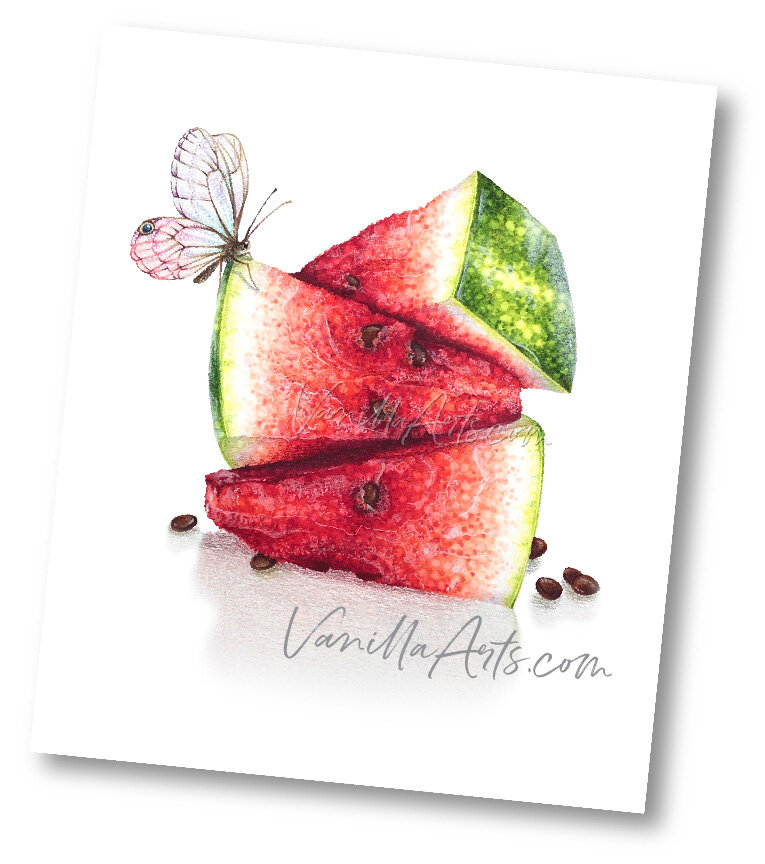
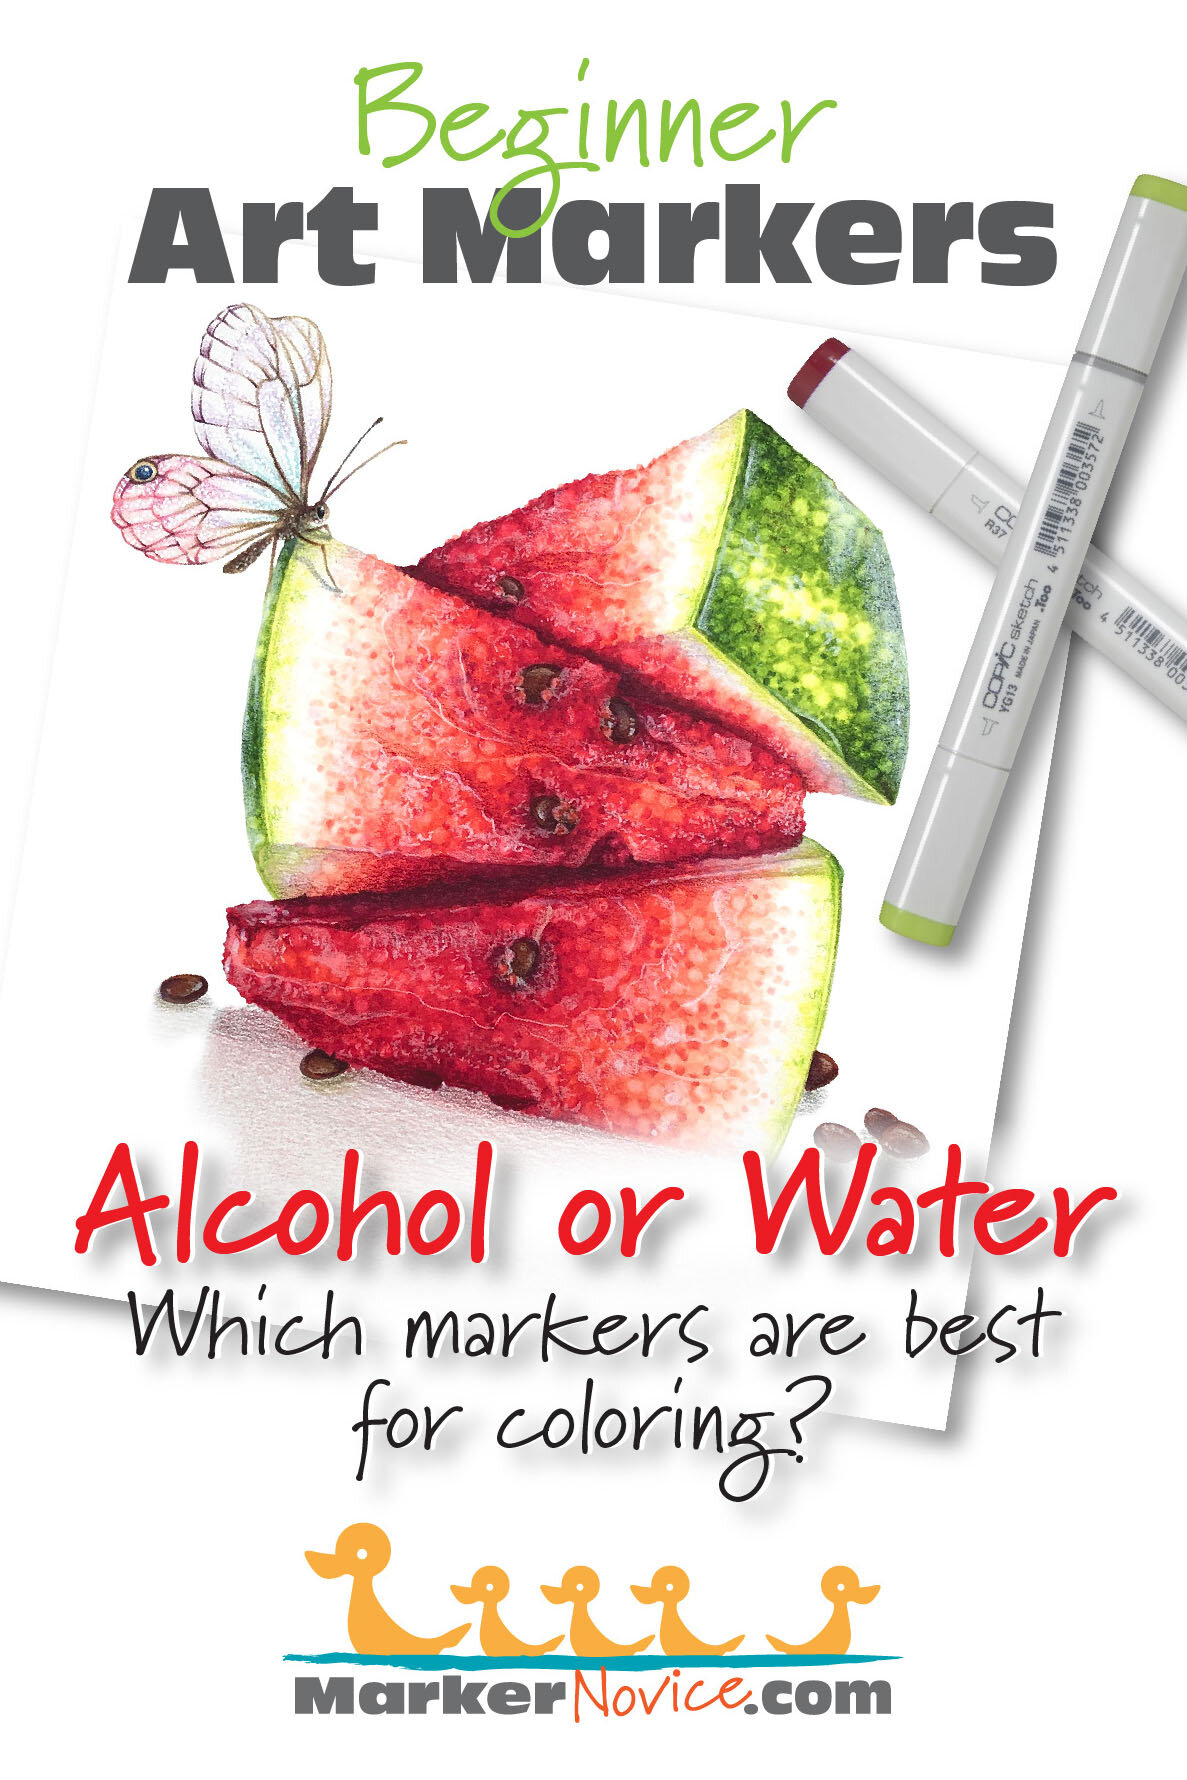
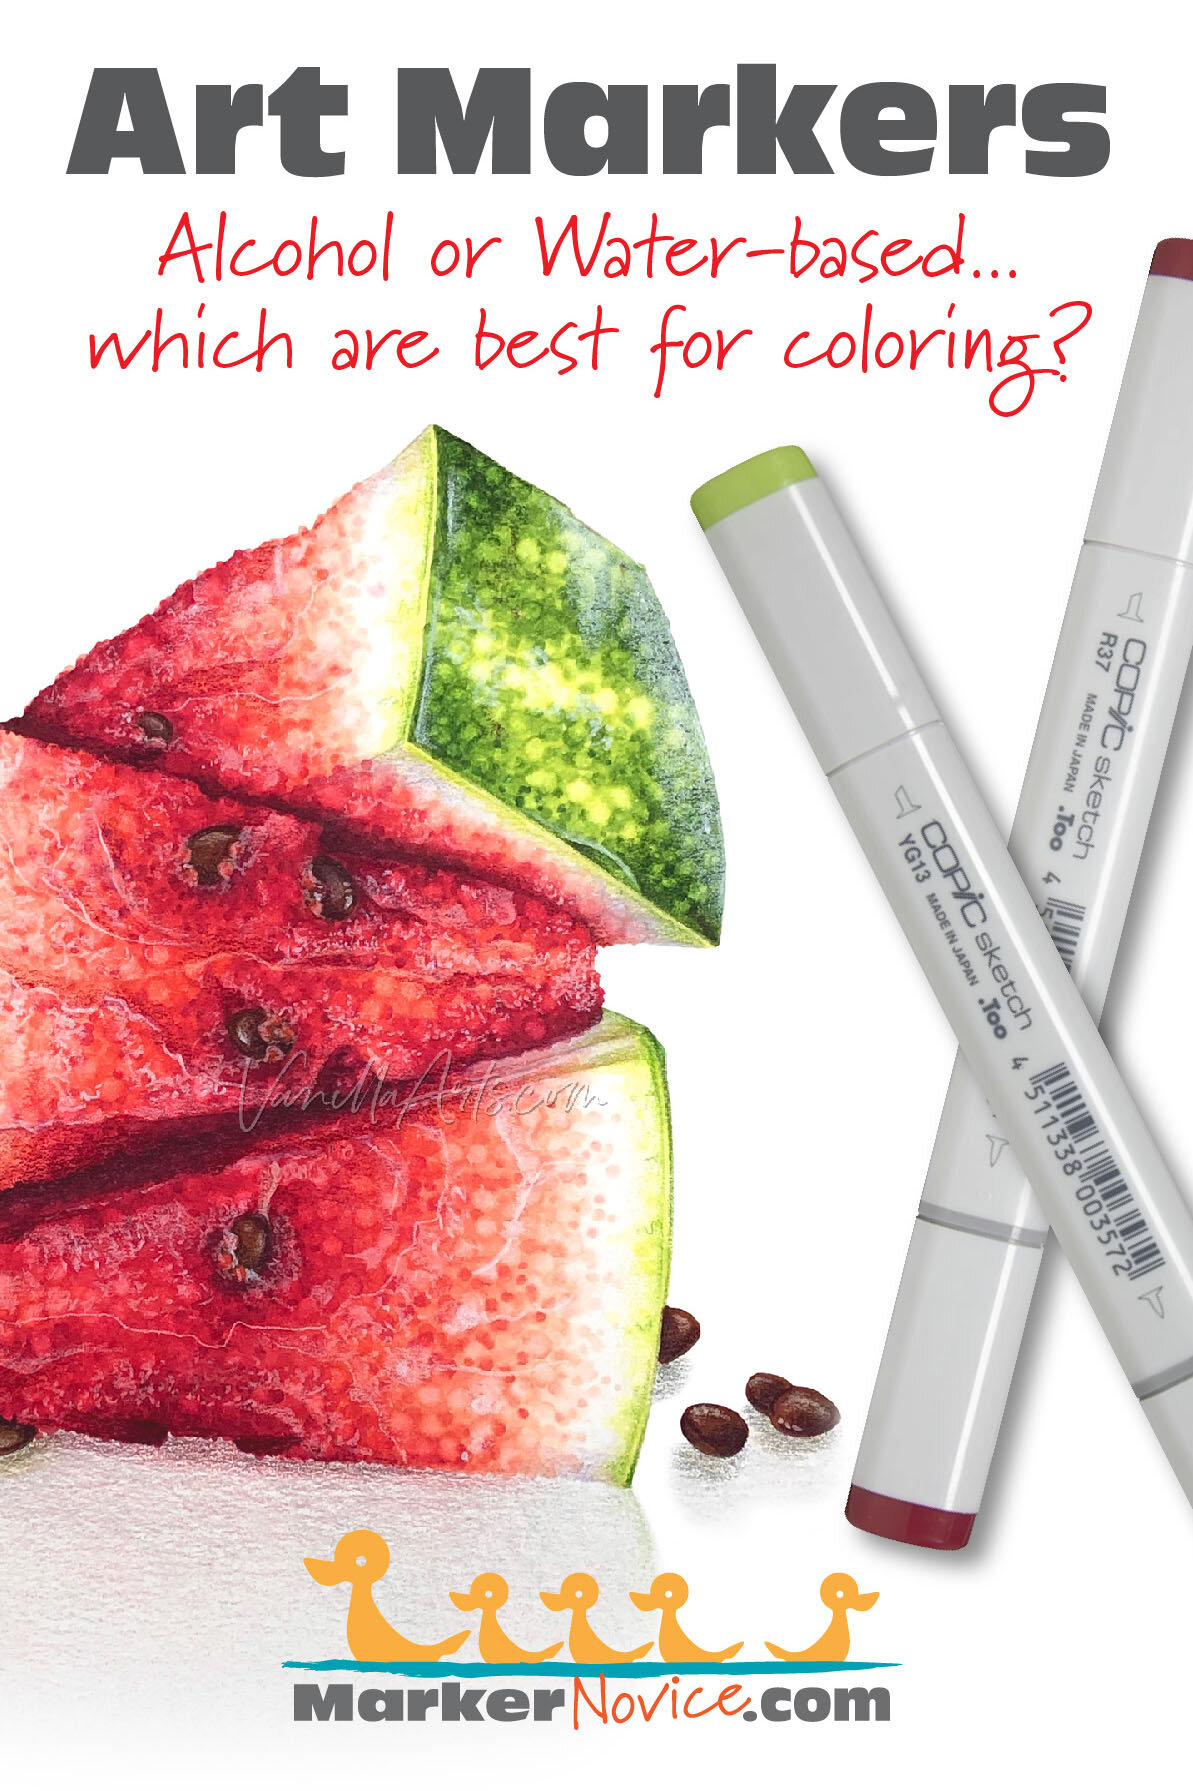
“Watermelon Stack” uses a combination of markers. The watermelon slices were colored with Copic Markers (alcohol based). The butterfly was colored with Staedtler Triplus Pens (water based). Artist: Amy Shulke of Marker-Novice.com and VanillaArts.com.
Additionally, water is not paper friendly, even watercolor paper uses a starch barrier called sizing to limit the paper’s exposure to water. Water causes paper fibers to swell which leaves the paper in a fragile state. This is why you’ll see pilling as you apply friction during the blending process. With a heavy all-over application of water-based marker ink, you’ll also see paper warpage.
Last, water-soluble dyes tend to be unstable and not very durable, they fade fast and unevenly. Artist grade alcohol inks still fade but they do so more slowly. Read more about lightfastness in my article here but for now, understand that there is currently a gigantic difference in the quality, durability, and blendability of water-based inks.
But aside from these issues, water-based markers have several great qualities:
water-based inks are child friendly and often non-toxic
they’re inexpensive to produce making for a more affordable marker
water-based inks work with a variety of creative nib styles, everything from tiny bullet nibs for details up to large bristled paintbrush styled nibs
because the markers are less juicy, they offer more control and less bleed-through
This isn’t a case where one kind of solvent is best. Alcohol markers are good. Water-based markers are good too. They each serve a purpose.
The question really is, what is YOUR purpose?
Alcohol Based Markers
Pros
smoother blends, less streaking
juicy nibs make blending easier
fast evaporation for less smearing & smudging
inks can be reactivated (and you can fix mistakes) by applying more alcohol ink
inks are less likely to be accidentally reactivated by drips, sneezes, or hand moisture
nibs tend to be higher quality, more responsive to pressure
marker bodies tend to be ergonomically designed
better quality caps with more reliable seals
some brands are refillable and offer replacement nibs
wider range of colors
more natural colors, designed for mixing
alcohol inks tend to scan/photograph more accurately
can be used on surfaces other than paper
many brands sell both sets and open-stock colors
easy to find used assortments online at a significant discount (buyer beware!)
Cons
initial investment is more expensive but refillable brands are far more economical long term
fewer stores carry alcohol markers and if they do, many only offer a limited range
buyer beware when purchasing from a local retail chain with uneducated staff— I’ve heard about and also personally witnessed damaged/returned markers going directly back into the sales display!
sets are often “sampler packs” rather than the necessary colors to complete a project
a few brands (especially Copic) have been counterfeited, look for authorized retailers for guaranteed authenticity
not lightfast (but the fade is slower)
slight odor to some brands
require specialized paper
requires some instruction and there’s a definite learning curve
Water Based Markers
Pros
inexpensive
easy to find in craft stores and office supply chains
easy to buy online
because they’re usually sold in sets, there’s less chance of damaged markers being resold as new by disreputable retailers
colors are fun and vibrant
disposable (if you tend to lose markers)
low/no odor
child friendly
sets usually offer a full range of useful colors
easy to master without instruction
on small stamps or images, it’s often hard to tell if the image was colored with alcohol or water based markers
low moisture nibs make them better suited to coloring books and bullet journals (less moisture means less bleed-through)
can be rewetted with a wet paintbrush for interesting watercolor-like effects
Cons
very few brands offer open stock colors (when a marker runs out, you must purchase a whole new set rather than a single replacement)
notoriously streaky
can be difficult to blend— this is often why they’re often used as “watercolors” because to fully blend, you’ll need extra moisture
trying to fix a mistake often makes it worse
even the slightest bit of accidental moisture can ruin a project
colors are often artificially bright or florescent
colors are often inappropriate for blending, mixes frequently look muddy or ugly
low quality nibs fray easily or lose their points long before you run out of ink
nibs tend to be hard and unresponsive— frustrating for professional artists
water is not compatible with most papers— causes paper fibers to swell, leads to warped paper and pilling with friction
low quality dyes fade extremely fast, discoloration can look very odd and ugly
water-based marker lines tend to spring up and disappear suddenly without warning. Most are trendy and unserious products rather than supplies you can buy for decades
Now that we’ve compared the two marker types, it’s time to think about how you intend to use them.
What kind of coloring do you do?
This is the million dollar question…
Expensive markers can’t make bad coloring look instantly better.
Markers are just a tool. Your markers don’t provide the skill, technique, talent, or creativity. That part is up to you.
Expensive markers are also a complete waste of money if you’re not using them on the correct paper or on the right sized projects.
Coloring is always easier when you match the right tool to the task.
So let’s look at the different kinds of coloring and which markers tend to work best in each circumstance.
Coloring Books: Coloring books are usually printed on manila style paper which frankly doesn’t work well for alcohol OR water-based markers. Because manila is a low quality, wood pulp paper which degrades easily when wetted with alcohol or water. Quality varies from book to book which leaves coloring book fans constantly disappointed when the images they love are printed on terrible paper.
Marker fans often trace coloring book outlines onto appropriate paper. I’ve even heard of Copic users taking pages to print shops to have them professionally reprinted onto their favorite marker cardstock.
Join a coloring book discussion group or search online for specific books printed onto better quality papers but at this time, I’m unaware of any coloring book printed on the ideal paper for Copic Markers. You’ll find books that aren’t too bad but nothing that’s perfect for markers.
BUST THE MYTH: I’ve heard coloring book people talk about “thick paper” as being the primary requirement for using alcohol markers in a coloring book. They also talk about “artist grade paper”. Yes, the best paper for alcohol markers tends to be thick but thickness isn’t what’s most important. It’s the type of paper fiber and the paper finish which makes a good marker paper, NOT THICKNESS. And “artist grade paper” tells you nothing. There are thousands artist grade papers and I’ll bet only 1% of them are suitable for alcohol markers.
For my favorite papers, see the recommend supply list here.
I recommend using water-based markers for coloring books. My reasoning is that they’re a dryer marker so you’ll see less bleed-through and less feathering (where the ink travels out farther than you intended). Plus, the coloring spaces tend to be small. Small spaces are easier to keep wet so you can usually get a nice look from water-based markers.
If you want to use alcohol markers in coloring books, I’d stick with a cheaper brand of marker. This is definitely a situation where the premium features of a Copic Marker provide no benefit if you’re coloring on manila.
Geometric Doodling and Mandalas: I’ve noticed that most “zen” or geometric doodling tutorials use Micron Pens first, the color is added later.
MICRONS ARE NOT SAFE FOR USE WITH ALCOHOL MARKERS. Read my article here about the danger of using Microns with Copic Markers. Stick with water-based markers if using a Micron pen.
BUST THE MYTH: Micron Pens are NEVER safe for use with alcohol markers. There is no amount of cure time, no amount of heat setting, no prohibitive paper, and no magic pixie dust which can prevent smearing. Microns use alcohol soluble ink, they will smear and drag color when they come in contact with alcohol ink. They also ruin alcohol marker nibs.
If you switch to a pen that’s safe for alcohol markers, then feel free to use any brand of alcohol marker including Copic. See my article here for a list of recommended Copic safe pens.
Note: unless you’re doodling/drawing on marker friendly cardstock, there is no benefit to using Copic Markers for these projects. See my article here for a list of recommended papers for use with Copic or other alcohol markers.
Card Making, Stamped Images, and Scrapbook Elements: Use whatever kind of marker you prefer. As long as you match your marker to the correct kind of paper, you’ll get great results from both water and alcohol markers, even inexpensive brands of alcohol marker work great.
That’s the beauty of coloring small images- it’s easy to get great results.
I get a lot of card makers in my Copic Marker classes and while I teach with Copic exclusively, I don’t think Copics are necessary to make beautiful cards. If you enjoy using Copics, go ahead; but don’t assume you need all 358 Copic Markers to make attractive cards.
Read my article here about the limitations caused by owning too many coloring supplies.
For stamped images, make sure to match your stamp ink to the type of marker you intend to use.
Do not use water-based stamp inks with water-based markers unless you want the stamp ink to bleed or melt away.
It is essential to use a stamp ink which is safe for alcohol markers. Unsafe inks will ruin the nib of alcohol markers.
Digital Stamps (small or full page size): If you’re printing small images to color, you can use any kind of marker you enjoy, including inexpensive alcohol markers. Just like with card making, when the image is small, it’s very easy to get great results with any product.
For larger digital stamps, especially full page images, you’ll need to step-up the quality of products you use. The larger the image, the more you’ll appreciate quality markers designed for large scale blending and coloring.
If you’re using water-based markers, you’ll likely want to add a paintbrush and clear water to get smoother blends or create watercolor like effects. Water-based markers are at a clear disadvantage when coloring large. You’ll also need to switch to water friendly paper which can resist buckling, warping, and pilling.
For alcohol markers, be sure to print on a quality marker friendly cardstock. This is where I’d definitely recommend Copic Markers.
And for both kinds of markers, make sure to use a printer with marker compatible ink!
Ink Jet printer lines melt on contact with water
some Ink Jet printers are safe for use with alcohol markers but test first to be sure!
toner printers are safe for both water-based and alcohol markers
Bullet Journals and Art Calendars: Like coloring books, you’ll have paper issues no matter which kind of marker you choose.
You’ll also encounter bleed-through issues with both kinds of markers, so thicker paper or one-side-only usage is definitely advised.
For journals, I’d recommend sticking to thin barreled water-based markers because thinner markers tend to be less juicy. I like these water-based brush nib markers or for a thin alcohol version, I really like these.
But I have to admit, I’ve seen amazing work with full sized alcohol markers. If the paper is right, you can get away with a juicy alcohol marker.
Art Journals, Sketchbooks, Urban Sketching, and Illustrative Journals: This is a hard one. Here, you’re drawing and coloring to your best ability so you’ll want the best blending markers you can find BUT you’re limited by the paper quality. Like coloring books, you’ll find a wide range of journals printed on tons of different papers.
It’s really up to the paper and your skills as an artist.
You can get great results from water-based markers, from cheap alcohol markers, or from Copic Markers IF you can match the paper to your markers.
What I can tell you is that most art journalers buy and try every journal they see or read about. They’re always searching for the best paper for their favorite marker. Once they find it, they buy a bunch and then pray that the brand doesn’t get discontinued.
I make my own marker journals using my favorite Copic friendly cardstock, binding it between these cover-boards using this binding machine. I’ve used the same binding supplies with watercolor paper to make lovely watercolor journals as well.
Comic/Manga Fan Art: Okay, I’m dividing this category. Here we’re talking about amateurs and hobby level fan art. If you’re a professional comic illustrator, you’re likely not even reading this article in the first place but the pros should skip ahead to the last “illustrator” category if you’ve lasted this far.
For the amateurs and beginners— this is a category of aspiring artists who are often held back by their supplies.
For professional looking work, you need 3 things: great paper, great markers, and great technique.
I highly recommend Copic Markers. If you’re trying to duplicate the style or look of your favorite artist, your best chance is to use the same supplies. Most professionals use Copics but if your hero is using fruit scented dollar store markers, you should be using fruit scented dollar store markers too.
Match your paper to the markers. I see a ton of fan-artists using expensive Copics on cheap copy paper. It’s a waste time and ink.
I’ve seen a lot of talented people stuck in this category. Stuck because they keep searching for the cheapest answer to everything. Water-based markers and Copic knock-offs won’t cut it at the level you aspire to.
For a budget friendly starter list, here’s my versatile starter marker shopping list. I teach beginner classes with this set and we ran classes for over a year without adding any new colors..
Line & Wash Sketching: I do a lot of this myself and I know the “wash” typically refers to watercolor.
But a lot of artists are doing this on the road or en plein air with water-based markers. I have Winsor Newton Watercolor Markers (which are actual watercolor rather than dye) and I’ve also enjoyed playing with Zig Clean Color brush pens (water-based dye).
There are many water-based markers which will work here.
And don’t forget, alcohol markers can work well too. You won’t get the same watercolory effects, it’s more of a Line & Swash look but it’s a lot of fun and actually harkens back to old school marker indication projects.
Designers— Storyboard, Fashion, Graphic Design & Logos, Product Illustration, Interior Decorating, Landscape and Architecture: Copic Markers, Copic Markers, Copic Markers. But you already knew that, right?
Production art requires professional grade materials. Copics are refillable and have replacement nibs. Every other marker will cost more in the long run. I’m preachin’ to the choir, right?
Illustration, Marker Painting, and Fine Art: We’re not even going to mess around with water-based markers now.
Once we’ve narrowed ourselves to alcohol markers, it’s all about the nibs. We need high quality, juicy, and expressive nibs for marker painting.
I’ve tried a lot of alcohol markers at this point and nothing compares to the Copic Super Brush Nib. It’s longer, springier, and more durable than anything else on the market. To be frank, the Super Brush Nib is why I don’t teach with anything else.
Can you get good results from inexpensive markers?
I know this will surprise some of my long time readers— after all, I teach Copic Marker classes, I’m a big cheerleader for the most expensive brand of alcohol markers…
But I don’t think everyone needs expensive markers. Cheaper markers can make very beautiful coloring.
Now I need to qualify that statement, there’s a great big IF coming.
You can get great results from student-grade markers IF you have the knowledge and skill to overcome the hurdles you’ll face with these inexpensive markers.
And that’s the problem…
Do YOU have the skills to make bad markers look good?
Artistic skill, training, experience, and natural born talent makes any product easier to use with success. A pro can get away with using lesser markers, but honestly, when time is money, professionals know quality tools make art more efficient.
Professional tools make art easier.
Professional tools also make learning easier.
I know this sounds counterintuitive to a beginner.
A lot of people figure they’ll start with cheaper markers and upgrade later when they have enough skills to justify expensive markers.
I disagree.
Every hurdle you put in your way makes learning harder:
It’s harder to learn how to blend with ink that doesn’t want to blend
It’s harder to color smoothly with a marker that isn’t naturally juicy
It’s difficult to blend or cover large areas with a tiny nib
It’s difficult to control unresponsive nibs
I teach with Copic Markers because it’s easier to learn good technique with good markers. With quality markers, you focus on learning rather than fighting the marker.
But I know professional markers are not in everyone’s budget.
So if you’re stuck with a lesser marker, let me give you a few tips for using water-based markers or cheaper alcohol markers:
Choose alcohol markers over water-based if you can. You’ll instantly get better blending and have better colors to choose from.
If you insist on sticking with water-based markers, seriously consider using a paintbrush to create watercolor effects. You’ll avoid the streakiness and maybe develop a desire to try real watercolor.
Keep your projects small. The smaller the area, the easier it will be to blend.
Bold stamp lines or sketchy outlines can make bad markers look better. Black outlines attract attention and distract from coloring mistakes.
Consider adding colored pencil over the top of cheap marker— as I said with stamp lines, we’re using pencils to distract the viewer but pencils can also camouflage blending fails and smooth choppy looking areas.
When your markers are cheap, your choice of paper choice is even more critical. Choose quality marker friendly cardstock or hot press Bristol board for alcohol markers. For water-based markers, choose a smooth high quality cardstock which doesn’t pill or warp when exposed to water.
Are alcohol markers best for coloring?
Overall, I think alcohol markers are much better than water-based markers for coloring but there are times when a water-based marker really comes in handy.
Alcohol markers are preferred by professionals because they blend smoothly and come in a versatile range of mature colors. Copic Markers are especially favored by professionals because they’re refillable, offer replacement nibs, and individual markers can be replaced open-stock if necessary.
Water-based markers are a better fit for coloring books and journals because they’re less juicy than alcohol markers and thus less likely to bleed-through or feather. And when the coloring project is small, water-based markers often look just as good as their more expensive alcohol counterparts.
Remember, expensive markers aren’t a guarantee of success.
Quality tools make coloring easier but you can get great results from cheap markers if you have the knowledge and skill to overcome the quirks of inexpensive markers.
And one last bit of advice…
I know if this is the fist time you’ve shopped for markers, this whole question about which kind of marker to try and which brand to buy feels like a monumental decision.
But they’re just markers.
It’s just paper.
You’re just experimenting right now.
Go with the best marker you can afford and if that doesn’t work, you can always try something else. This is what artists do all the time, we play and experiment with a wide range of materials to see what works best and what feels best.
You’re not locked into this purchase forever.
Now go play with some markers!
Amy Shulke is a professional illustrator who has used Copic Markers since 1990. She teaches artistic coloring classes online at VanillaArts.com and locally in south-eastern Michigan.
Marker Novice is Amy’s completely free resource devoted to beginner marker education. For intermediate/advanced artistic coloring articles, see her Studio Journal here.

Further reading on related topics:
Click to read the article here or at our sister site, VanillaArts.com
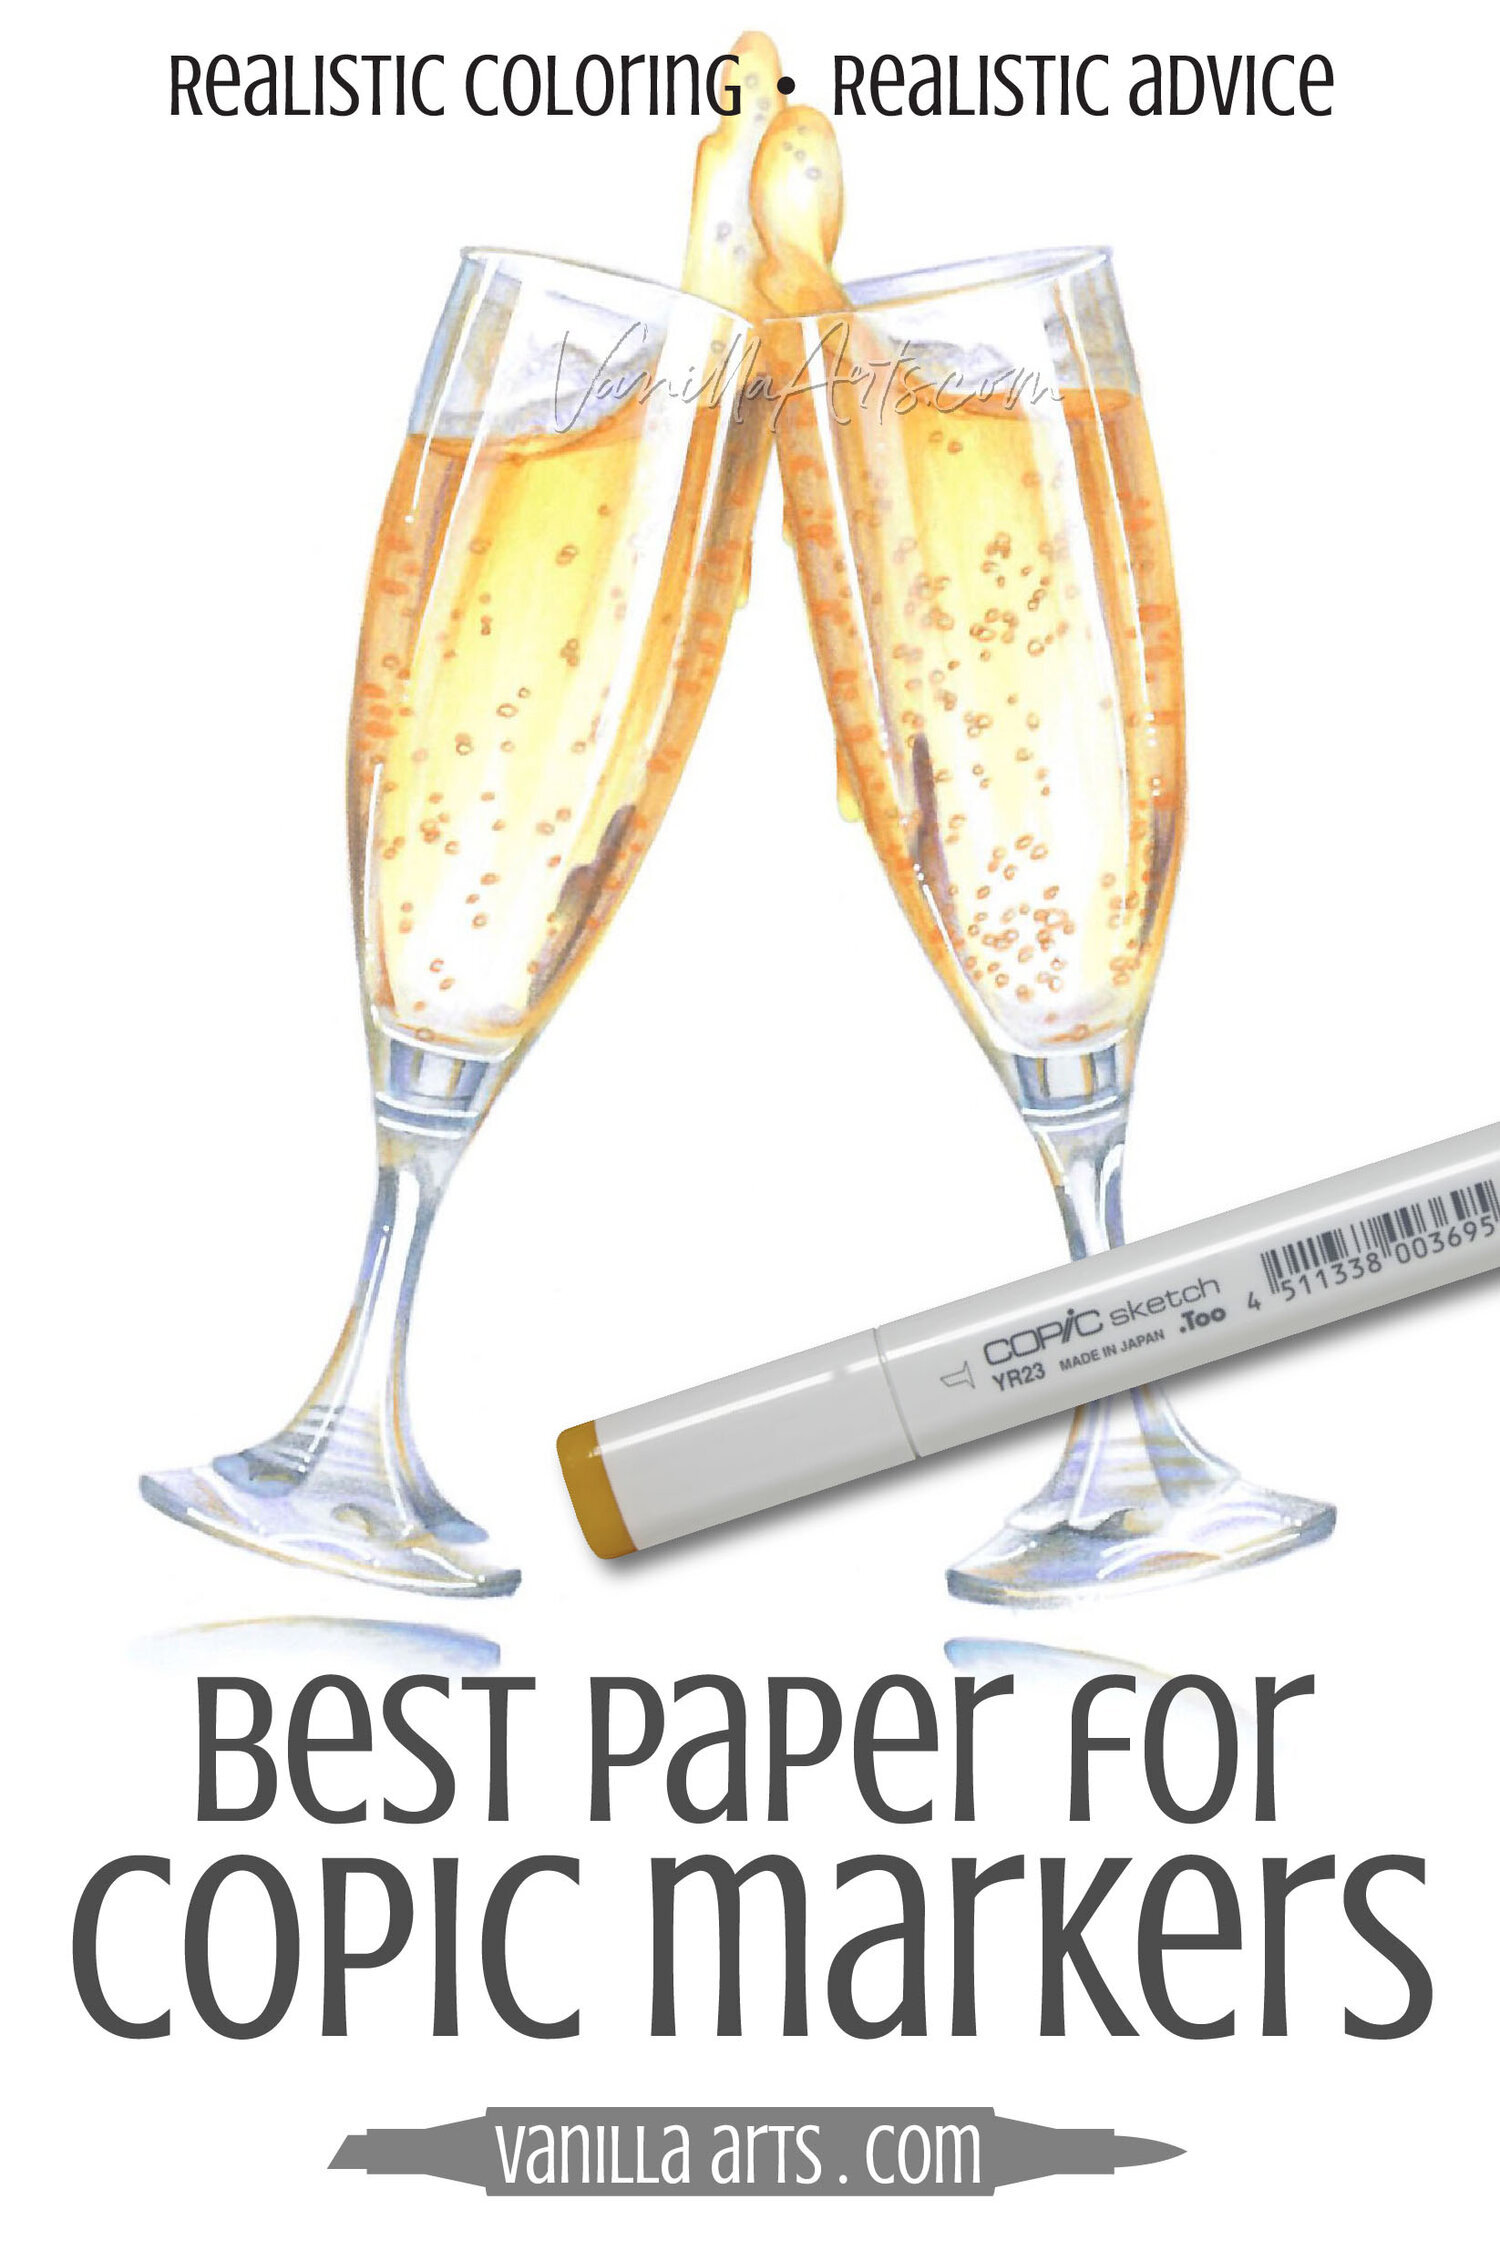

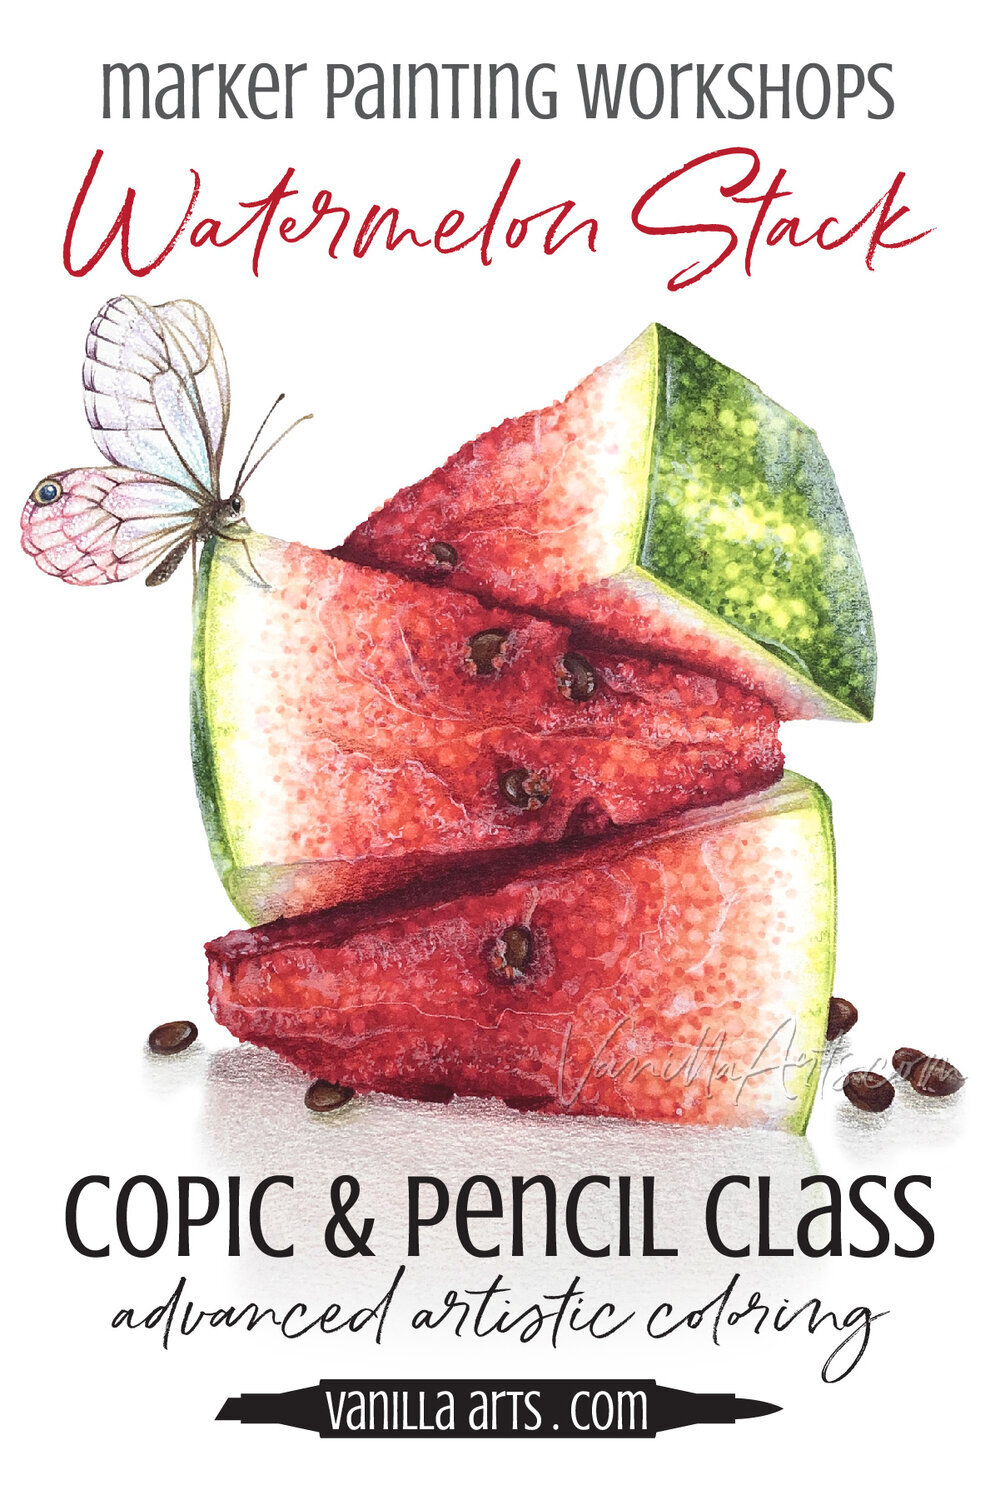
Watermelon Stack
Learn to create touchable food texture
Stop treating pointillism like a novelty technique. We’re exploring the advanced use of this simple dotting technique to create tasty texture for food illustrations.
Realistic Coloring with Copic Markers and Colored Pencils
Real time coloring with real mistakes and real fixes.
This Marker Painting Workshop was recorded live with no speed coloring or edits.
Edited classes with perfect narration tend to make the coloring process look faster, easier, and smoother than it actually is. Stop comparing yourself to the rehearsed, enhanced, supermodel version of an artist!
Class Printable Pack Includes:
Class syllabus with detailed recipe guide
Full color project sample
Guide to Copic base
Detailed color map
Project inspiration references
We recommend these products for use with Copic Markers:


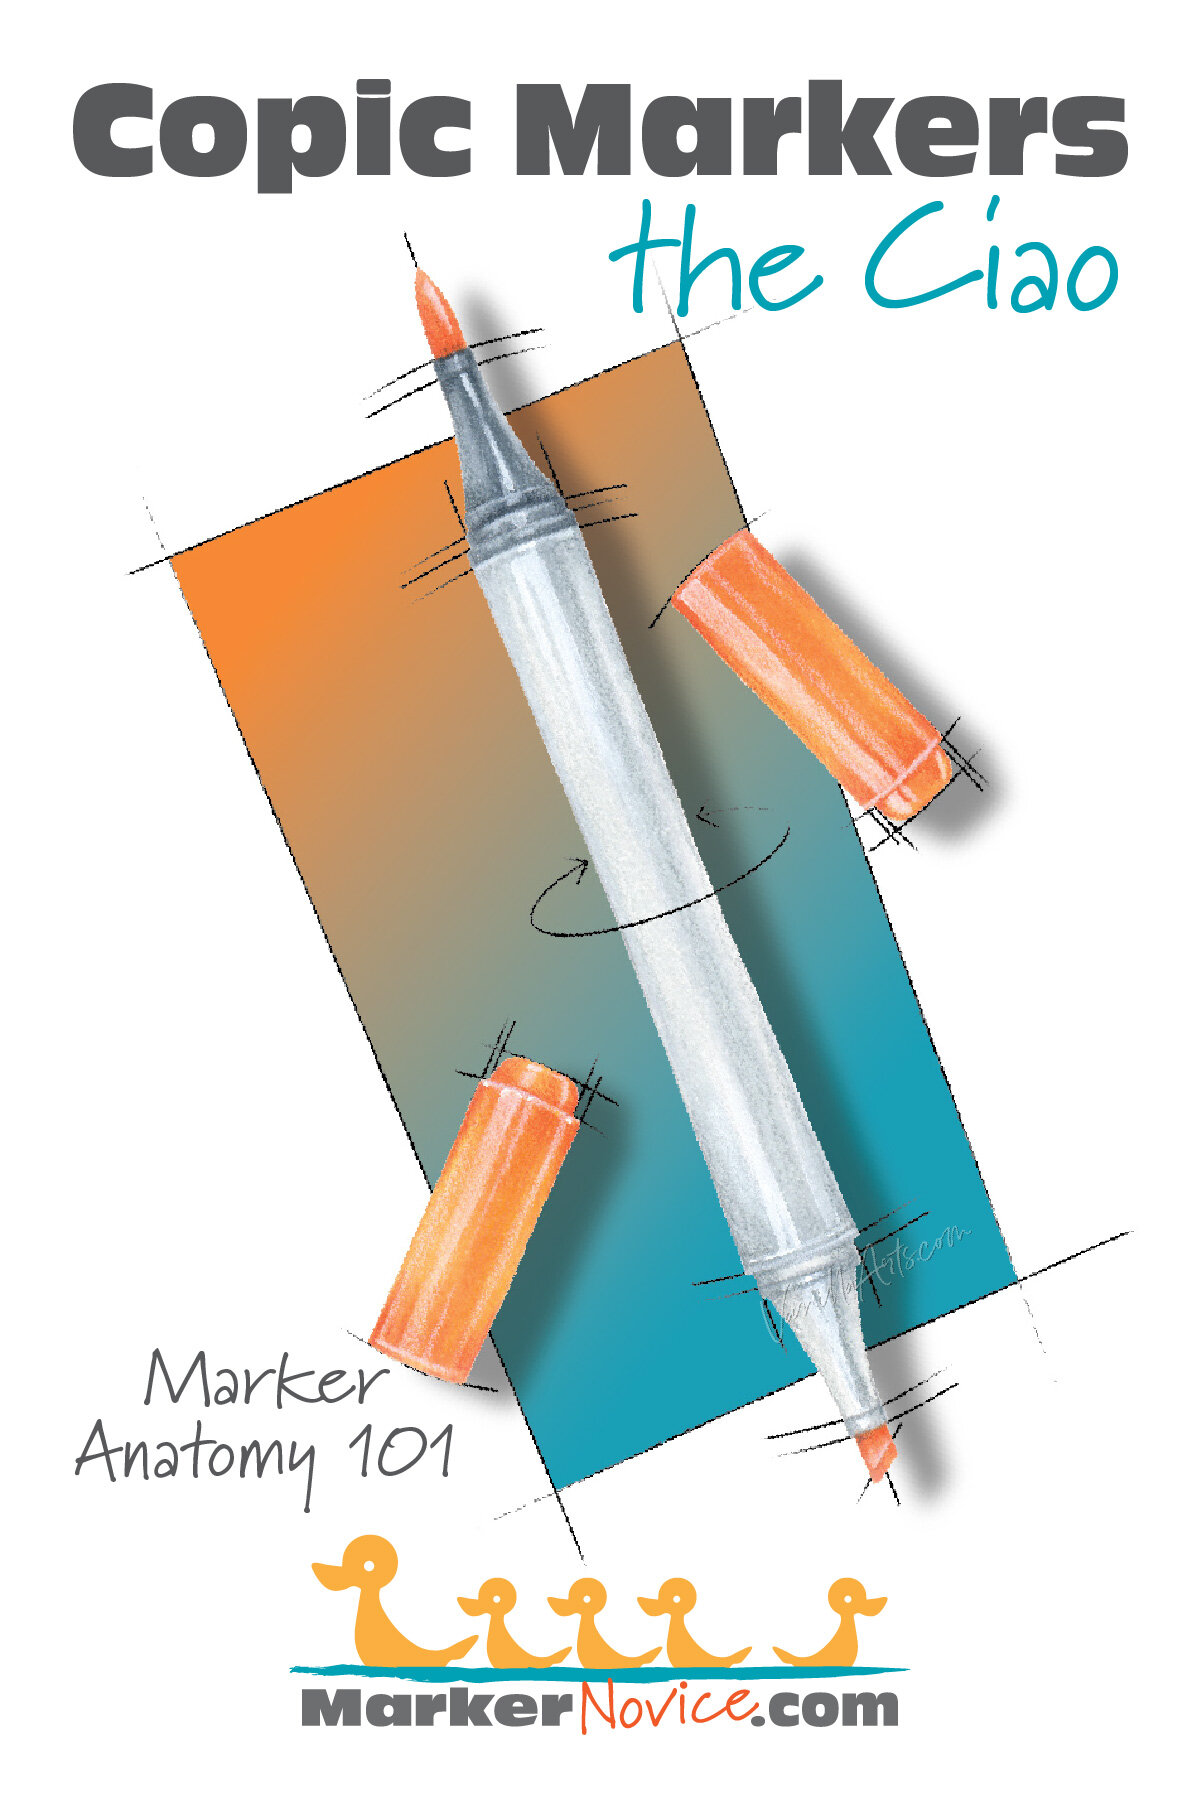
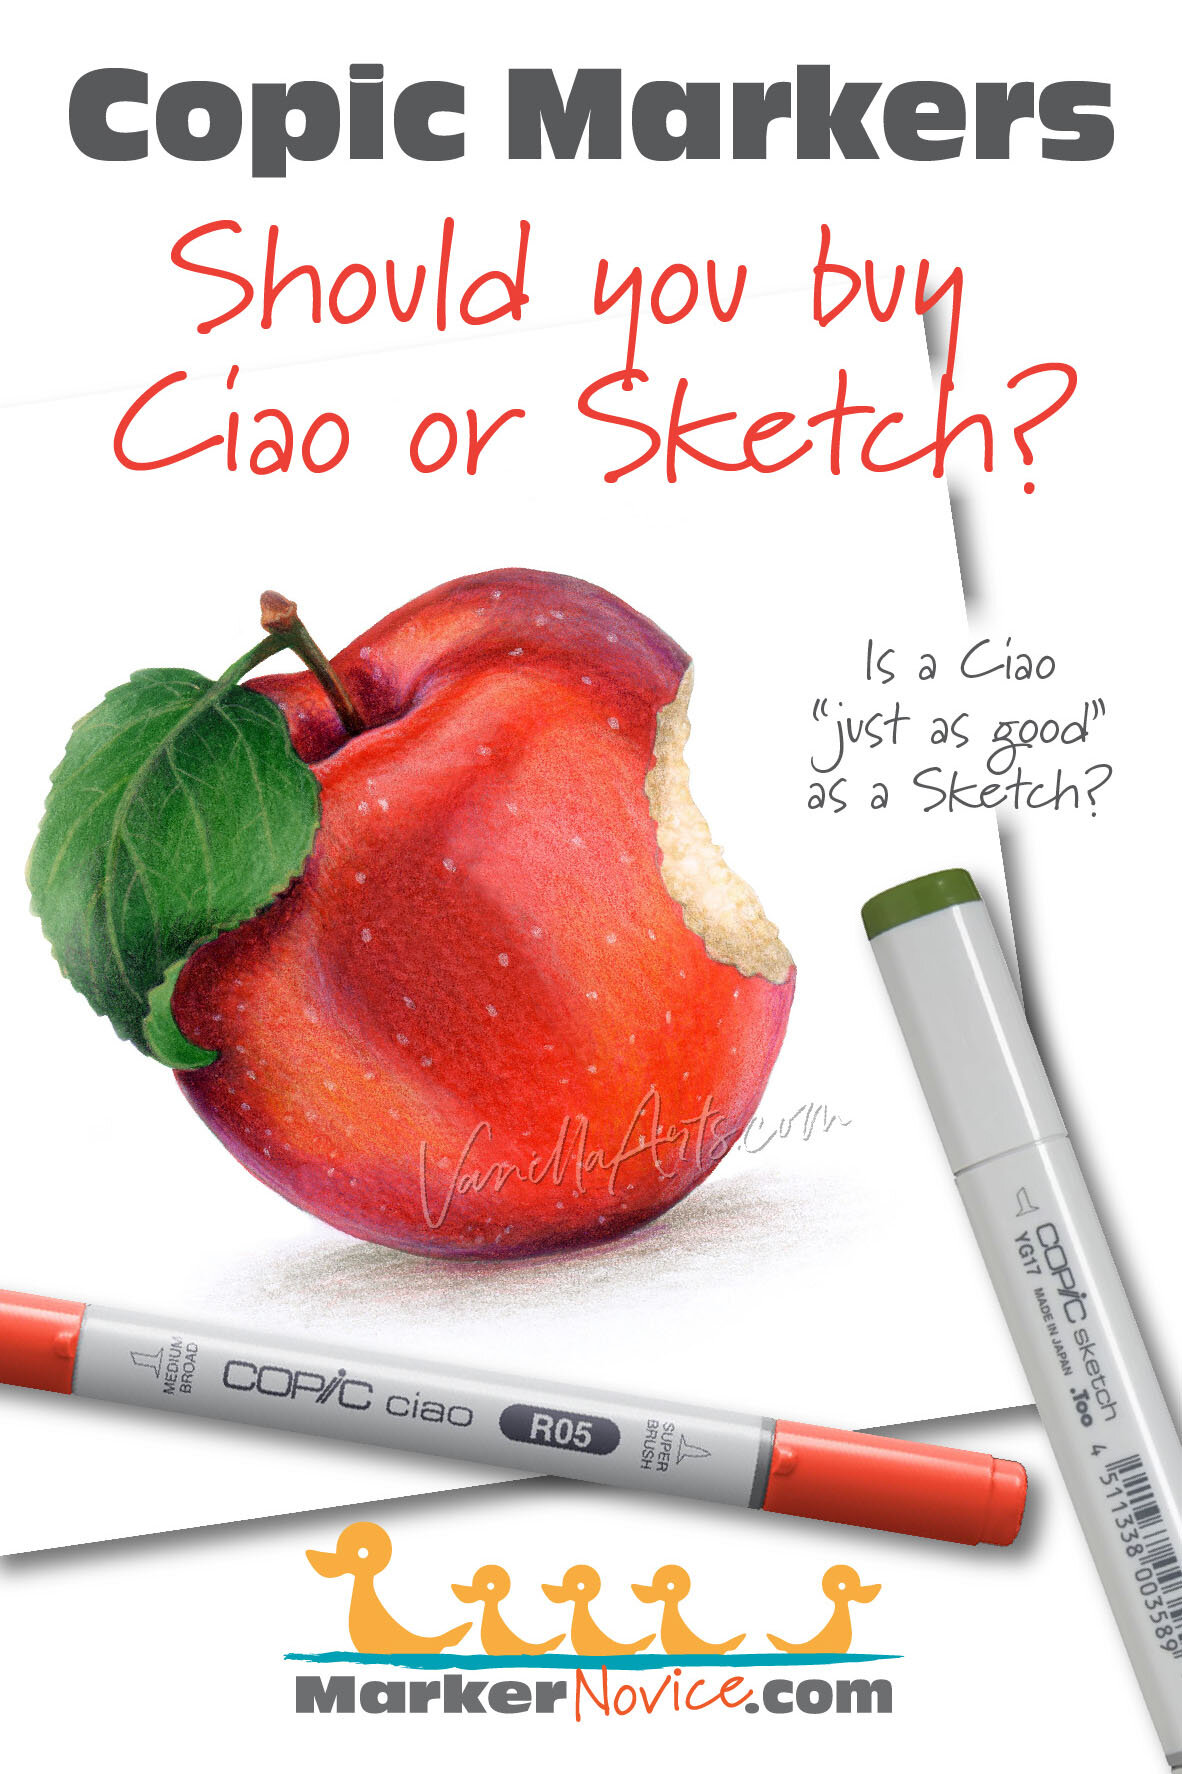
Copic Ciao Marker: All About the Ciao + Is This the Best Marker for You?
What’s a Copic Ciao Marker?
Getting ready to purchase your first Copic Markers?It’s easy to be overwhelmed by all the choices— Sketch, Ciao, Classic, Wide? What’s the difference anyway? Should you go cheap? Which nib is best?
Relax.
We’re here to help you understand which marker is best for you!
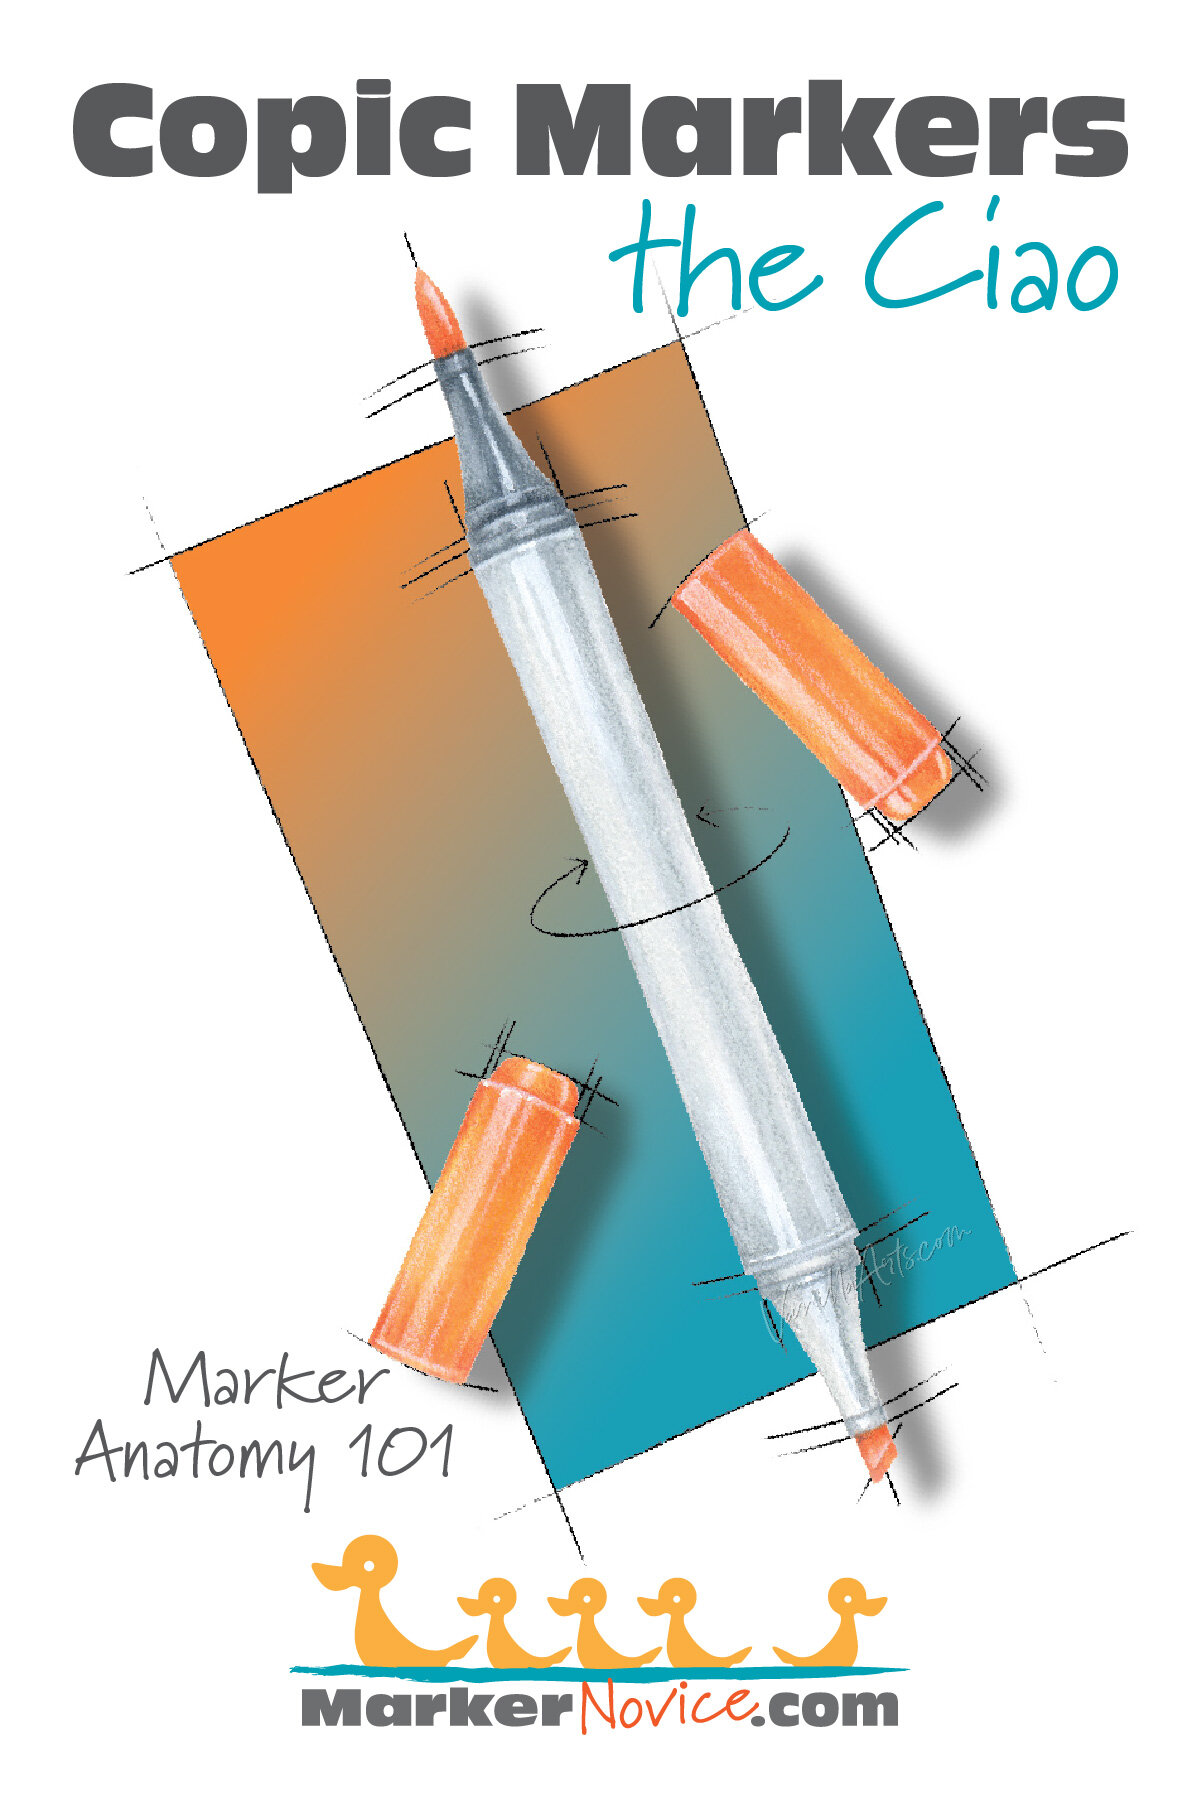

What’s a Copic Ciao Marker?
Getting ready to purchase your first Copic Markers?
It’s easy to be overwhelmed by all the choices— Sketch, Ciao, Classic, Wide? What’s the difference? Should you go cheap? Which nib is best?
Relax.
We’re here to help you understand which marker is best for you!
Copic Ciao Markers
Ciao style Copic Markers are an introductory budget conscious marker aimed at beginners and children. Ciao are designed for coloring and blending, sharing the same chisel and Super Brush nibs as the more expensive Copic Sketch. The Ciao does have drawbacks- a limited color range and a small ink capacity.
Let’s look closer at why the Copic Ciao may or may not suit your coloring goals.
Ciao Marker Overview
The Copic Ciao Marker is a starter level marker developed as an affordable alternative to the Copic professional styles. The target market for these markers is children and beginners which likely explains my serious love/hate relationship with them.
Before you write me off as an expensive marker snob, please read on. I honestly believe that people need to know ALL the pros/cons about the Ciao in order to decide which Copic is best for their own needs.
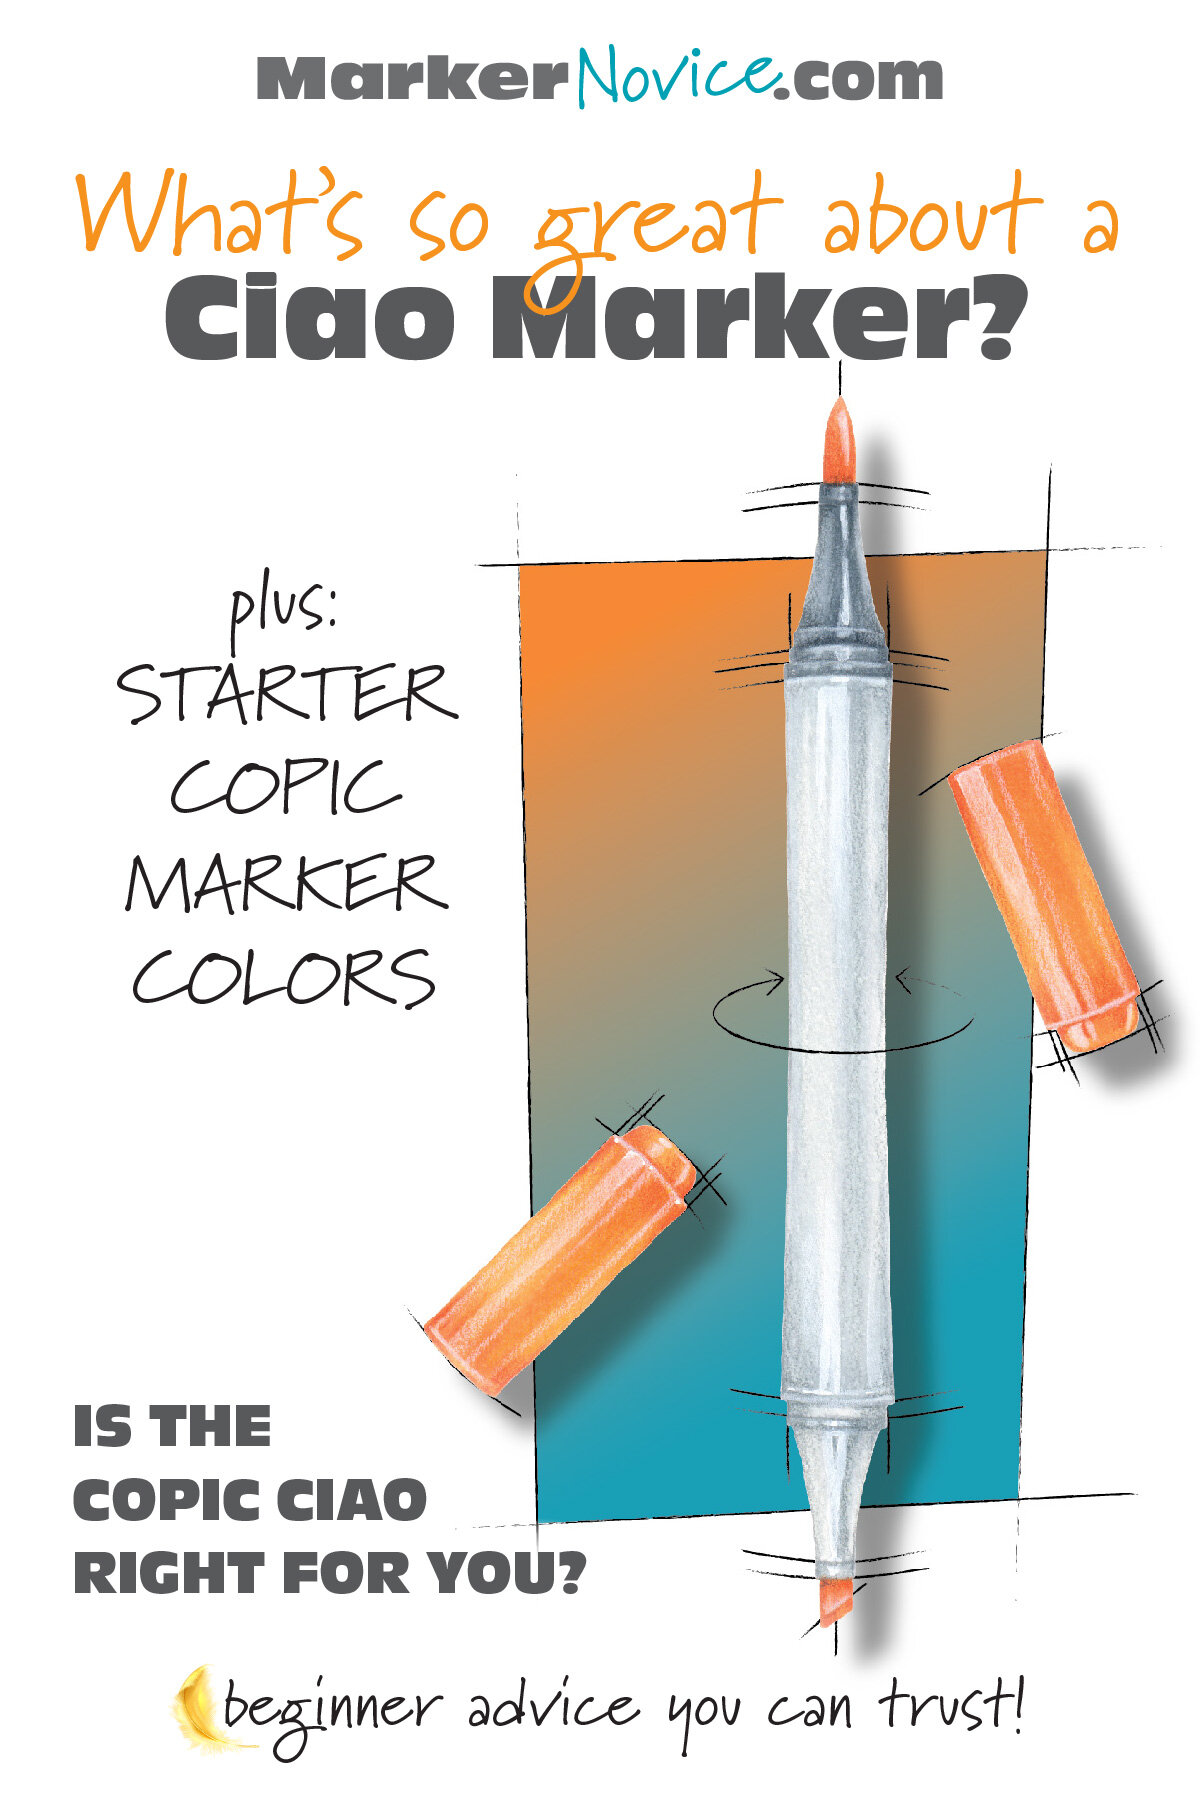
Ciao have a thin round barrel which is extremely lightweight feels more like a pen or pencil than any of the other Copic styles.
Portability is a key feature of the Ciao. They excel as a travel style Copic, perfect for classes, vacation, or even just moving to the bedroom for an evening of coloring. .
Copic Sketches are dual ended and come standard with excellent coloring nibs— the Super Brush Nib (the best blending nib on the market) and a Medium Broad Nib ( great for drawing). A gray band indicates the brush nib end.
Ciao are available in a limited range of 180 colors; many bright & happy hues.
Ciao are easily collectable markers. Too offers many starter sets of two, five, or six Ciao, sometimes in combination with Multiliner pens and Spica Glitter pens.
Ciao are refillable (further details below) which is important because the Ciao has a small ink receptacle that needs frequent refreshes.
FUN FACT: Ciao caps are child-proof; they’re designed to not block the airway if someone swallows one.
Who are Ciao Markers For?
It’s interesting how many people get upset when I refer to Ciao as “kid markers”. But how else would you describe a marker that features no-choke caps, sized for small hands, features Disney characters, and can be purchased in bulk for schools?
So yes, it’s a junior marker…
But folks, it’s a pretty darned good one!
Ciao are an excellent introductory Copic for anyone new to markers. They feature excellent nibs, premium ink, and a budget friendly price.

Can’t get better than that, eh?
Copic Ciaos may be marketed to beginners but the nibs make them awesome.
Super Brush Nibs excel at flooding spaces with generous swaths of color. This is especially important for smooth blending where moisture is the key to best results.
Super Brush Nibs are also good for filling large areas. I frequently color images as large as 18x24” with Copic Sketch Markers.
Lettering artists and modern style calligraphers also tend to favor the Super Brush Nib. It’s a springy, reactive nib which gives an expressive multi-weight line depending upon the amount of pressure used.
Copic Sketch Markers are ill-suited for drawing, detail work, and small coloring projects.
Sketch are often overkill for card-makers using stamp images less than 3” in size.
WE ASKED! All Vanilla Arts students who prefer Ciao markers also own a few Sketch markers. The Ciao isn’t available in many of our frequently used colors!
Copic Ciao Caps
Ciao caps are very colorful and are a large part of the appeal of Ciao markers. They simply look fun to use!
Ciao caps display of the ink color inside the marker. A few cap colors are not an exact color match… but remember, we select markers based on numbers rather than cap colors.
Ciao caps do not indicate the marker name or number (See design flaw 1 below.)

Ciao caps are interchangeable from end to end. Caps have a click lock which serves as a hepatic indication that you’ve closed the marker securely but it should be noted that because the Ciao plastic is softer and more flexible, this cap lock feels less and less secure over time with repeated use.
The caps also feature a bump at the rim which is intended to keep this round marker from rolling off a desk or table. It does not work. These lightweight markers roll and skitter with the slightest touch.
I recommend that you twist the caps to remove rather than pull straight off (which causes splatter).
Now for the sad news:
CIAO CAP DESIGN FLAW 1: The Copic numbers are NOT printed on the caps which means you can not quickly identify Ciao markers if they’re laying in a pile or nicely stored in a beautiful display rack. The only way to correctly identify a Ciao is to read the side of the barrel which wastes time and slows you down. This is a major fault because I can’t count the number of times a Ciao student has mistakenly used the wrong marker in class!
Note: You’ll find many tutorials for labeling Ciao caps but NONE of them are permanent solutions, they all peel off or wear off. I think it’s ridiculous to pay for a Copic and not receive cap numbers!
CIAO CAP DESIGN FLAW 2: The economy design for Ciao caps (which minimizes plastic used) created a design flaw that can damage your markers.
Be very mindful when re-capping a Ciao! There is a sharp ridge inside the cap which will cut into your nib if the cap is not properly centered around the nib. I’ve damaged more than one nib by not paying attention as I capped the marker.
HORIZONTAL OR VERTICAL? What’s the best way to store your Ciao Copics? Honestly? It doesn’t matter.
Copics are not gravity-fed and the ink has no sedimentary particles. This means you can store them however you’d like.

Ciao Numbering + Identification

All Copics use the same numbering system and the same refill inks.
The Copic number and color name is printed (NOT laser etched) in dark gray on the body of a Ciao Marker along with brand details. Symbols indicate the brush and chisel ends.
The printed lettering can eventually wear off. The other Copic styles have laser etched labeling and they are much more durable than the printed Ciao.
CIAO FLAW: There are NO color numbers or name markings on Ciao caps.
See the segment above for my strong feelings about this issue.
A thin, darker gray band indicates the brush nib end. The band is on the marker body, not the cap.
Ciao Nib Options
Copic makes replacement nibs for Ciao and all of their other marker styles. Nibs wear out and can get damaged but they’re easily replaceable.
WARNING: Dried, crusted, or hardened nibs can be replaced BUT the nib is not the only part damaged when a marker runs dry. The core inside the marker is made of a similar material and often hardens along with the nib. A nib can be replaced but you can not replace a core. A damaged core requires full marker replacement.
Copic makes many alternative nib options. UNFORTUNATELY, NONE OF THEM FIT CIAO MARKERS. When you buy a Ciao, you are stuck with the Super Brush and Chisel nibs. You can replace but not upgrade or customize your Ciao nibs.
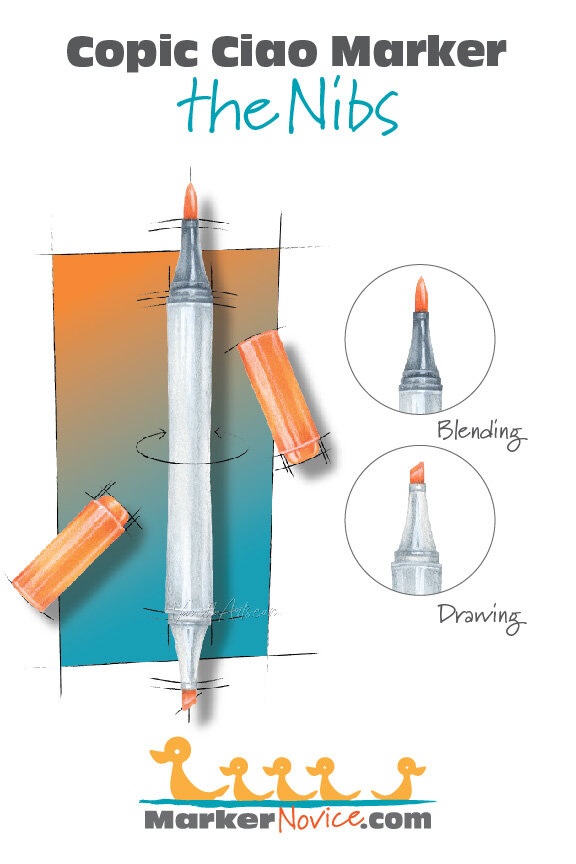
Ciao Standard Nib 1: Super Brush Nib. (Do not confuse the Super Brush with the Copic Round Brush Nib which fits Classic Markers only.)
The Super Brush Nib is an extremely juicy and springy nib which responds to changes in hand pressure. S.B. nibs excel at blending and filling larger areas because they deliver more ink to the paper than any other Copic nib.
The S.B. nib rests in the dark gray end of the marker.
WARNING: When refilling a Copic Sketch, I recommend you do not refill from the brush end (more details in the refill section below).
Ciao Standard Nib 2: Medium Broad Nib (chisel)
Copic users almost always refer to this as the “chisel nib” and many colorers ignore this nib entirely.
Chisel nibs are an old-school drawing nib capable of 3 different line weights. Chisel nibs are not generous with their ink flow and thus are not suitable for blending. Chisels are very firm and need to be broken in (softened a bit) before they give an even line with no skips or flow breaks.
The Chisel nib rests in the pale gray end of the marker.
I recommend refilling from the chisel end for ease and safety (more details in the section below).
WARNING: Copic makes more than a dozen different replacement nibs. The two listed here are the ONLY nibs which fit in Copic Ciao Markers.
BEST BUY? Consider purchasing a used Copic collection. Properly maintained Ciao Copics look and work like new! Many users upgrade from Ciao to Sketch Copics, so it’s easy to find whole Ciao sets for sale in online marker groups.
Refill a Ciao Marker
All styles of Copic use the same numbering system and the same refill inks. See the full Ciao color palette at Copic’s official website here.
A factory-weight Copic Ciao Marker should measure between 10.8 and 11 grams (with both caps on).
I do not recommend filling to factory weight as completely full markers are more prone to Copic Volcanoes (see my article at VanillaArts.com about volcanoes.)
I refill Ciaos to 10.6 grams (with both caps on). This weight is full enough for optimal blending but not so full that the markers leak.
Like all Copic markers, performance decreases and blending becomes more difficult as the marker empties. Noticeable blending changes begin at about 10.1 grams and you will encounter blending impairment at weights lower than 9.8 grams. This can be as few as 2-3 uses for your most-used colors!

It is a myth that Copics can go for years without refilling. The first thing I check when a student can’t blend well is their marker weight. I’ve seen markers as low as 11 grams! Read my article about common Copic Myths here and read details about Blending Issues at our sister site, VanillaArts.com.
Overfilling leads to marker leakage.
For accuracy, I recommend refilling by weight rather than the drip method. I find most drop recommendations to be wildly wrong. “10 to 12 drops” doesn’t tell you the size of the drop or how low the marker was to begin with. In my tests, 10 drops doesn’t come close to restoring an ideal weight.
See my refilling recommendations at VanillaArts.com which includes a link to a great weight refilling tutorial by Michelle Houghton from Copic in the Craft Room.
WARNING: To refill efficiently, you should remove one nib from your Ciao marker. I do not recommend removing the Super Brush Nib as this can easily damage the brush nib. Copic Tweezers are meant to reduce brush nib damage but it’s much safer and far easier to refill from the chisel end.


Is the look of your collection important? Be aware that most Ciao users have a mixed collection of Ciao + Sketch. The limited color range for Ciao makes a total-Ciao collection very hard for artists.
(But it’s not bad for occasional hobbyists!)
Personal Thoughts:
I use Sketch exclusively but I’ve owned a few Ciaos over the years.
I originally owned the square barreled Classic style because that was what existed at the time. I traded those in for Sketch markers later. I had most of my current collection before Ciaos were even invented.

I recommend Sketch rather than Ciao to all my artistic coloring students because I teach with many colors that are unavailable in the Ciao style. But honestly, Ciaos color just as well as Sketches.
If you’re on a budget, Ciao Markers are a very good beginner option.
I simply can’t endorse them fully because of the limited 180 color palette which is missing some of my most frequently used colors. The cap has design flaws which can damage the nibs if you’re not paying attention, will stretch over time, and the lack of cap numbers is very concerning. If you skipped around in this article, please read the cap section for further details on these issues.
Ciao have a couple of other minor drawbacks— Ciao must be refilled frequently, especially in my classes where we color larger image. And while this is anecdotal, they seem to be more prone to leakage and volcanoes.
I recommend Sketch over Ciao because of the larger Sketch color range and I really dislike the Ciao caps.
I recommend Ciao over Classics because of the Super Brush Nib.
I don’t completely dislike Ciaos and if you’re on a budget, I highly encourage you to purchase Ciaos. I simply don’t think Ciao are a lifetime marker and Sketches are a better value over the long run.
Amy Shulke is a professional technical illustrator who has used Copic Markers at school, work, and home since 1990. She teaches artistic coloring classes online at VanillaArts.com and locally in south-eastern Michigan.
Marker Novice is Amy’s completely free resource devoted to beginner marker education. For intermediate/advanced artistic coloring articles, see her Studio Journal here.




Click to receive Marker Novice & Vanilla updates in your Pinterest feed

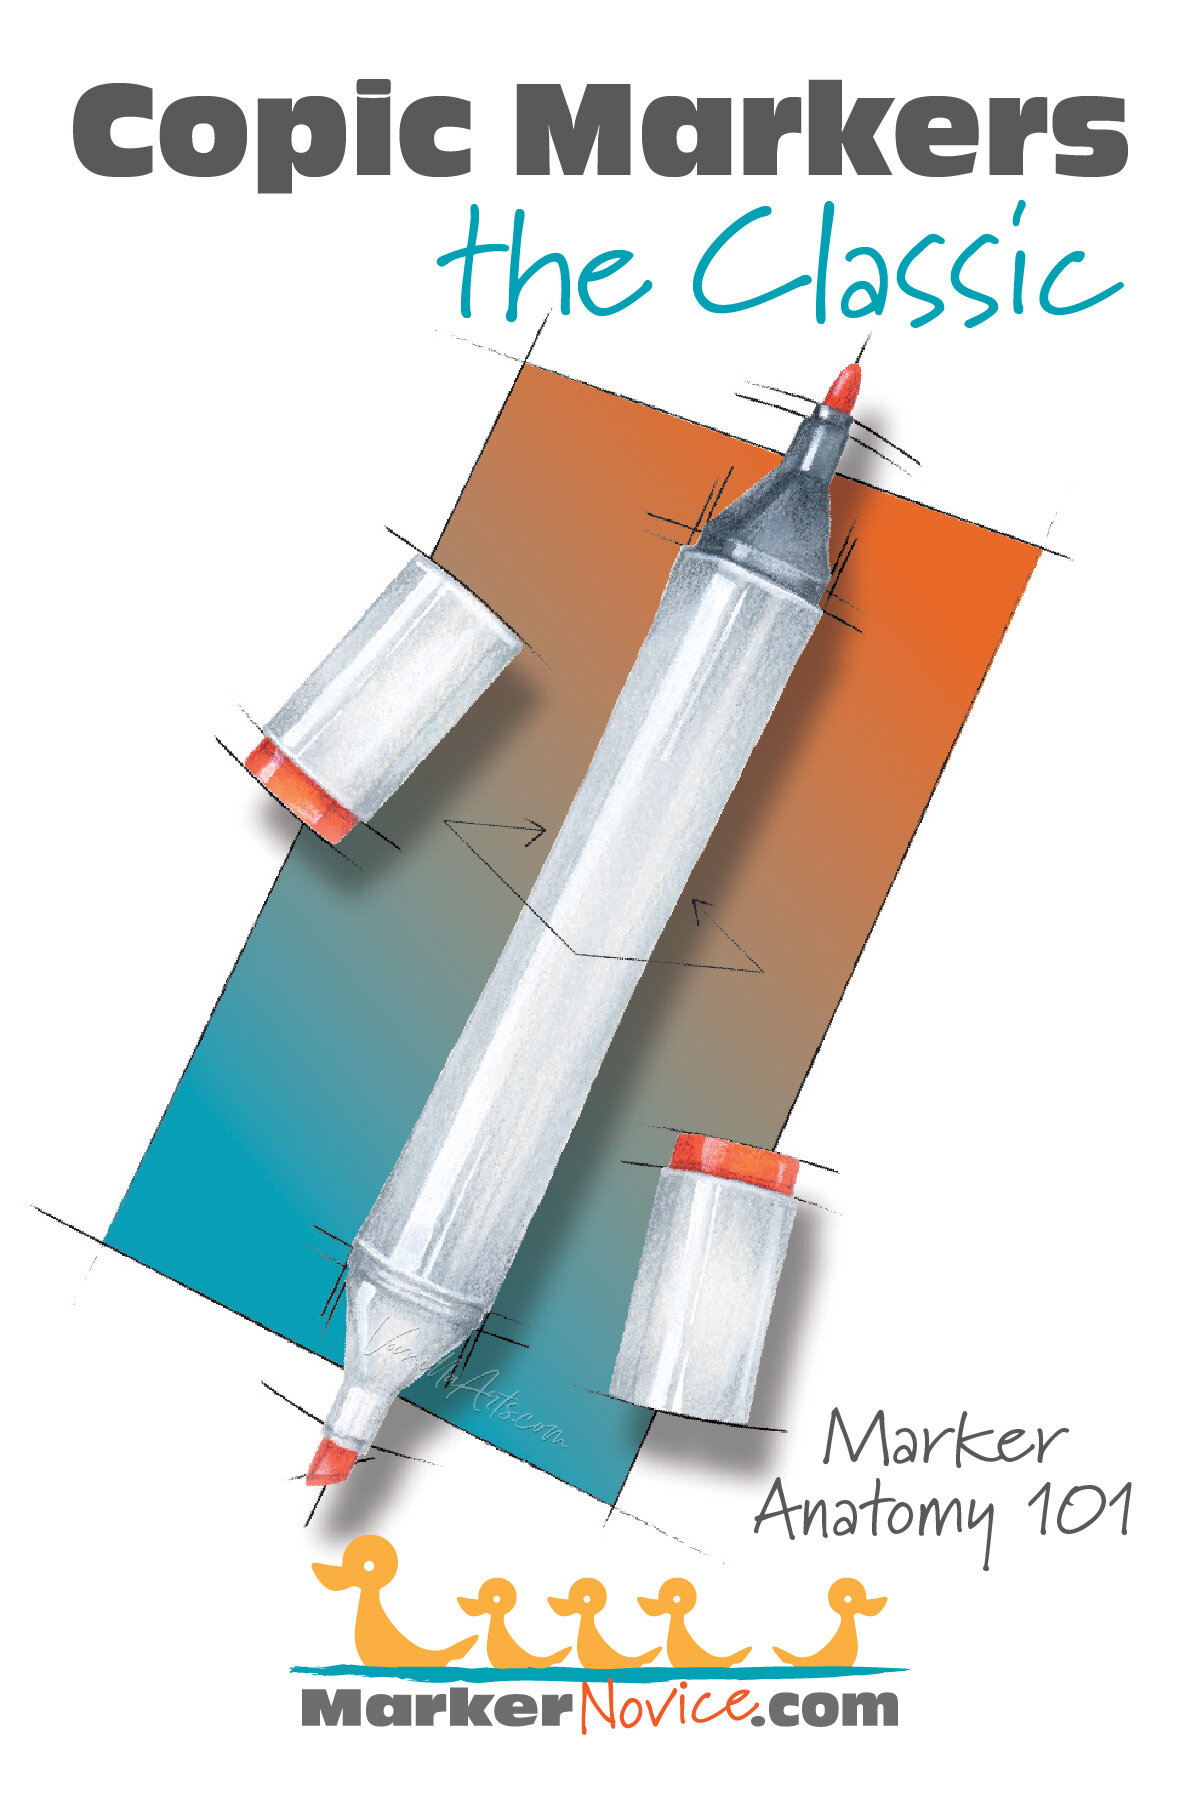
Copic Classic Marker: All About the Original Copic + Best Drawing Nibs
What’s a Copic Classic Marker?
Getting ready to purchase your first Copic Markers?
It’s easy to be overwhelmed by all the choices— Sketch, Ciao, Classic, Wide? What’s the difference? Should you go cheap? Which nib is best?
Relax.
We’re here to help you understand which marker is best for you!


What’s a Copic Classic Marker?
Getting ready to purchase your first Copic Markers?
It’s easy to be overwhelmed by all the choices— Sketch, Ciao, Classic, Wide? What’s the difference? Should you go cheap? Which nib is best?
Relax.
We’re here to help you understand which marker is best for you!
The Original Copic
Classic or Original Copic Markers are designed for drawing, with controlled ink flow and consistent line width. They feature a hard bullet nib and a chisel nib. The Classic is the most customizable of all Copics with alternative replacement nibs for calligraphy or fine lines.
Let’s look closer at why Classic Copics may or may not suit your coloring goals.
Classic Marker Overview
The Original Copic Marker was introduced in 1987 as a professional tool for Japanese designers (architecture, fashion, landscape, product, etc.). Comic artists worldwide soon started to prize the Copic as an exclusive and somewhat secretive marker.
The Too corporation made the markers easier for artists to track down (although they were scarce for a long time) and then developed several other styles. The original marker is still in use today and is now referred to as a Classic Copic.
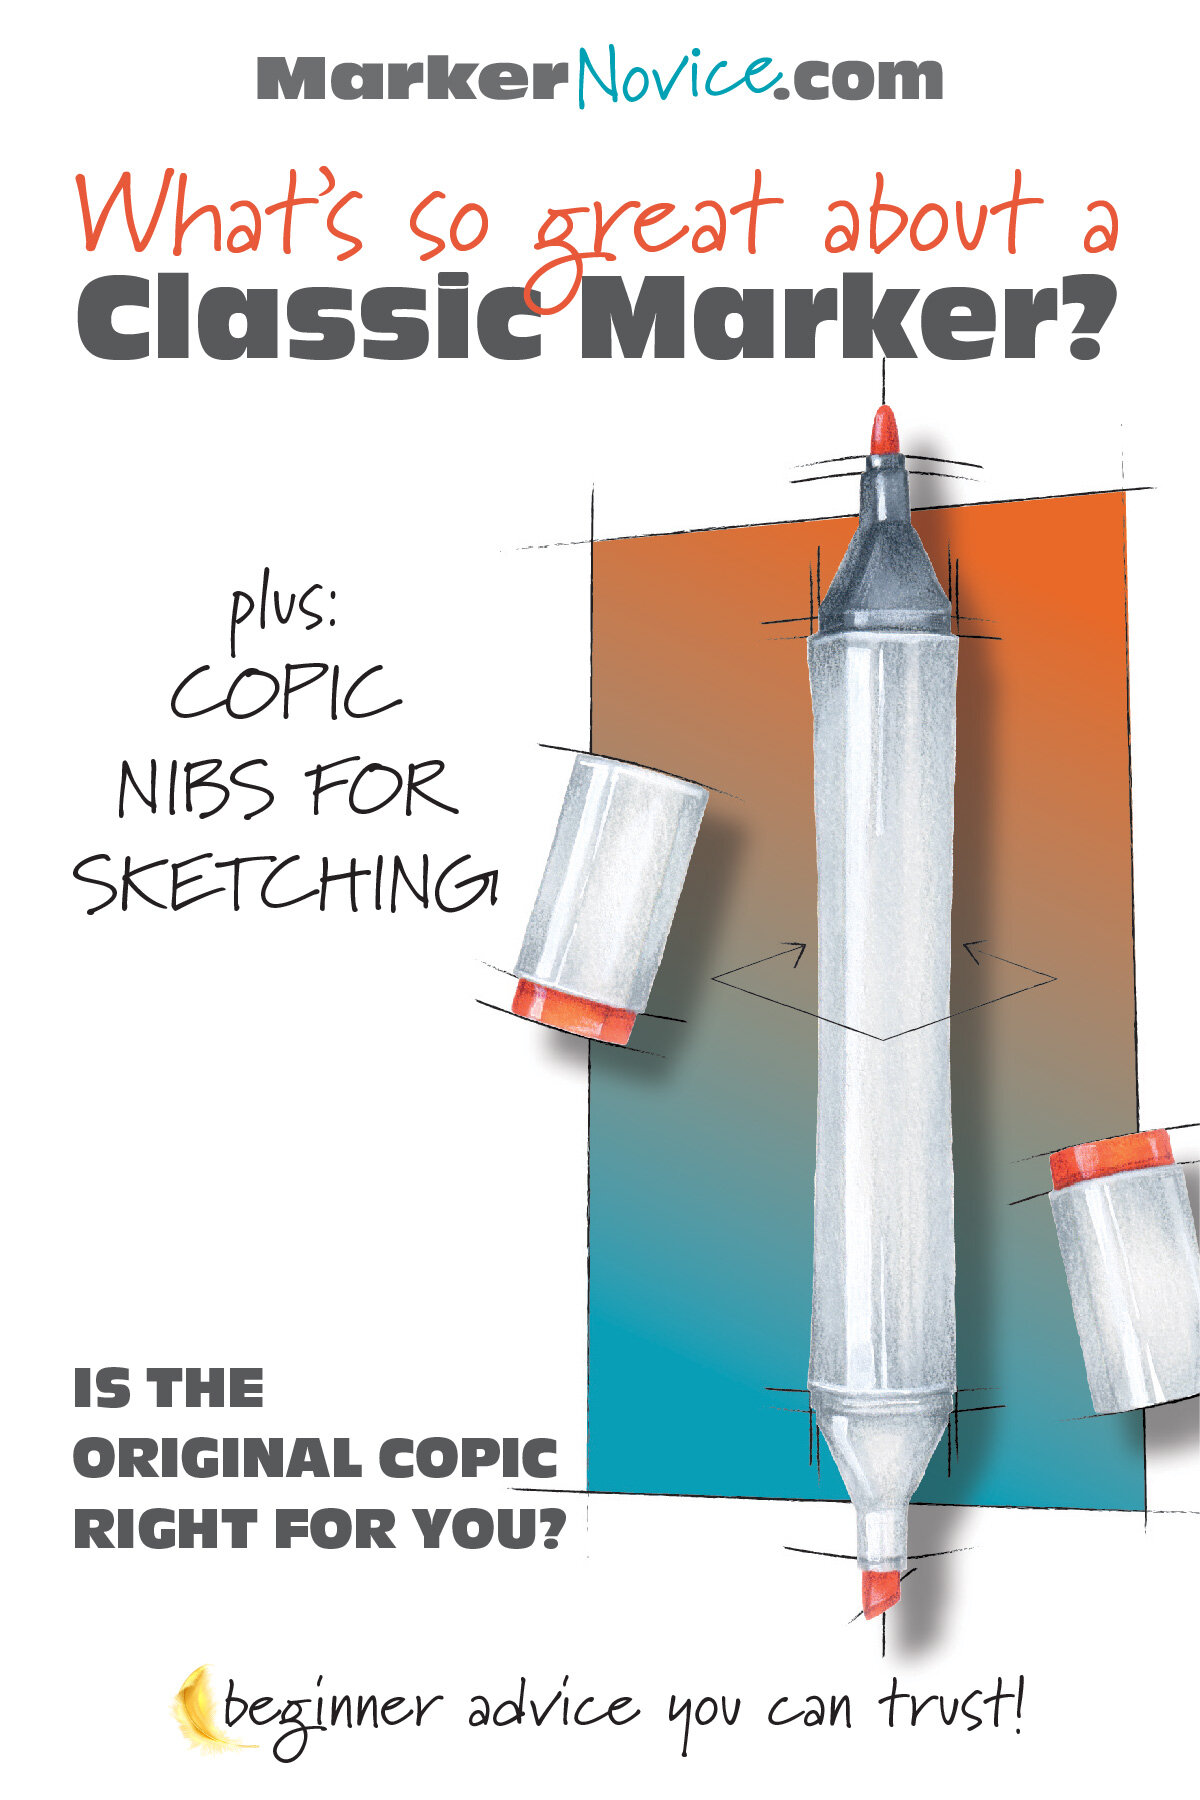
You may hear them called a “Square Copic” in online communities.
Classics have a square shaped barrel which fits nicely into your hand. The edges are rounded, not sharp— if you’ve ever experienced the sharp corners of many competitor brands, you’ll understand how important a rounded edge is. They simply feel good in the hand.
The Classic is a noticeably oversized tool which offers comfort to those with hand arthritis, carpal tunnel syndrome, tight grips, or those who color for extended periods.
The flattened sides are supposed keep the Classic from rolling off your desk… although I’ve proven this theory wrong on more than one occasion.
Classic Copics are dual ended and come standard with a Fine (bullet) Nib and a Medium Broad (chisel) Nib. A gray band indicates the brush nib end.
The Classic is available in 214 colors, including a #0 colorless blender.
Classics are refillable (further details below).
The Classic Copic has the largest ink receptacle of all the Copic Markers. It holds more than the Sketch and significantly more than a Ciao. Combine the large receptacle with the Classic’s dryer nibs and you get a Copic that doesn’t need to be refilled as often as other markers.
FUN FACT? I purchased my first Copic Markers in 1992 as part of a secret artist’s overseas group purchase. We felt like spies. They were Classic Copics.
Who Are Classic Markers For?
You’ve seen Sketch and Ciao markers everywhere. They’re all over blogs and YouTube videos. Some of you may even be scratching your head right now:
“I didn’t even know there was a square barrel Copic!”
Frankly, I’m not surprised that so few people know about them.
Classics are the most mis-understood of all the Copic styles.
Classic Copics are the perfect drawing marker.
In fact, they’re the only true design marker Copic makes. They were created for sketching out designs, NOT FOR COLORING.

Classic nibs are control specialists. The nibs are ultra firm which means no matter how hard you press, you get a consistent and stable line weight. The nibs are purposefully on the dry side, allowing you to make precise marks that do not feather.
Pssstttt… May I point out that this is the exact opposite of what you need for coloring and blending?
Original Copics are a used for general purpose design work in commercial settings. They’re a standard drawing tool in design departments, used by architects, landscape design, product design, fashion design, commercial art and production, illustration and art direction. Classics are also favored by lettering artists (calligraphers may prefer the brush nibs but lettering designers are traditionally trained with bullet nibs and computers).
As marker users shifted from drawing to coloring, improvements to the Classic were needed. That’s where the Sketch Marker with its Super Brush Nib comes in. Brush nibs are juicier and cover larger areas smoothly, so they’re better suited to coloring. Classics are great markers, they’re just not great for coloring.
If you’re drawing and sketching, you want the Classic Copic.
And if you want a custom marker, the Classic is the marker for you.
WE ASKED! Only 2% of Vanilla Arts students use Classic Copics. Of those that do, most have upgraded the chisel nib to a brush nib.
Classic Copic Caps
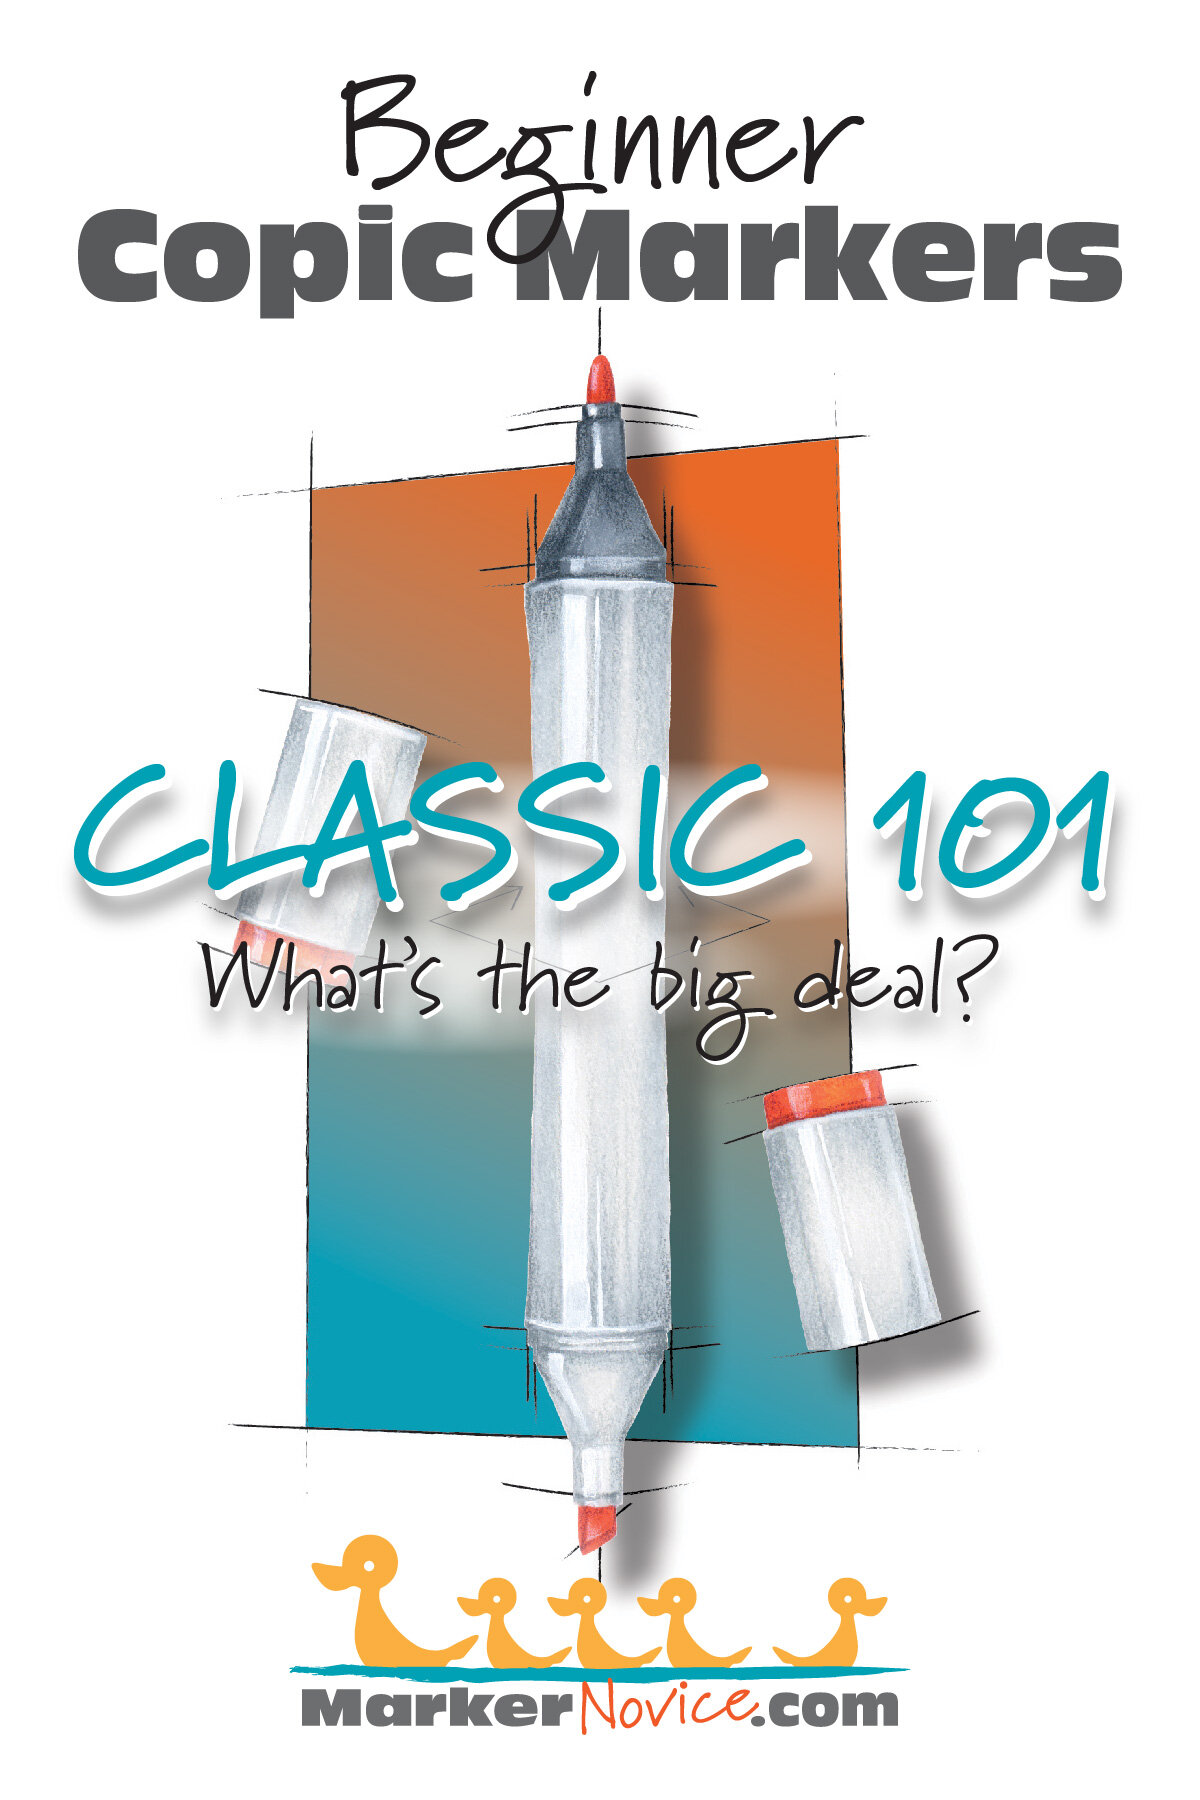
Classic caps match the pale gray color of the marker body.
The ends of Classic caps feature plastic color indicators which are intended to match the ink color. A few cap colors are not exact matches but they’re close. A few color ends are translucent plastic but most are opaque; there is no obvious reason for the translucent plastic.
Classic colored cap ends are laser etched with the color number and name. (More on this in the next section.)
Classic caps are interchangeable from end to end. No need to keep them straight, they’re identical. Because the barrel is square, these are the easiest of all the Copic Markers to cap and uncap. They’re stupid-simple.
The caps nest which means you can store the cap on the opposite end while you color. I wish the Sketch caps would do this!
Classic caps feature a secure click lock which serves as a hepatic indication that you’ve closed the marker securely.
I recommend that you twist the caps to remove rather than pull straight off, to prevent ink splatter.

Classic Numbering + Identification
All Copics use the same numbering system and the same refill inks.

The Copic number is laser etched in dark gray on the body of a Sketch Marker along with brand details. The color name is not listed on the barrel, only the number. Symbols indicate the brush and chisel ends.
The etched lettering does not wear off.
The Copic number AND the color name are laser etched on the end of both caps.
Black etching on pale colors and white etching on dark colors.
Because the numbers and names are on the end of the cap, it’s easy to select Sketch markers from upright storage. This is a definite advantage over the Ciao and Wide marker styles which have no end-cap markings.
A thin, darker gray gap between the cap and the barrel indicates the bullet nib end. The gap on the chisel end is pale gray. The gaps are not true gaps
Customize your Classic: Nib Options
Copic makes nine different nibs for Classic Copics. This is not true of the other styles which have just the standard replacement parts but few customizable options.
Nibs do wear out and can get damaged but they’re easily replaceable.
WARNING: Dried, crusted, or hardened nibs can be replaced BUT the nib is not the only part damaged when a marker runs dry. The core inside the marker is made of a similar material and often hardens along with the nib. A nib can be replaced but you can not replace a core. A damaged core requires full marker replacement.
Professional Copic users upgrade their Classic Markers with custom nibs designed for the kind of work they do most.
Classic Standard Nib 1: Fine Nib
The Fine Nib is a firm bullet nib which provides maximum control, even ink flow, a fine line, and is perfect for small details.
This nib sits on the dark gray end of the Classic marker and can be replaced by several detail nibs (listed below).
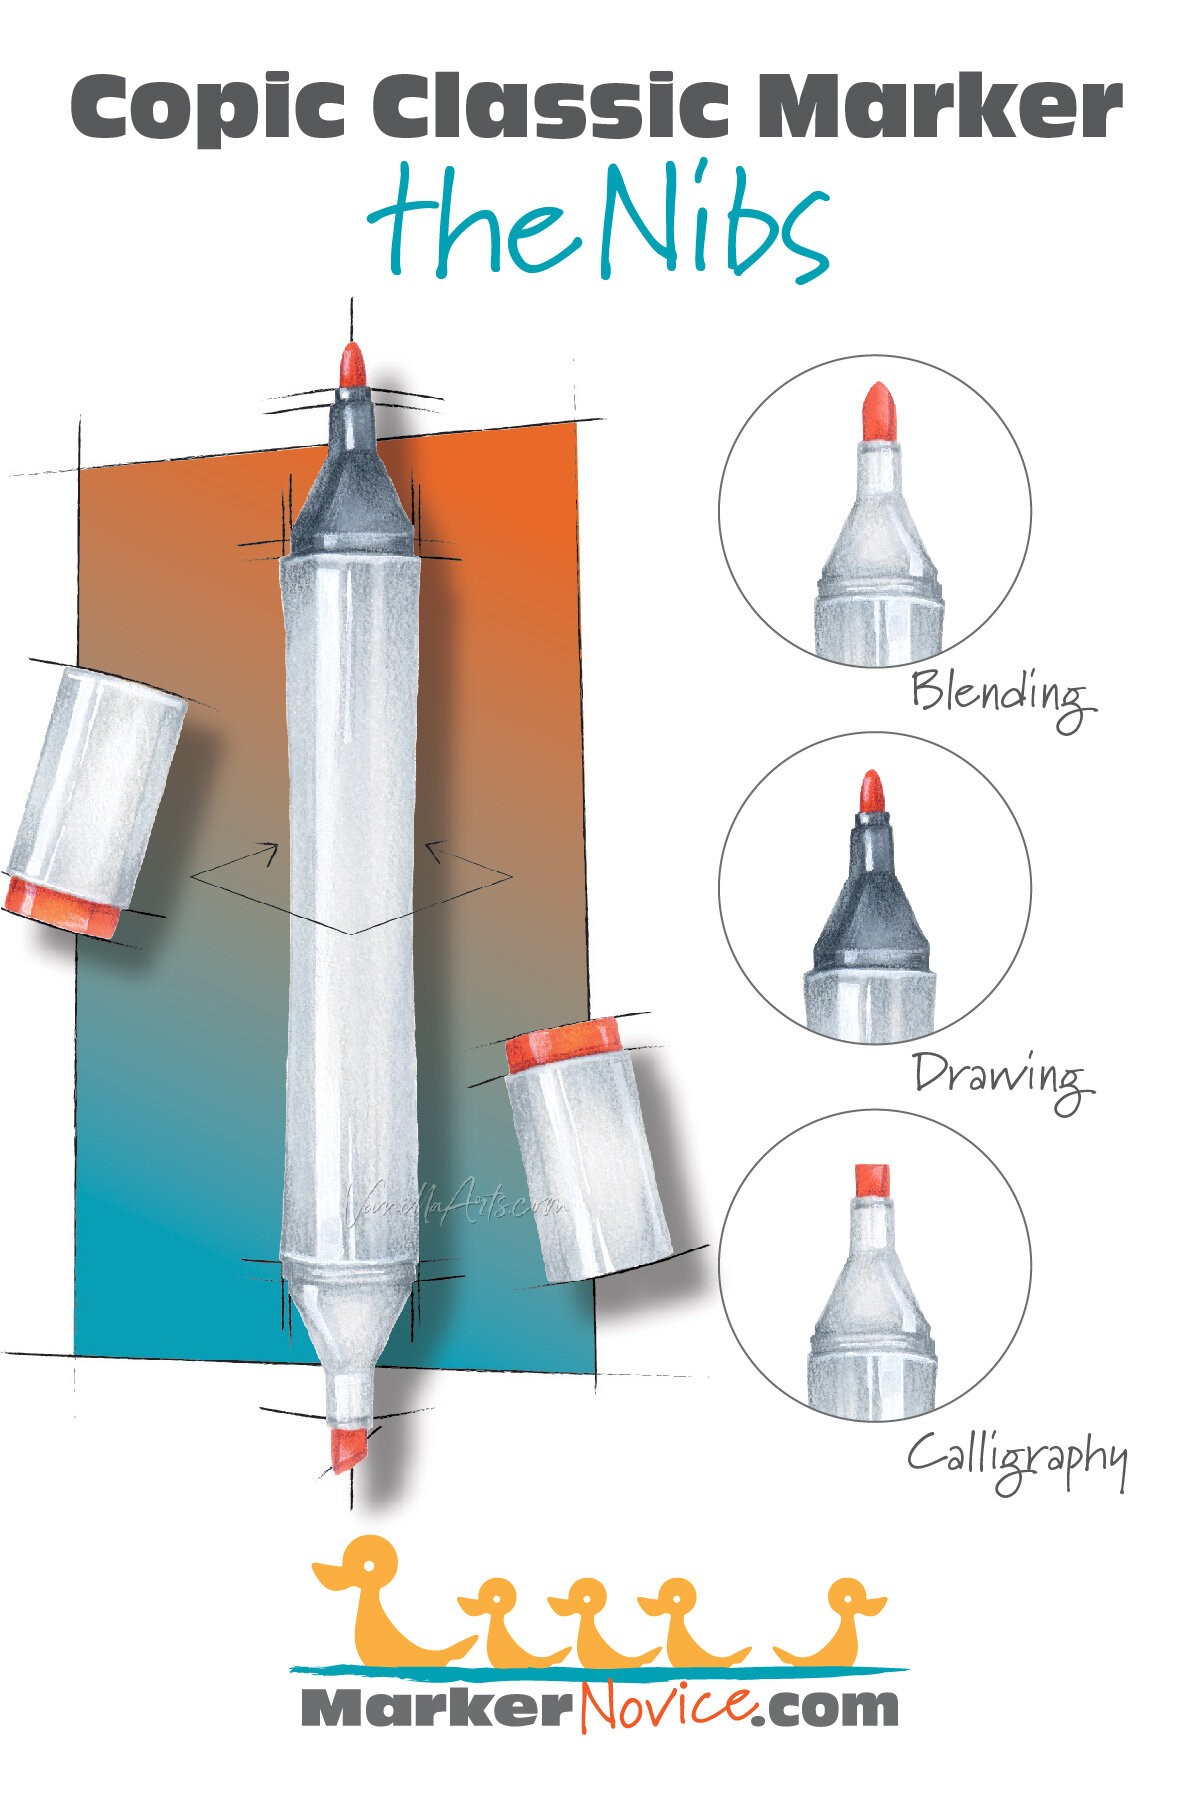
Classic Standard Nib 2: Medium Broad Nib
Copic users almost always refer to this as the “chisel nib” and many colorers ignore this nib entirely.
Chisel nibs are an old-school drawing nib capable of 3 different line weights. Chisel nibs are not generous but they are extremely consistent in ink flow. Chisels are very firm and need to be broken in (softened a bit) before they give an even line with no skips or flow breaks.
The Chisel nib rests in the pale gray end of the marker and can be replaced by several larger nibs (listed below).
RECOMMENDATION: Colorers who want to blend should replace the chisel nib with a Classic Brush Nib (listed below).
Classic Replacement Nib Options (Light Gray End):
Super Fine Plastic - the thinnest line a Copic can make
Semi Broad - a small chisel nib, ideal for design drawing
3mm Calligraphy - a flat nib for traditional pen lettering.
Classic Replacement Nib Options (Dark Gray End):
Classic Brush - a brush style nib for Classics. Smaller and less juicy than a Super Brush nib but highly recommended if you want to blend with a Classic.
WARNING: Classic markers are not intended for blending. If your goal is to do marker blending techniques, please purchase either Sketch or Ciao markers. The Classic Brush Nib kinda blends but not nearly as well as the Super Brushes on Sketch and Ciao Markers. Classic Brushes are smaller, firmer, and less juicy, all three things make blending harder!
NOTE: It can be confusing to tell a Super Brush from a Classic Brush nib online. The Classic Brush is the only nib with a metal collar on it.
Soft Broad - similar to the standard chisel but softer for a more generous ink application
Classic Round - a large bullet nib for control and even weight lines
5mm Calligraphy - a larger flat calligraphic nib to complete the transformation of a Classic into a Copic Calligraphy Marker.
WARNING: Not all nibs fit on all Copics! Classic nibs are all thinner than Sketch or Ciao nibs. Please double check before you purchase.
BEST BUY? Consider purchasing a used Copic collection. Copics can last a lifetime. Well-kept Copics look and work like new!
Refill a Classic Marker
All Copics use the same numbering system and the same refill inks.
See the full Classic color palette at Copic’s official website here.
A factory-weight Copic Sketch Marker should measure about 20 grams (with both caps on).
I do not recommend filling to factory weight; this decreases the odds of Copic Volcanoes (see my article at VanillaArts.com about volcanoes.)

It is a myth that Copics can go for years without refilling. Because Classics tend to be stingier with ink flow than Sketch or Ciao styles, it’s especially important to keep your Classics near-to-full. A Classic marker simply won’t squeak or skip until they’re dangerously low on ink. By danger, I mean your dry Classic may be hardening inside and there’s no fix for this issue. You can kill a Classic by letting it get too low on ink.
Remember: Overfilling leads to marker leakage.
For accuracy, I recommend refilling by weight rather than the drip method. I find most drop recommendations to be wildly wrong. “10 to 12 drops” doesn’t tell you the size of the drop, how low the marker was to begin with, and in my tests, 10 drops doesn’t come close to restoring an ideal weight.
See my refilling recommendations at VanillaArts.com which includes a link to a great weight refilling tutorial.

CHECK FIRST! Beginners often mistakenly purchase Classics because they look similar to Sketch online. AVOID CLASSICS IF YOU WANT TO BLEND!
Personal Thoughts:
My first Copics were Classics and I used them for several years. When I moved from school to a professional design studio we used a mix of Classics, DeSign Markers, and Prismacolor Markers.
When I started painting with markers, I sold my Classics and gradually purchased Sketch Copics. They’re better for blending and large scale artwork.
I do not recommend Classics to colorers who want to blend.
This is because you must retro-fit a Classic for blending and even then, it’s still not as good as a Sketch or Ciao.
If you’re a card maker who only colors SMALL images, you can almost get away with Classics due to the size of your projects. But you can never work larger. Why buy a marker that limits your future options?
And there’s the trap. I mentioned before that many beginning colorers accidentally purchase Classics. Why?
Many beginners don’t realize there are alternative Copics. They assume everything is either Sketch or Ciao.
Classics look very similar to Sketch online. If you don’t know to look at the shape of the colored end-cap, it’s very easy to be fooled.
Classics are usually less expensive than Sketches. Sometimes beginners assume they’ve found a great sale.
Colorers sometimes read the description and get scared by the words SUPER BRUSH NIB. Let’s face it, the Super Brush looks gigantic! Meanwhile we all know about bullet nibs and they sound a lot easier. They don’t realize a bullet is wrong for blending.
I do not recommend Classic Copics for colorers because they lock you into expensive retrofitting OR a lifetime of dinky sized projects.
But if you’re sketching or drawing, you should be using a Classic!
And if you’re into Calligraphy? A customized Classic is WONDERFUL!
Amy Shulke is a professional technical illustrator who has used Copic Markers since 1990. She teaches artistic coloring classes online at VanillaArts.com and locally in south-eastern Michigan.
Marker Novice is Amy’s completely free resource devoted to beginner marker education. For intermediate/advanced artistic coloring articles, see her Studio Journal here.

Click to receive Marker Novice & Vanilla updates in your Pinterest feed

Copic Sketch Marker: All About the Sketch + Why We Love Them!
What’s a Copic Sketch Marker?
Getting ready to purchase your first Copic Markers? It’s easy to be overwhelmed by all the choices— Sketch, Ciao, Classic, Wide? What’s the difference anyway? Should you go cheap? Which nib is best?
Relax.
We’re here to help you understand which marker is best for you!


What’s a Copic Sketch Marker?
Getting ready to purchase your first Copic Markers?
It’s easy to be overwhelmed by all the choices— Sketch, Ciao, Classic, Wide? What’s the difference? Should you go cheap? Which nib is best?
Relax.
We’re here to help you understand which marker is best for you!
What is a Copic Sketch Marker?
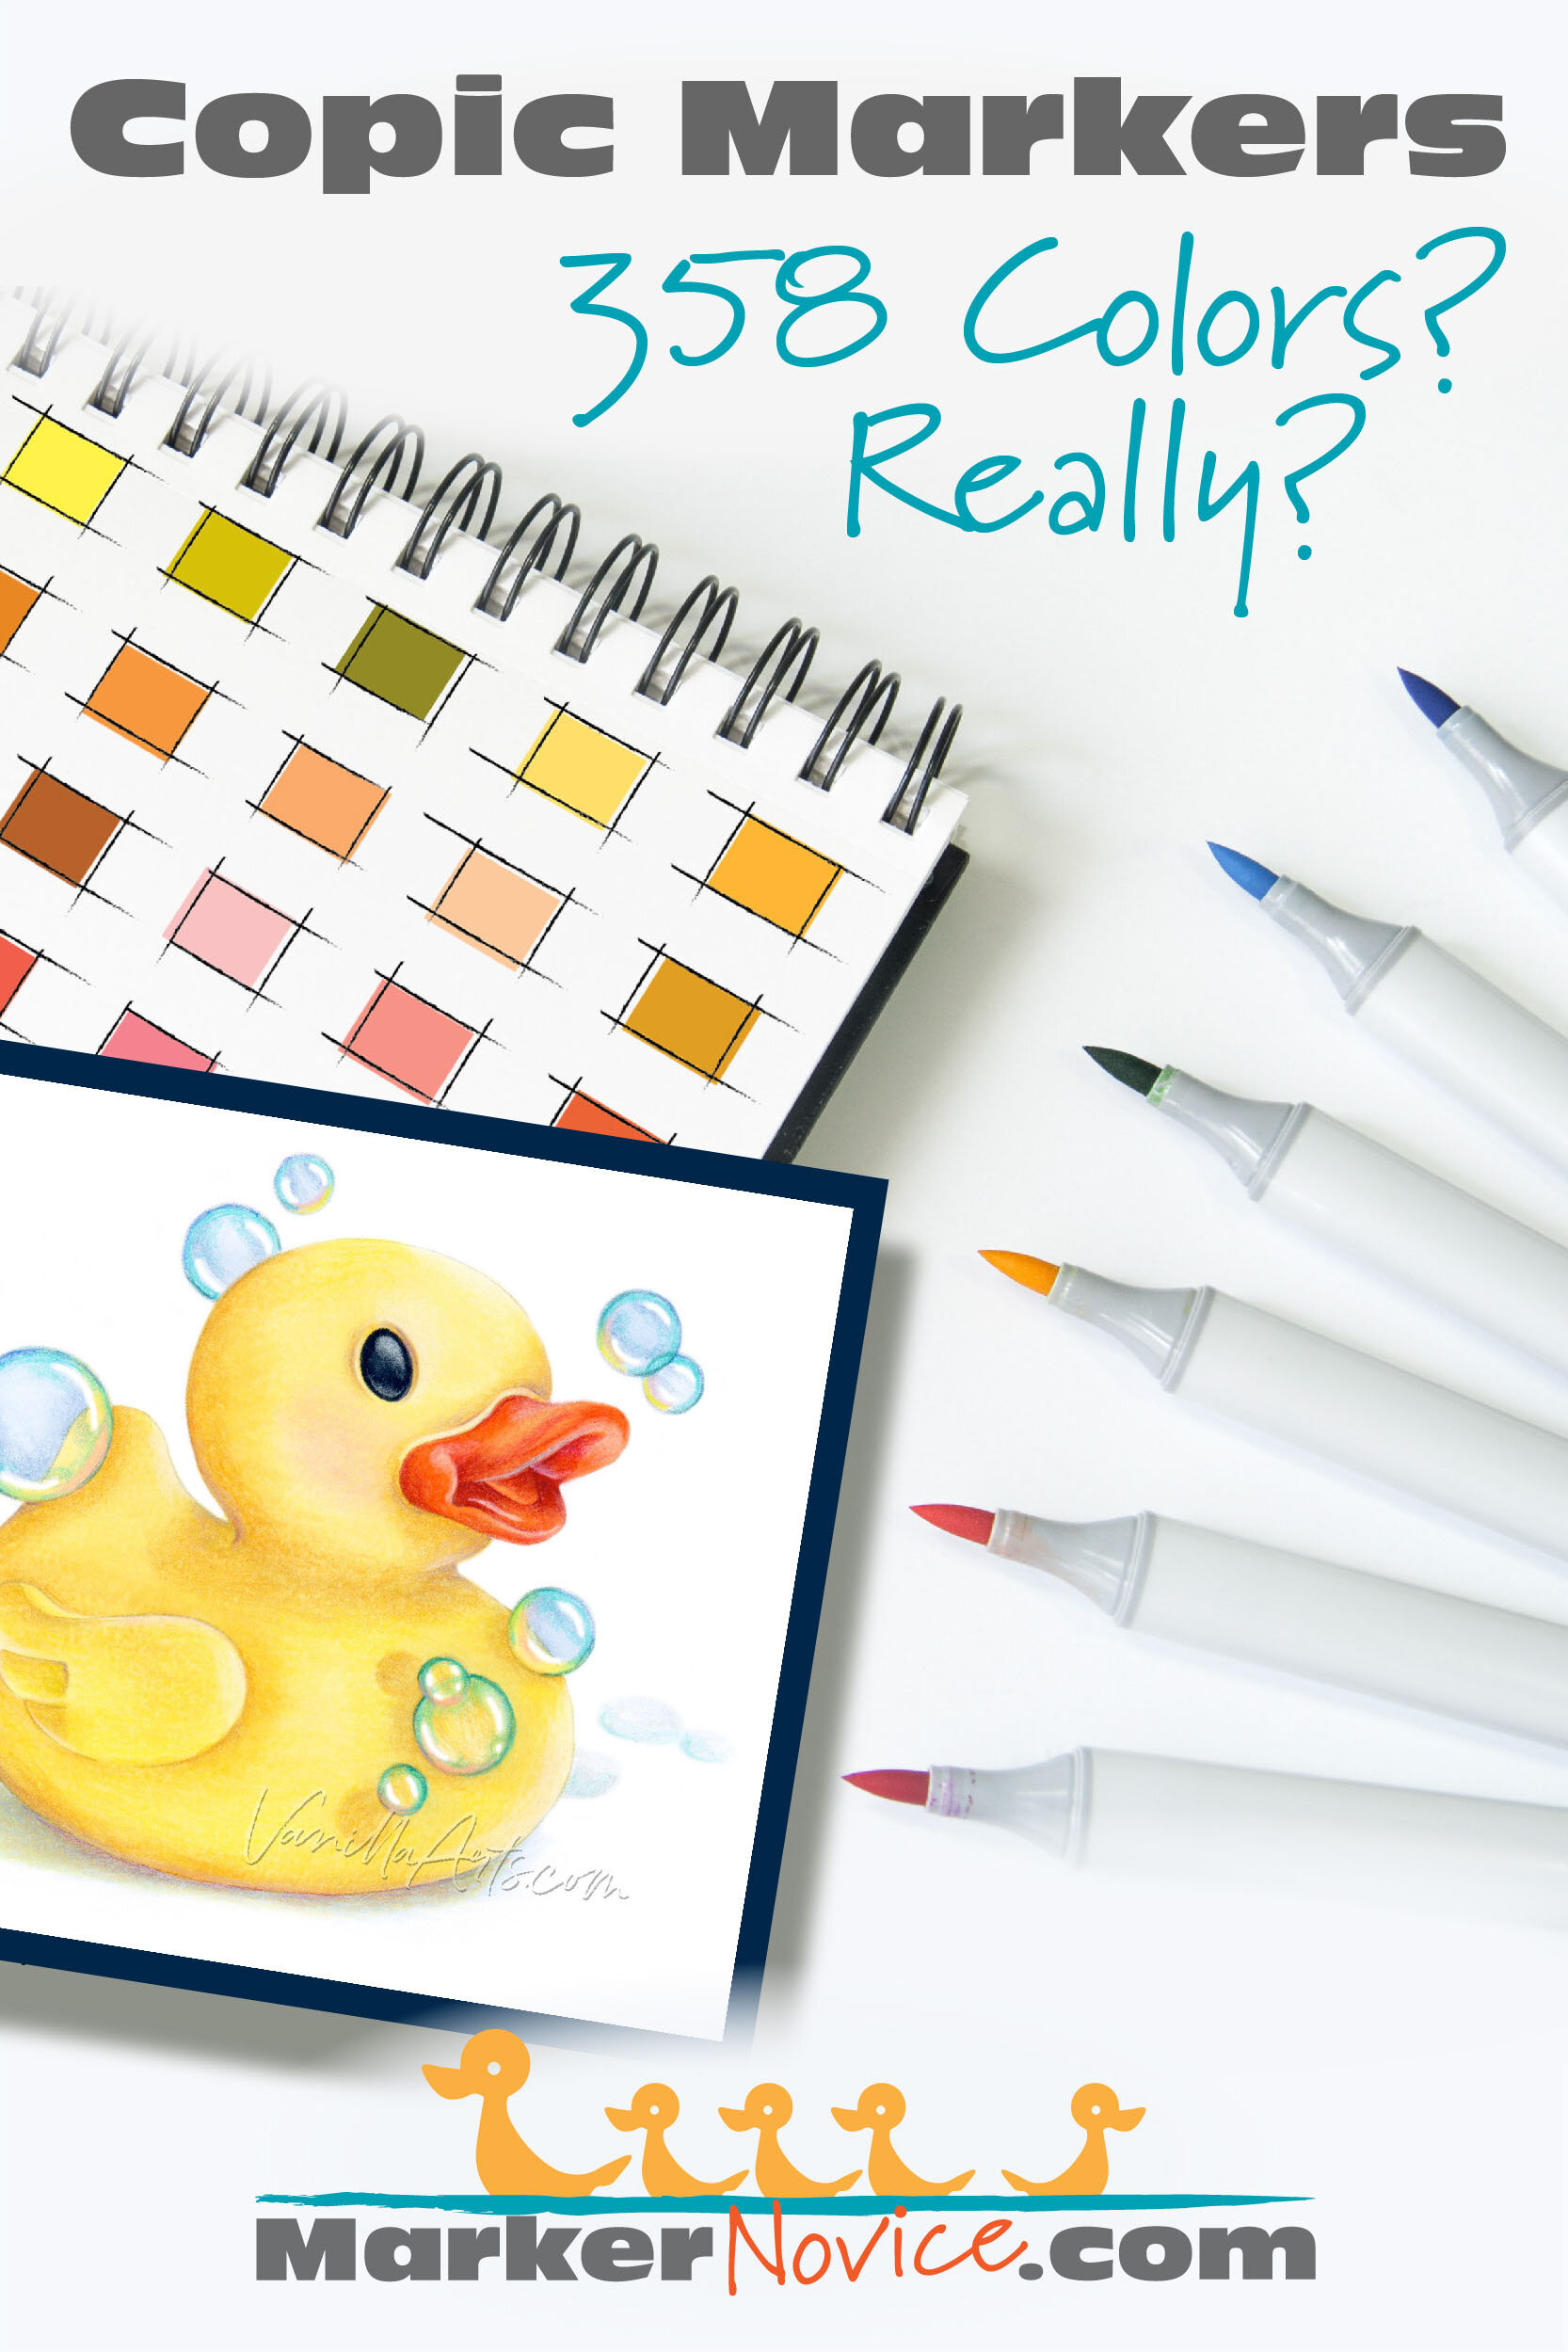
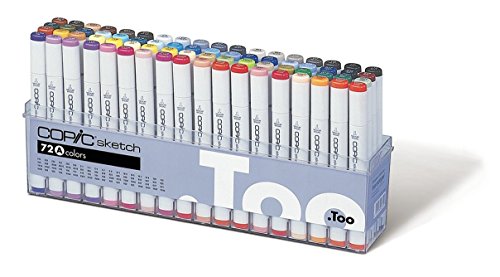
Copic Sketch Markers were designed for coloring. They are a juicy marker, making them ideal for blending and filling large areas with smooth color. The Sketch is Copic’s top selling style combining their exclusive Super Brush Nib, large ink reservoir, and a 358 color range.
Sketch Marker Overview
The Copic Sketch Marker was introduced in 1993. The Sketch is Too’s top selling marker style. They’re so ubiquitous that most people wrongly assume Sketches are the original Copic. The first Copics are actually what we now call a Classic but the Sketch with it’s improved design easily outsells the Classic.
Sketches have an ergonomic flattened-oval shaped barrel which tucks nicely into your hand. It’s a slightly oversized tool which offers comfort to those with hand arthritis, carpal tunnel syndrome, tight grips, or those who color for extended periods of time.
The flattened sides keep the Sketch from rolling off your desk.
Copic Sketches are dual ended and come standard with a Super Brush Nib and a Medium Broad (chisel) Nib. A gray band indicates the brush nib end.
Sketch is the ONLY style of Copic available in ALL 358 colors.
To date, when Copic has introduced new ink colors, they’ve only offered them in the Sketch style.
If you’re someone who intends to collect every color and you will update your collection with future new releases, the Copic Sketch is your safest bet.
Sketches are refillable (further details below). The Sketch has a large ink receptacle. It holds less ink than a Classic but significantly more than a Ciao.
FUN FACT? I purchased my first Copic Markers in 1992. Yes, I’m old.
Who are Sketch Markers For?
Classic Copics (the original style) were primarily used by designers and comic, commercial, or storyboard artists. They’re an excellent drawing tool because they provide a consistent line with no bleed.
But as marker user shifted from drawing to coloring, improvements to the Classic were needed.
Sketches were developed for artists who want a juicier, more expressive stroke.
The Super Brush Nib makes all the difference.
Super Brush Nibs excel at flooding spaces with generous swaths of color. This is especially important for smooth blending where moisture is the key to best results.
Super Brush Nibs are also good for filling large areas. I frequently color images as large as 18x24” with Copic Sketch Markers.
Lettering artists and modern style calligraphers also tend to favor the Super Brush Nib. It’s a springy, reactive nib which gives an expressive multi-weight line depending upon the amount of pressure used.
Copic Sketch Markers are ill-suited for drawing, detail work, and small coloring projects.
Sketch are often overkill for card-makers using stamp images less than 3” in size.
WE ASKED! 80% of Vanilla Arts students prefer the Sketch over other Copic styles.
Copic Sketch Caps
Sketch caps match the pale gray color of the marker body.
The ends of Sketch caps feature plastic color indicators which are intended to match the ink color. A few cap colors are not exact matches but they’re close. A few color ends are translucent plastic but most are opaque; there’s no obvious reason for the translucent plastic.
Sketch colored cap ends are laser etched with the color number and name. (More on this in the next section.)
Sketch caps are interchangeable from end to end. No need to keep them straight, they’re identical.
Sketch caps feature a very secure click lock which serves as a hepatic indication that you’ve closed the marker securely. I’ve occasionally heard of Sketches drying out with the cap on but it’s so rare that I have my doubts. I’ve never personally had it happen.
I recommend that you twist the caps to remove rather than pull straight off, to prevent ink splatter.
Overall, I think Sketch caps are the best designed of all the Copic styles and they far surpass other brand caps in seal and security. The only downside to Sketch caps is that they do not nest, meaning you can’t store a Sketch cap on the opposite end while coloring. It’s a minor (but irritating) flaw.
HORIZONTAL OR VERTICAL? What’s the best way to store your Copics? Honestly? It doesn’t matter.
Copics are not gravity-fed and the ink has no sedimentary particles. This means you can store them however you’d like.

Sketch Numbering + Identification
All Copics use the same numbering system and the same refill inks.
The Copic number is laser etched in dark gray on the body of a Sketch Marker along with brand details. The color name is not listed on the barrel, only the number. Symbols indicate the brush and chisel ends.
The etched lettering does not wear off. A few of my markers are over 25 years old and they still look new.
The Copic number AND the color name are laser etched on the end of both caps.
Black etching on pale colors and white etching on dark colors.
Because the numbers are etched on the end of the cap, it’s easy to select Sketch markers from upright storage. This is a definite advantage over the Ciao and Wide marker styles which have no end-cap markings.
A thin, darker gray band indicates the brush nib end. The band is on the marker body, not the cap.
Sketch Nib Options
Copic makes a variety of replacement nibs for all of their markers. Nibs do wear out and can get damaged but they’re easily replaceable.
WARNING: Dried, crusted, or hardened nibs can be replaced BUT the nib is not the only part damaged when a marker runs dry. The core inside the marker is made of a similar material and often hardens along with the nib. A nib can be replaced but you can not replace a core. A damaged core requires full marker replacement.
Serious Copic users often install alternative nibs to upgrade their marker for specific tasks.
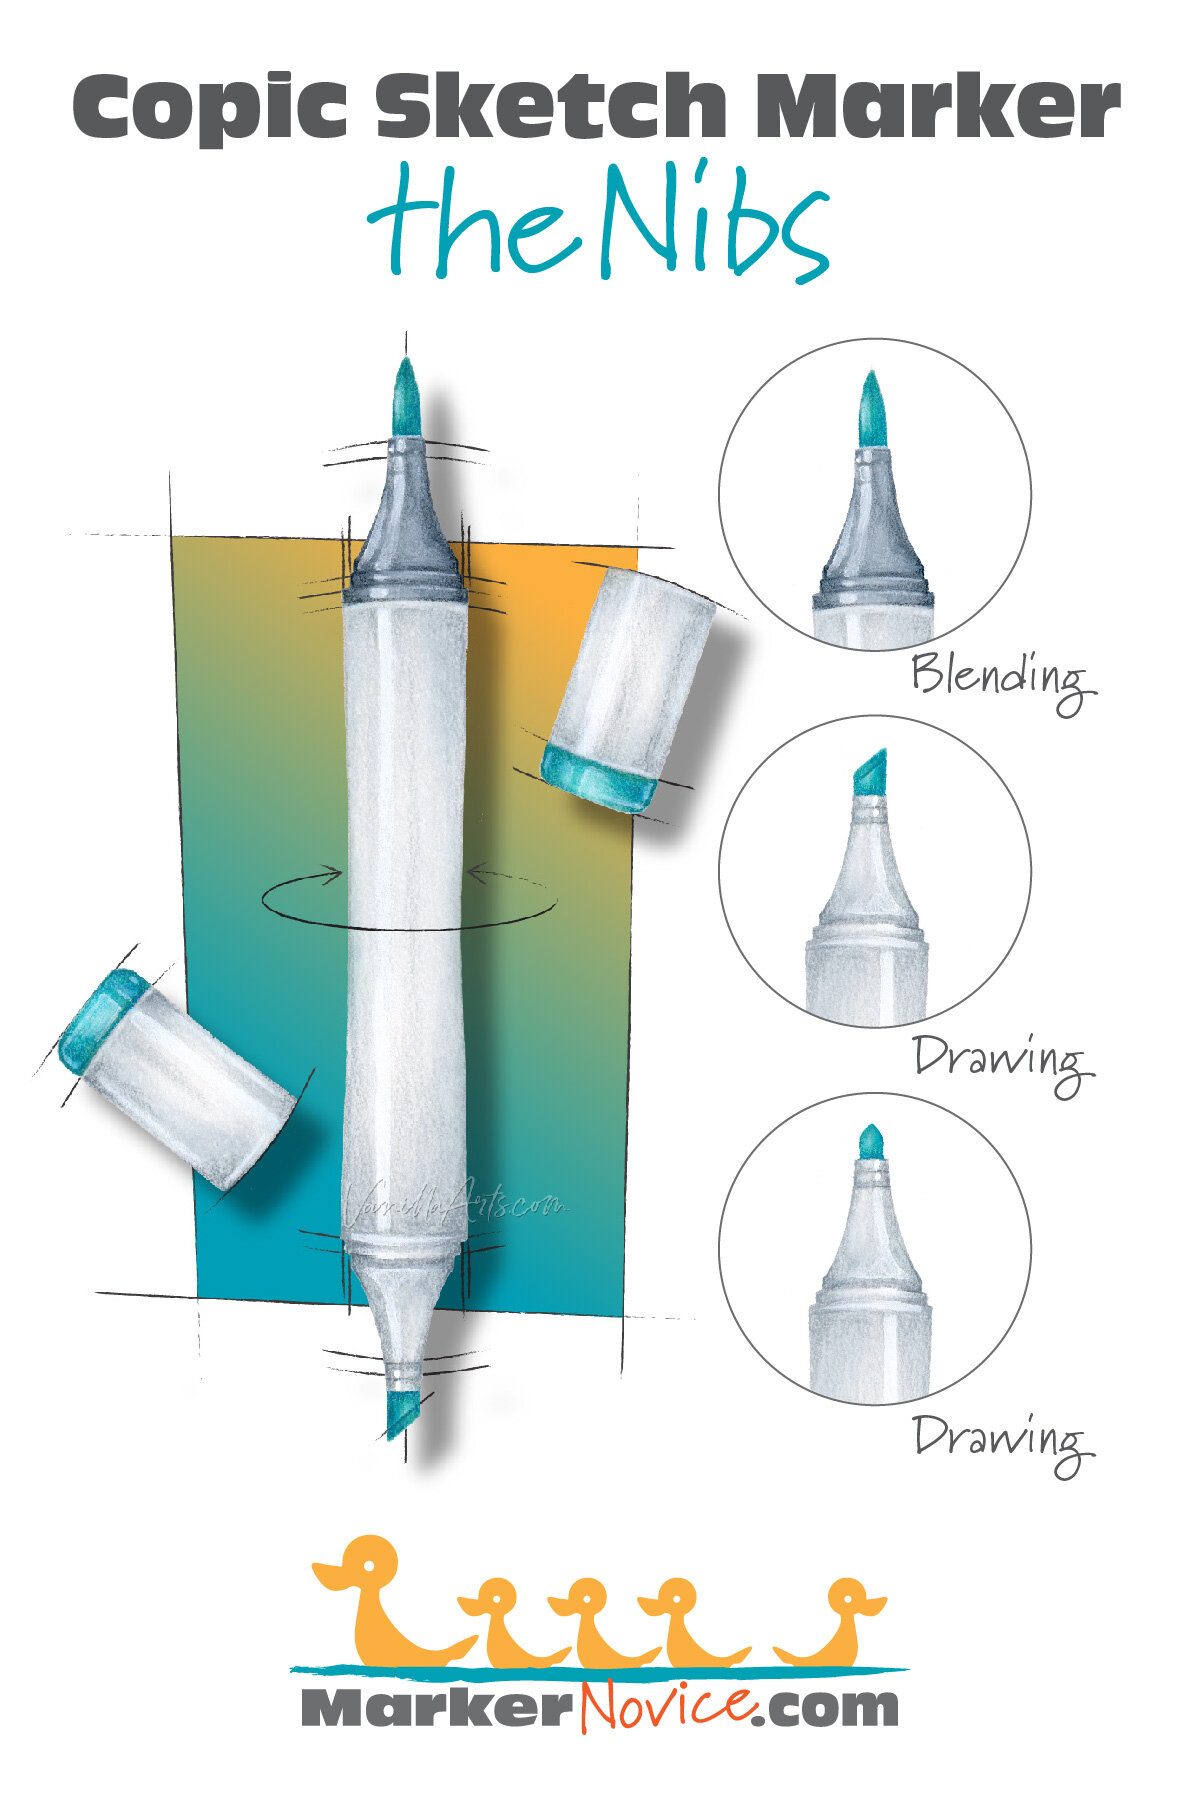
Sketch Standard Nib 1: Super Brush Nib. (Do not confuse the Super Brush with the Copic Round Brush Nib which fits Classic Markers only.)
The Super Brush Nib is an extremely juicy and springy nib which responds to changes in hand pressure. S.B. nibs excel at blending and filling larger areas because they deliver more ink to the paper than any other Copic nib.
The S.B. nib rests in the dark gray end of the marker.
WARNING: When refilling a Copic Sketch, I recommend you do not refill from the brush end (more details in the refill section below).
Sketch Standard Nib 2: Medium Broad Nib (chisel)
Copic users almost always refer to this as the “chisel nib” and many colorers ignore this nib entirely.
Chisel nibs are an old-school drawing nib capable of 3 different line weights. Chisel nibs are not generous with their ink flow and thus are not suitable for blending. Chisels are very firm and need to be broken in (softened a bit) before they give an even line with no skips or flow breaks.
The Chisel nib rests in the pale gray end of the marker.
I recommend refilling from the chisel end for ease and safety (more details in the section below).
Sketch Replacement Nib Option: Sketch Fine Point (bullet)
Ideal for lettering and detail coloring, the Sketch Fine Point is a firm bullet nib which provides maximum control, even ink flow, a fine line, and is perfect for small-ish details. This nib is designed to replace the Chisel nib and fits on the light gray end of the Sketch marker.
I recommend that card-makers and small stamp colorers switch to the fine nib on their most used colors (replacing all your chisel nibs can be costly). The fine nib is designed to replace the Chisel nib and fits on the light gray end of the Sketch marker.
WARNING: Copic makes more than a dozen different replacement nibs. The three listed here are the ONLY nibs which fit in Copic Sketch Markers.
BEST BUY? Consider purchasing a used Copic collection. Properly maintained Copics look and work like new!
Refill a Sketch Marker
All styles of Copic use the same numbering system and the same refill inks. See the full Sketch color palette at Copic’s official website here.
A factory-weight Copic Sketch Marker should measure between 14.5 and 14.8 grams (with both caps on). See the end of this section for an update on factory weight info.
I do not recommend filling to factory weight as completely full markers are more prone to Copic Volcanoes (see my article at VanillaArts.com about volcanoes.)
Like all Copic markers, performance decreases and blending becomes more difficult as the marker empties. Noticeable blending changes begin at about 13.5 grams and you will encounter blending impairment at weights lower than 13.2 grams. This can be as few as 2-3 uses for your most-used colors!
It is a myth that Copics can go for years without refilling. The first thing I check when a student can’t blend well is their marker weight. I’ve seen markers as low as 11 grams! Read my article about common Copic Myths here and read details about Blending Issues at our sister site, VanillaArts.com.
Overfilling leads to marker leakage.
For accuracy, I recommend refilling by weight rather than the drip method. I find most drop recommendations to be wildly wrong. “10 to 12 drops” doesn’t tell you the size of the drop or how low the marker was to begin with. In my tests, 10 drops doesn’t come close to restoring an ideal weight.
See my refilling recommendations at VanillaArts.com which includes a link to a great weight refilling tutorial by Michelle Houghton from Copic in the Craft Room.
WARNING: To refill efficiently, you should remove one nib from your Sketch marker. I do not recommend removing the Super Brush Nib as this can easily damage the brush nib. Copic Tweezers are meant to reduce brush nib damage but it’s much safer and far easier to refill from the chisel end.
__________
* UPDATE (December 2022): I’ve been hearing from readers/students that brand new Copic Sketch are now weighing closer to 14g. I reached out to Elena at Violeta-Ink.com and she confirms that the average weight of her fresh stock is more like 14.2g rather than the 14.6 average that I observed back in 2018. Has Copic has reduced the starter weight as a cost savings measure? We’ll keep watching to see!

CHECK FIRST! Beginners often mistakenly purchase Classics because they look similar to Sketch online. AVOID CLASSICS IF YOU WANT TO BLEND!
Personal Thoughts:
My first Copics were Classics because Sketch had not been invented yet. I used them for drawing and hand-lettering. In 1994, I sold my 46 Classics and gradually replaced them with Sketches. It took me a decade to complete my current collection. I do not own the T or F families and will likely never buy them.
I use Sketch exclusively and I recommend them to all my artistic coloring students.

The Super Brush Nib requires some bravery and training but it’s relatively easy to master and produces beautiful effects.
Sketch are the most expensive style and many people try to save money with Ciao. Ciao have drawbacks though— the caps do not have color numbers, the caps have a design flaw which can damage your nib, Ciao must be refilled frequently, and they seem to be more prone to leakage and volcanoes.
Additionally Ciao is only available in 180 of the 358 total colors. Many of my favorite colors are Sketch only. Buying Ciao means that by necessity, you will have a mixed collection which frankly, is hard to store and display.
I recommend Sketch over Ciao because of the larger Sketch color range and I really dislike the Ciao caps.
I recommend Sketch over Classics because of the Super Brush Nib.
I think Sketch are the best value Copic over a lifetime of use.
Amy Shulke is a professional technical illustrator who has used Copic Markers at school, work, and home since 1990. She teaches artistic coloring classes online at VanillaArts.com and locally in south-eastern Michigan.
Marker Novice is Amy’s completely free resource devoted to beginner marker education. For intermediate/advanced artistic coloring articles, see her Studio Journal here.

Click to receive Marker Novice & Vanilla updates in your Pinterest feed
